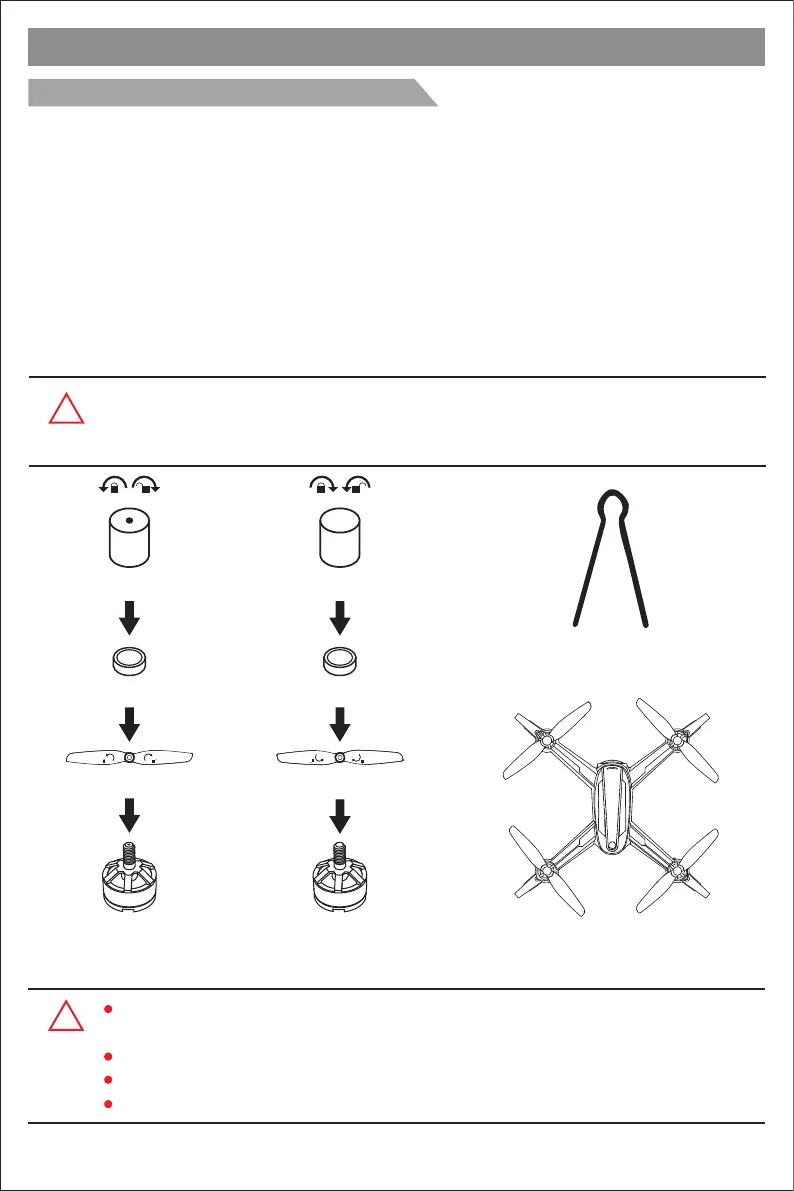
Propeller changing tool
Screw without dot
Propeller B (counter-clockwise)
Counter-clockwise
rotating motor is
marked without dot.
Silicone rubber ring
Step 3
Step 2
Step 1
Clockwise rotating
motor is marked
with dot.
Propeller A (clockwise)
Silicone rubber ring
Screw with dot
Step 3
Step 2
Step 1
B B
A A
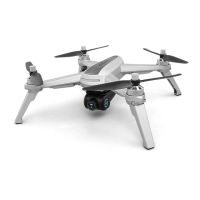
Product assemble
How to attach and detach the propellers
Detach the propellers:
Hold the drone brushless motor and unscrew the screw without dot by counter-clockwise (screw with
dot should be rotated by clockwise) to take apart the propeller.
Attach propeller A:
Put the propeller with marking ‘A’ into the clockwise rotating motor shaft (the side marked A should be
upwards). Then, put the silicone rubber ring into the center bore of the propeller. Last, choose the
propeller screw with dot and put it onto the motor shaft; tighten the screws by counter-clockwise.
Attach propeller B:
Put the propeller with marking ‘B’ into the counter-clockwise rotating motor shaft (the side marked B
should be upwards). Then, put the silicone rubber ring into the center bore of the propeller. Last,
choose the propeller screw without dot and put it onto the motor shaft; tighten the screw by clockwise.
!
Attention: Please install all fittings step by step as below pictures. Keep in mind
that the
propellers
are distinguished by A & B mark and propellers screws are
distinguished by dot mark. Please pay attention to your rotation direction.
A
B
B
A
Front
Rear
A B
AB
!
Please make sure that the clockwise and the counter-clockwise propellers are installed on
the correct motors, because the drone will not fly normally for wrong propellers installation.
Be careful when installing the propellers, as they are a little sharp.
Please use JJPRO propellers for this drone.
Extra propellers can be ordered additionally.
-3-
 Loading...