EasyManua.ls Logo

JL Audio e1200 User Manual

JL Audio e1200
9 pages
To Next Page IconTo Next Page
Page #1 background imageLoading...
Page #1 background image
Thank you for purchasing a JL Audio amplifier for
your automotive sound system.
Your amplifier has been designed and manufactured to exacting
standards in order to ensure years of musical enjoyment in your
vehicle. For maximum performance and extended warranty
coverage, we highly recommend that you have your new amplifier
installed by an authorized JL Audio dealer. Your authorized
dealer has the training, expertise and installation equipment to
ensure optimum performance from this product. Should you
decide to install the amplifier yourself, please take the time
to read this manual thoroughly so as to familiarize yourself
with its installation requirements and setup procedures.
If you have any questions regarding the instructions in this
manual or any aspect of your amplifier’s operation, please contact
your authorized JL Audio dealer for assistance. If you need further
assistance, please call the JL Audio Technical Support Department at
(954) 443-1100 during business hours (Eastern Time Zone).
JL AUDIO e1200
monoblock full-range amplifier
owner’s manual
Question and Answer IconNeed help?

Do you have a question about the JL Audio e1200 and is the answer not in the manual?

JL Audio e1200 Specifications

General IconGeneral
Channels1
Amplifier ClassD
Fuse Rating30 A
Frequency Response10 Hz - 150 Hz
Input Sensitivity200 mV - 4 V
THD at Rated Power< 1%
Damping Factor>500 @ 2Ω / 50 Hz

Summary

Initial Safety and Planning

Hearing Protection Warning

Advises users to limit exposure to high sound levels to prevent permanent hearing loss.

Serial Number Recording

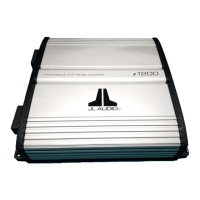
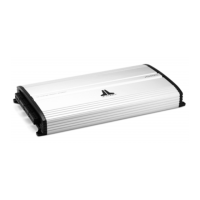
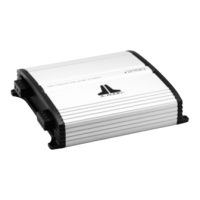
Instructions to record the amplifier's serial number for service or theft purposes.

Installation Applications & Planning

Covers compatibility, cooling, safety, and common mistakes for installation planning.

Product Description and Installation Sequence

Power Connections and Fusing

Power Connection Procedure

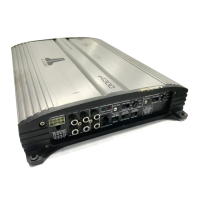
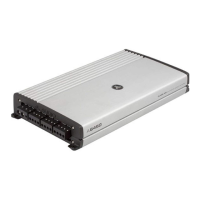
Explains how to connect the +12VDC and Ground power wires using appropriate gauge wire.

Grounding and Fuse Requirements

Covers vehicle grounding wire upgrades and the necessity of proper fuse placement.

Turn-On Lead, Inputs, and Controls

Turn-On Lead Connection

Details how to connect the remote turn-on lead for amplifier activation.

Input Section Configuration

Describes RCA and high-level inputs and pre-out signal handling.

Amplifier Controls

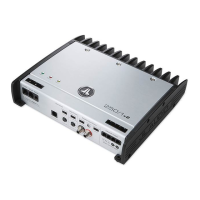
Covers input sensitivity adjustment and filter control settings for optimal performance.

Amplifier Controls and Indicators

Bass Boost and Output Management

Covers bass boost features, pre-outs, speaker outputs, and bridging warnings.

Status Indicators

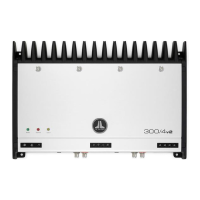
Explains the Power (Green) and Protection (Red) indicator lights.

Servicing and Warranty

Servicing Your Amplifier

Advises returning the amplifier to an authorized dealer for service, as there are no user-serviceable parts.

Appendix A: Input Sensitivity Level Setting

Sensitivity Adjustment Notes

Advises against increasing input sensitivity after setting it, especially with EQ boost, to avoid distortion.

Appendix B: Precise Frequency Selection

Appendix C: e1200 Specifications

Appendix D: Troubleshooting

No Power or No Output

Guides on diagnosing and resolving issues where the amplifier does not turn on or produce sound.

Distorted or Low Output

Provides steps to troubleshoot distorted sound or low volume issues.

Intermittent Shutdowns

Offers solutions for amplifiers shutting off intermittently, often due to voltage or grounding issues.

Fluctuating Output

Helps diagnose output issues that occur when the amplifier is tapped or bumped.

Setting Input Sensitivity

Directs users to Appendix A for proper input sensitivity adjustment for maximum low-distortion output.

Limited Warranty - USA

Related product manuals