Do you have a question about the JL Audio Slash v2 300/4V2 and is the answer not in the manual?
Thank you message and basic description of the JL Audio 300/4v2 amplifier.
Safety advice on limiting continuous exposure to high sound pressure levels.
Information on vehicle compatibility and system requirements for the amplifier.
General preparation and considerations for installing the amplifier.
Covers cooling, general safety, and common installation mistakes to avoid.
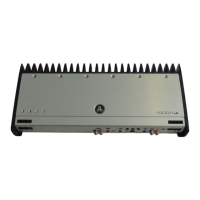
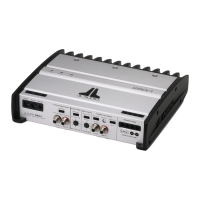
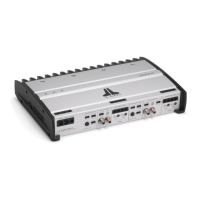
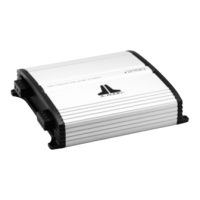
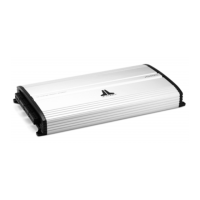
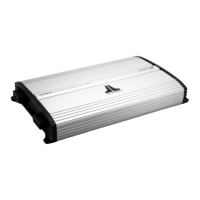
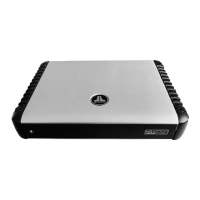
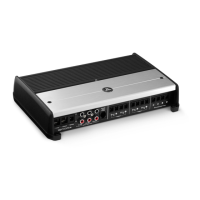
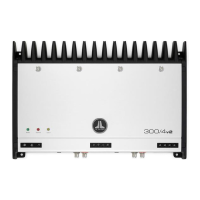
Detailed description of the JL Audio 300/4v2 four-channel amplifier.
Step-by-step guide for installing the amplifier.
Instructions for connecting the amplifier's power wires.
Information regarding the necessary fuse ratings for the amplifier.
How to connect the remote turn-on lead for amplifier activation.
Setting input voltage range and sensitivity for front/rear channels.
Functionality and settings of the amplifier's crossover filters.
Explains filter slope, frequency range, and cutoff frequency selection.
How speaker impedance affects amplifier output and performance.
Guidance on bridging amplifier channels for higher power output.
Explanation of the amplifier's LED indicators for status and protection.
Instructions for obtaining service or repair for the amplifier.
Introduction to various system configurations the amplifier supports.
Detailed explanation of bi-amplified system setups.
Crossover settings for a bi-amp system using one 300/4v2.
Using the 300/4v2 with an external sub amp, including input options.
Procedure for setting input sensitivity for maximum low-distortion output.
Technical specifications of the amplifier, including power and dimensions.
Target voltages for setting input sensitivity in optimum configurations.
Target voltages for setting input sensitivity in sub-optimum configurations.
Steps to diagnose why the amplifier does not power on.
Troubleshooting steps for distorted or low output sound.
Diagnosing intermittent output issues related to bumps or taps.
Troubleshooting amplifier shut-off issues, often related to voltage.
Details of the warranty terms and conditions for USA purchases.
Contact information and procedures for obtaining warranty service.
| Input Sensitivity | 200mV - 4V |
|---|---|
| Input Voltage Range | 200mV - 4V |
| Fuse Rating | 30A |
| Power Output (RMS) | 75W x 4 @ 4Ω, 150W x 4 @ 2Ω, 300W x 2 @ 4Ω (bridged) |
| Total Harmonic Distortion | <0.03% @ 4Ω (full rated power) |
| Crossover | 12 dB/octave high-pass and low-pass |
| Dimensions | 2.25" x 9.75" x 12.5" |
| Weight | 7.5 lbs |
| Dimensions (H x W x D) | 2.36" x 10.6" x 8.5" (60mm x 269mm x 216mm) |
| THD at Rated Power | <0.03% |