Do you have a question about the JL Audio HD900/5 and is the answer not in the manual?
Warning about potential hearing damage from high sound pressure levels.
Section to record the amplifier's serial number for service or theft records.
Covers system compatibility, restrictions, and pre-installation planning considerations.
Explains heat management and proper ventilation for optimal amplifier performance.
Discusses safe installation practices, securing the unit, and avoiding interference with vehicle safety systems.
Lists critical installation errors to prevent damage to the vehicle or personal injury.
How to connect the positive power wire to the vehicle's battery terminal.
Recommended wire gauges and types for power connections to the amplifier.
Essential fuse types, values, and placement for protecting the vehicle and wire.
Instructions for establishing a secure and effective chassis ground connection for the amplifier.
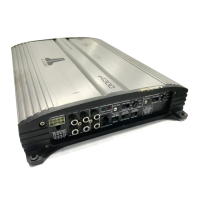
Step-by-step guide for connecting power and remote wires to the amplifier's connector.
Instructions for connecting the remote turn-on wire to the amplifier for automatic operation.
Method for securing the amplifier using corner mounting points.
Alternative mounting method using provided feet attached to the amplifier's base.
Explains how to select input modes (6, 4, or 2 channel) for signal routing.
Details the switch for selecting input sensitivity ranges (Low/High).
How to adjust input sensitivity for optimal clean output and system balance.
Explains filter slope (12dB/24dB) and frequency selection for crossover control.
Details the infrasonic filter for subwoofer protection and power conservation.
Setup for driving four main speakers and a subwoofer using all five channels.
Setup for driving two main speakers and a subwoofer by bridging channels.
Practice of combining channels for higher output, including input requirements.
Detailed instructions on connecting speaker wires to the amplifier's connector plugs.
Lists the required tools for setting input sensitivity accurately.
A detailed step-by-step guide for setting input sensitivity for optimal performance.
Refers to Appendix C for proper input sensitivity setup.
Guides on checking fuses, connections, and remote turn-on for power issues.
Explains how to diagnose shorts, load impedance, and signal issues causing sound problems.
Discusses voltage drops and grounding issues causing the amplifier to shut off.
Guides on checking input signal voltage and speaker output levels for no-output conditions.
| Brand | JL Audio |
|---|---|
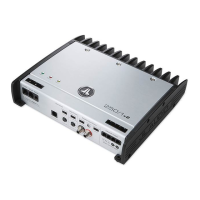
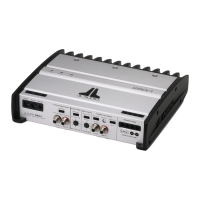
| Model | HD900/5 |
| Category | Car Amplifier |
| Language | English |