EasyManua.ls Logo

JLab Audio Neon Wireless User Manual

JLab Audio Neon Wireless
2 pages
To Next Page IconTo Next Page
Page #1 background imageLoading...
Page #1 background image
NEON WIRELESS
HEADPHONES
We love that you are rocking JLab Audio!
We take pride in our products and fully stand behind them.
S
A
T
I
S
F
A
C
T
I
O
N
G
U
A
R
A
N
T
E
E
30
DAY
C
U
S
T
O
M
E
R
S
U
P
P
O
R
T
U
.
S
.
B
A
S
E
D
YOUR SATISFACTION IS GUARANTEED
You may exchange or return merchandise within 30 days of the purchase date.
Learn more at jlabaudio.com/guarantee
YOUR WARRANTY
You may register your product at jlabaudio.com/register. All warranty claims are subject to JLab Audio
authorization and at our sole discretion. Retain your proof of purchase to ensure warranty coverage.
CONTACT US
Reach out to us at support@jlabaudio.com or visit jlabaudio.com/contact
L
I
M
I
T
E
D
T
W
O
Y
E
A
R
FIRST TIME SETUP: BLUETOOTH PAIRING
Notes:
Bluetooth is a wireless radio technology, which means it is sensitive to objects between the headphone and the connected device.
The headphone is designed to be used within 33 feet (10 meters) of a connected device, with no major objects in between (walls, etc.).
Once successfully connected, the headphone will memorize your device and automatically pair when turned on in the future.
Only one device may be connected at a time. To pair a different device, first unpair the current one through its Bluetooth settings.
If for any reason Bluetooth connection is lost, manually reconnect your Bluetooth device.
Select “JLab Neon BT” in your device settings
to connect.
When the headphones
are paired, voice prompts
“You are connected”
and blue light will
flash slowly.
Bluetooth
JLab Neon BT
Settings
3
When the Neon Wireless
Headphones are powered
off, press and hold
the Power Button for
approximately 10 seconds.
Fast blinking red and blue
light indicates searching
for Bluetooth device.
2
Turn on the Bluetooth
in your device settings.
Bluetooth
Settings
1
CHARGING
Note: For optimum performance, charge overnight with Micro USB
cable prior to using. Allow about 3 hours to fully charge.
Connect the Micro USB (included) to the headphone and connect
the USB into a computer or AC adaptor (not included). Make sure
the USB connection has a power output source.
Solid red light indicates the headphone is charging.
Solid blue light indicates charging is complete.
ACCESSORIES
MICRO USB
CABLE
OR
Question and Answer IconNeed help?

Do you have a question about the JLab Audio Neon Wireless and is the answer not in the manual?

JLab Audio Neon Wireless Specifications

General IconGeneral
BrandJLab Audio
ModelNeon Wireless
CategoryHeadphone
LanguageEnglish

Summary

Product Guarantees and Support

Satisfaction Guarantee

Return or exchange merchandise within 30 days of purchase date.

Warranty Information

Register product for warranty claims and retain proof of purchase.

Contact Information

Reach out via email or visit website for support.

First Time Bluetooth Setup

Bluetooth Pairing Process

Turn on device Bluetooth, press headphone power button for 10s, select device.

Bluetooth Connectivity Notes

Wireless tech sensitive to objects; 33ft range; auto-pairs after first connection.

Accessories and Charging

Included Accessories

Micro USB cable is included for charging.

Headphone Charging

Charge via Micro USB for ~3 hours. Solid red indicates charging, solid blue for complete.

Button and Function Controls

Power and Pairing Controls

Power on/off (3s hold) and re-pairing (10s hold when off).

Playback and Call Management

Play/pause music, answer/hang up calls with a single click.

Voice Assistant Activation

Activate Siri or Google Assistant with a double-click.

Volume and Track Navigation

Control volume with single clicks and skip tracks with double-second holds.

EQ Mode Selection

Cycle through JLab Signature, Balanced, and Bass Boost EQ modes.

Headphone Warm-Up and Care

Headphone Burn-In

Optional 40-hour burn-in process for optimal audio performance.

Usage and Care Precautions

Avoid moisture, extreme temperatures, dropping, and wax buildup for longevity.
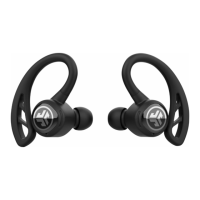
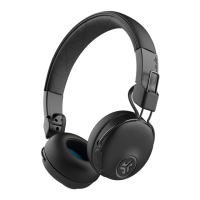
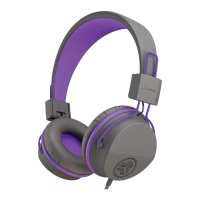
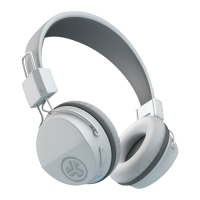
Related product manuals