11
RE200 ASSEMBLY
The bike has been assembled and tested at the factory, so you shouldn’t have any
problems putting all the parts together. Components are designed to fit together, and
only basic tools are required for the assembly process. Inside the box you will find a Tools
Pack (Hex Allen Key, Multi-Tool, Washers and Bolts). See previous page.
To assemble your JLL RE200 please follow these easy steps:
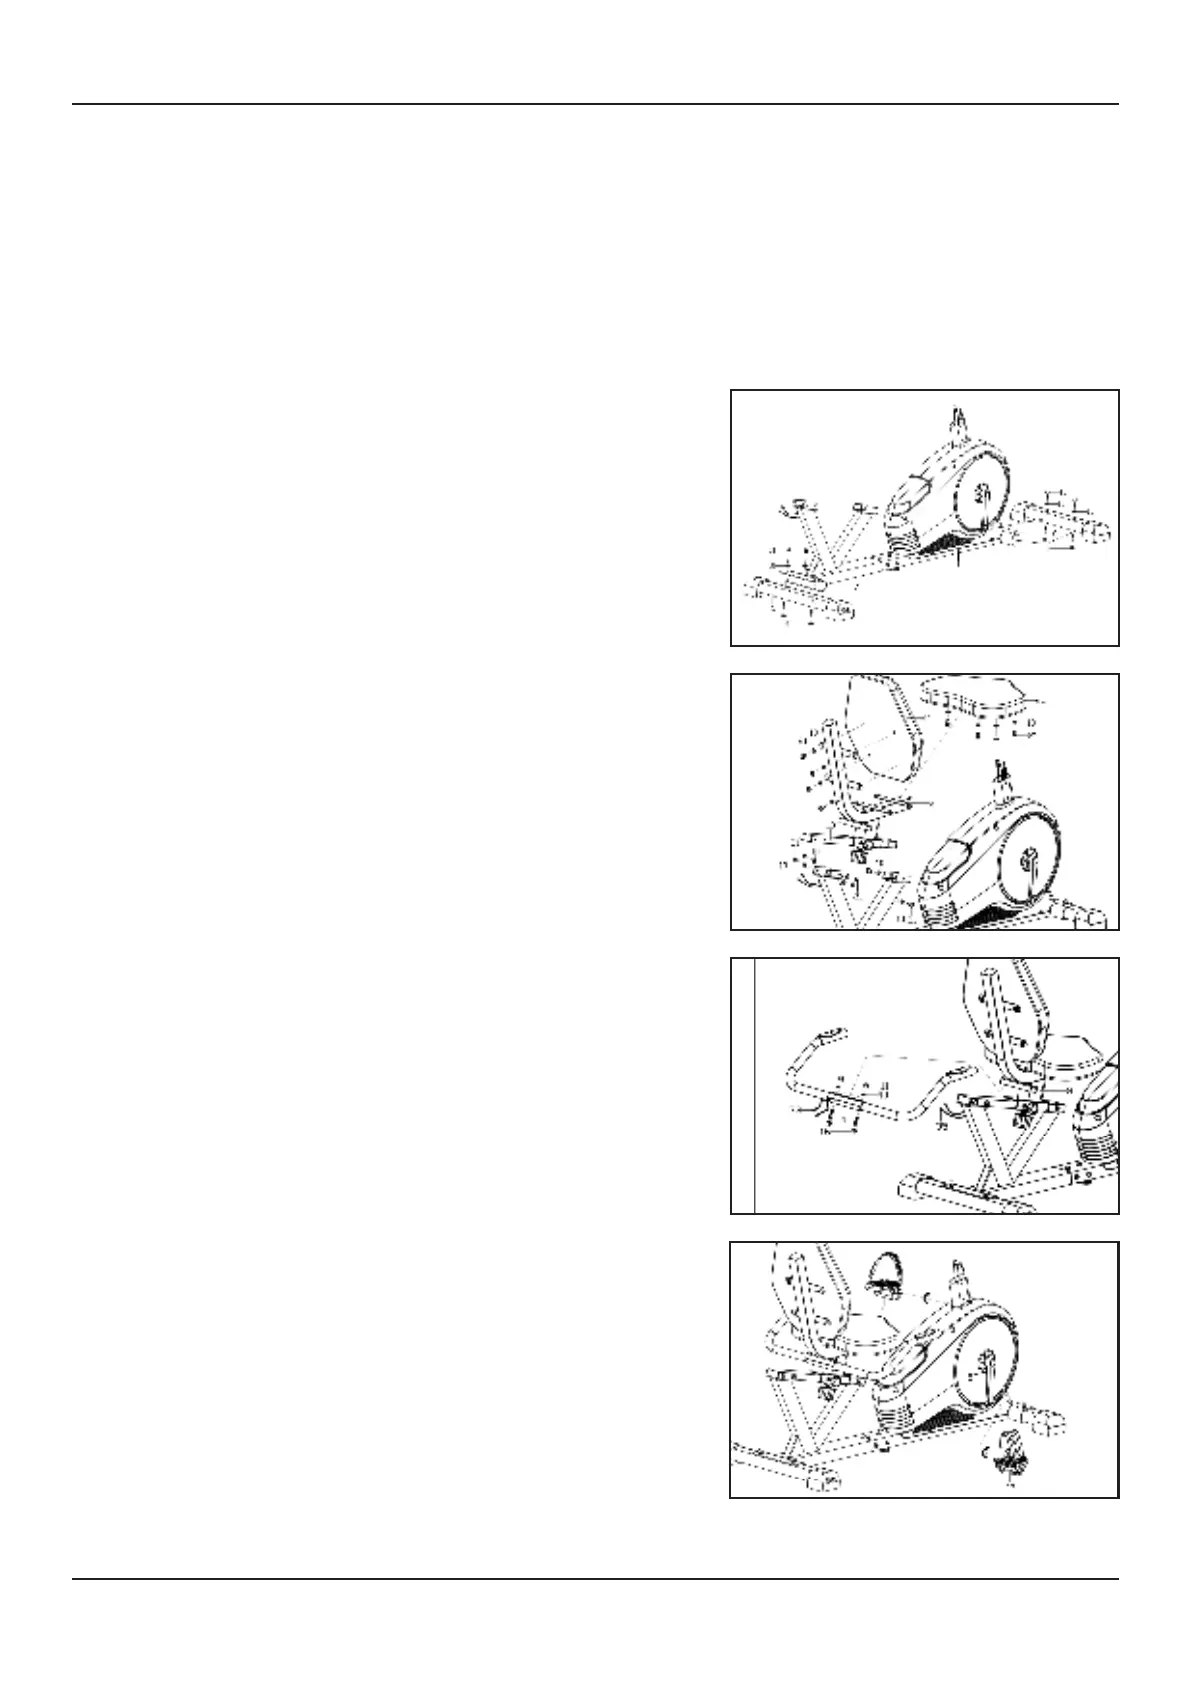
STEP 1
Attach the front (8) and rear (6) stabilisers to the
base using two carriage bolts (9) per stabiliser along
with two flat washers (10) and acorn nuts (11).
STEP 2
Fix the adjustable tube (13) to the rear main frame
using six inner hex screws (21) and six flat washers
(10).
Then attach the seat (25) and back rest (24) to the
frame using four inner hex screws (21) and flat
washers (10) for each.
STEP 3
Connect the handlebar (4) to the bracket under the
seat and secure using two carriage bolts (16), flat
washers (10) and acorn nuts (11).
Then join the pulse wires from the handlebar to the
base.
STEP 4
Attach the right and left pedals (7L/R) to the
corresponding cranks, each will be labelled right and
left.
ATTENTION! Turn the right pedal clockwise and the
left anti-clockwise.
Failure to do so correctly may result in permanent
damage to your bike.
 Loading...