8
STEP 1
Removefountaincomponentsfromtheirboxes
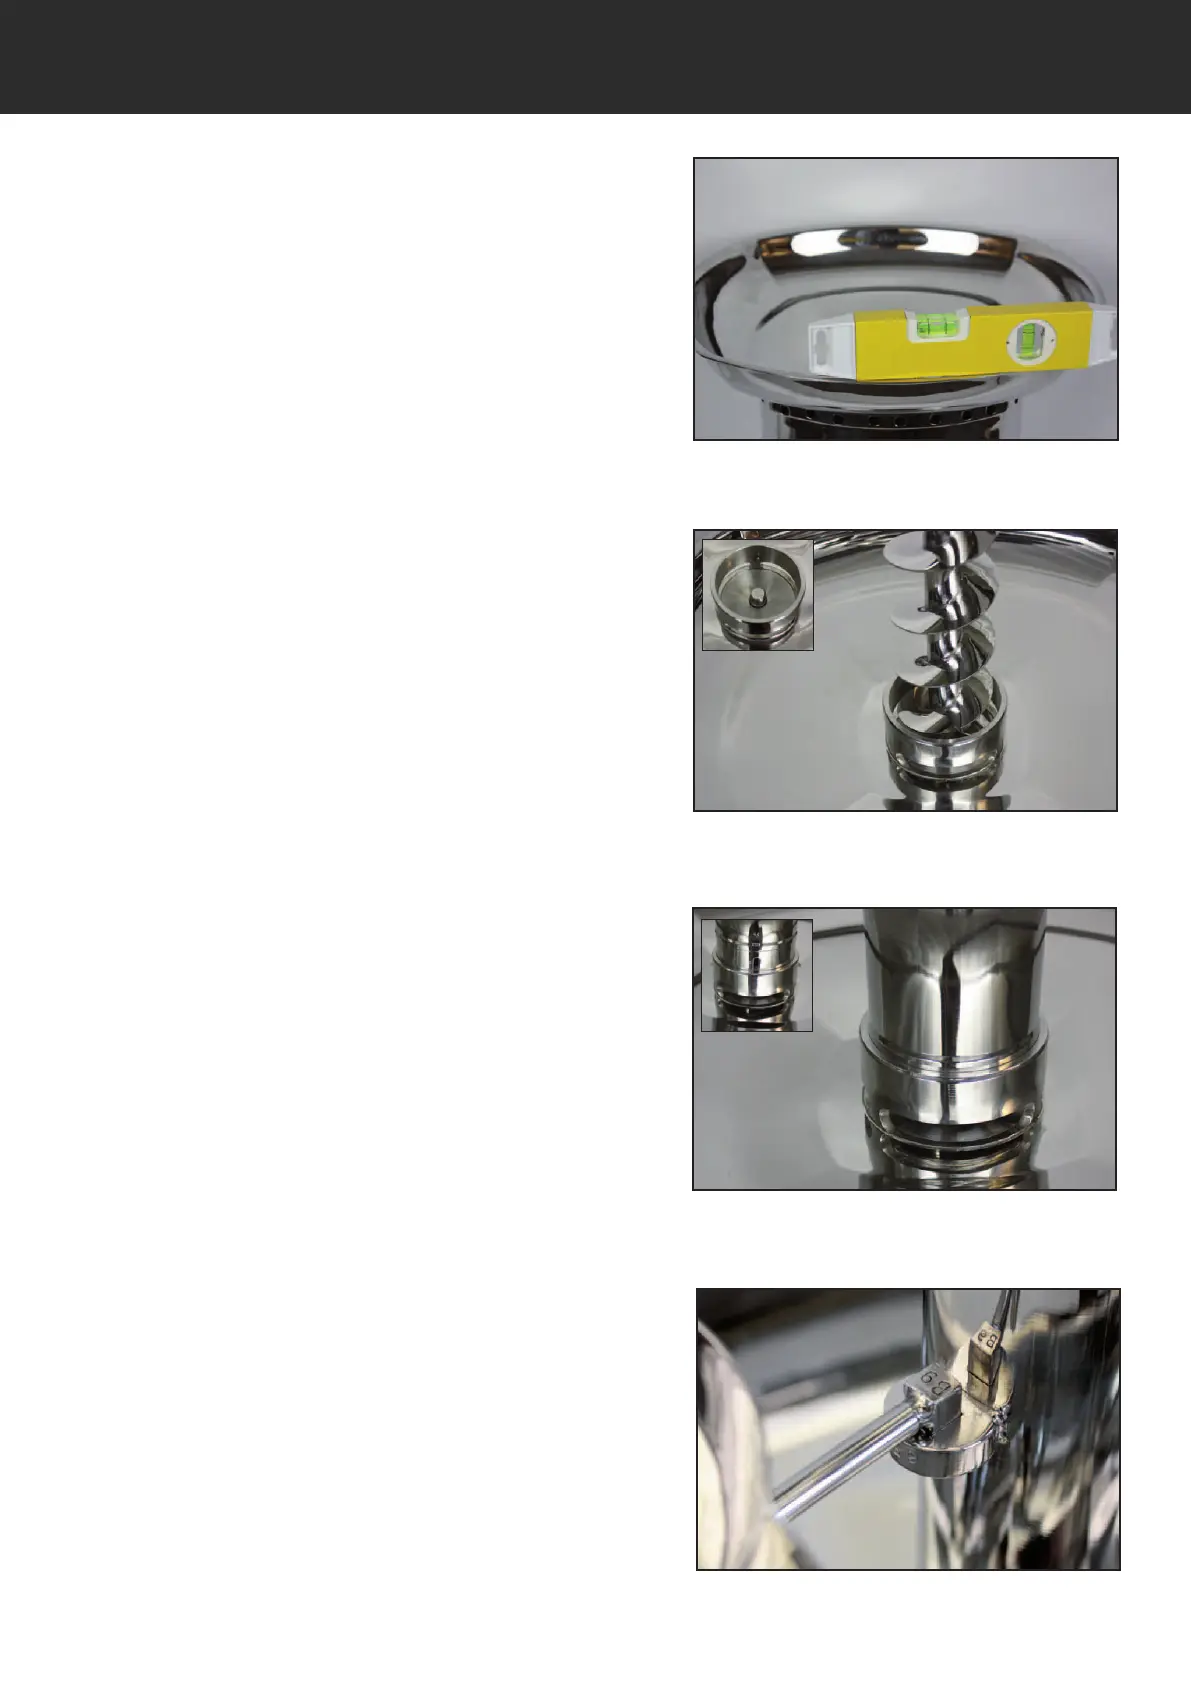
andplacefountaindrumonasturdy,level
surface.Makesurethedrumislevelsothat
thechocolatewillowproperlybyplacinga
spiritlevelonthebasinrimatvariouslocations
(Fig.1).Iflevelingisneeded,raiseorlowera
particularsideofthefountainbyadjustingthe
feet.
STEP 2
Placebothaugersontopofthesquarecentre
shaftinthemiddleofeachcolumn.(Fig.2)
STEP 3
Placeeachcolumnontothecolumnhousing
(Fig.3).
STEP 4
PlacetheCupsonthecolumns,matching
thenumbersonthecupswiththecorrect
numberedbracketonthecolumn(Fig.4).For
example,cupA1mustattachtobracketA1.
STEP 5
Placeeachtophatontopofthecolumns
makingsurethattheaugerpinsitsinthemiddle
ofthetophatring.
FOUNTAIN ASSEMBLY SQ4 & SQ4 TALL CASCADE
Fig. 1
Fig. 2
Fig. 3
Fig. 4
Centre & Locating Pins
Slot in column