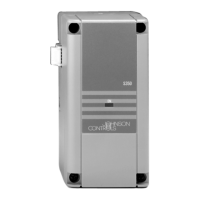
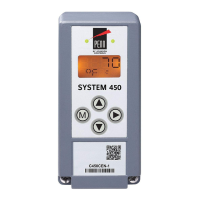
System 450™ Series Control Modules with Relay Outputs Installation Instructions2
• Do not mount the modules on surfaces that are
prone to vibration or in locations where radio
frequency or electromagnetic emissions may
cause interference.
• Do not install the modules in airtight enclosures.
• Do not install heat-generating devices in an
enclosure with the modules that may cause the
temperature to exceed the ambient operating limit.
Mounting
Mount System 450 modules on 35 mm DIN rail
(recommended) or directly to an even wall surface. To
mount modules on DIN rail:
1. Provide a section of 35 mm DIN rail that is longer
than the module assembly width, and mount the
DIN rail horizontally in a suitable location using
appropriate mounting hardware/fasteners.
2. Clip the control module on the rail, position the
upper DIN rail clips on the top rail, and gently snap
the lower clips onto the rail.
3. Clip the remaining power and/or expansion
modules to the right of the control module on to the
DIN rail and plug the 6-pin module connectors
together (Figure 3).
Note: If your System 450 control system uses a
power module, the power module must be plugged
into the right-hand side of the control module.
To direct-mount modules to wall surfaces:
1. Plug the modules together, remove the module
covers, place the assembly against wall surface
horizontally in a suitable location and mark the
mount hole locations on the surface (Figure 1).
2. Install appropriate screw fasteners, leaving screw
heads approximately one to two turns away from
flush to the surface.
3. Place the assembly over screw heads on the
mounting slots, and carefully tighten the mounting
screws.
Note: If you mount the modules on an uneven
surface, do not damage the housings when
tightening mounting screws. Use shims/washers to
mount module assembly evenly on the surface.
Refer to the control sensor installation instructions for
information on locating and mounting control sensors.
Wiring
See Figure 2 and Table 1 for electrical termination
locations and wiring information. See Technical
Specifications on page 23 for electrical ratings.
WARNING: Risk of Electric Shock.
Disconnect or isolate all power supplies
before making electrical connections.
More than one disconnect or isolation
may be required to completely
de-energize equipment. Contact with
components carrying hazardous voltage
can cause electric shock and may result
in severe personal injury or death.
IMPORTANT: Use copper conductors only. Make
all wiring in accordance with local, national, and
regional regulations.
IMPORTANT: Do not exceed the System 450
module electrical ratings. Exceeding module
electrical ratings can result in permanent damage to
the modules and void any warranty.
IMPORTANT: Do not connect 24 VAC supply
power to the System 450 modules before finishing
wiring and checking all wiring connections. Short
circuits or improperly connected wires can result in
damage to the modules and void any warranty.
IMPORTANT: Run all low-voltage wiring and
cables separate from all high-voltage wiring.
Shielded cable is strongly recommended for input
(sensor) and analog output cables that are exposed
to high electromagnetic or radio frequency noise.

 Loading...