22 ©2010 Johnson Level & Tool - Rev. 1
6. Turn the laser 90° and place it on the platform. Position the
laser so the Y-direction is facing the wall. Perform Y-direction
self-check with the same method as X-direction self-check,
and mark point C and point D by turns.
7. If point C and point D are within 1/16” at 25’, the accuracy is
within tolerance.
Accuracy Calibration
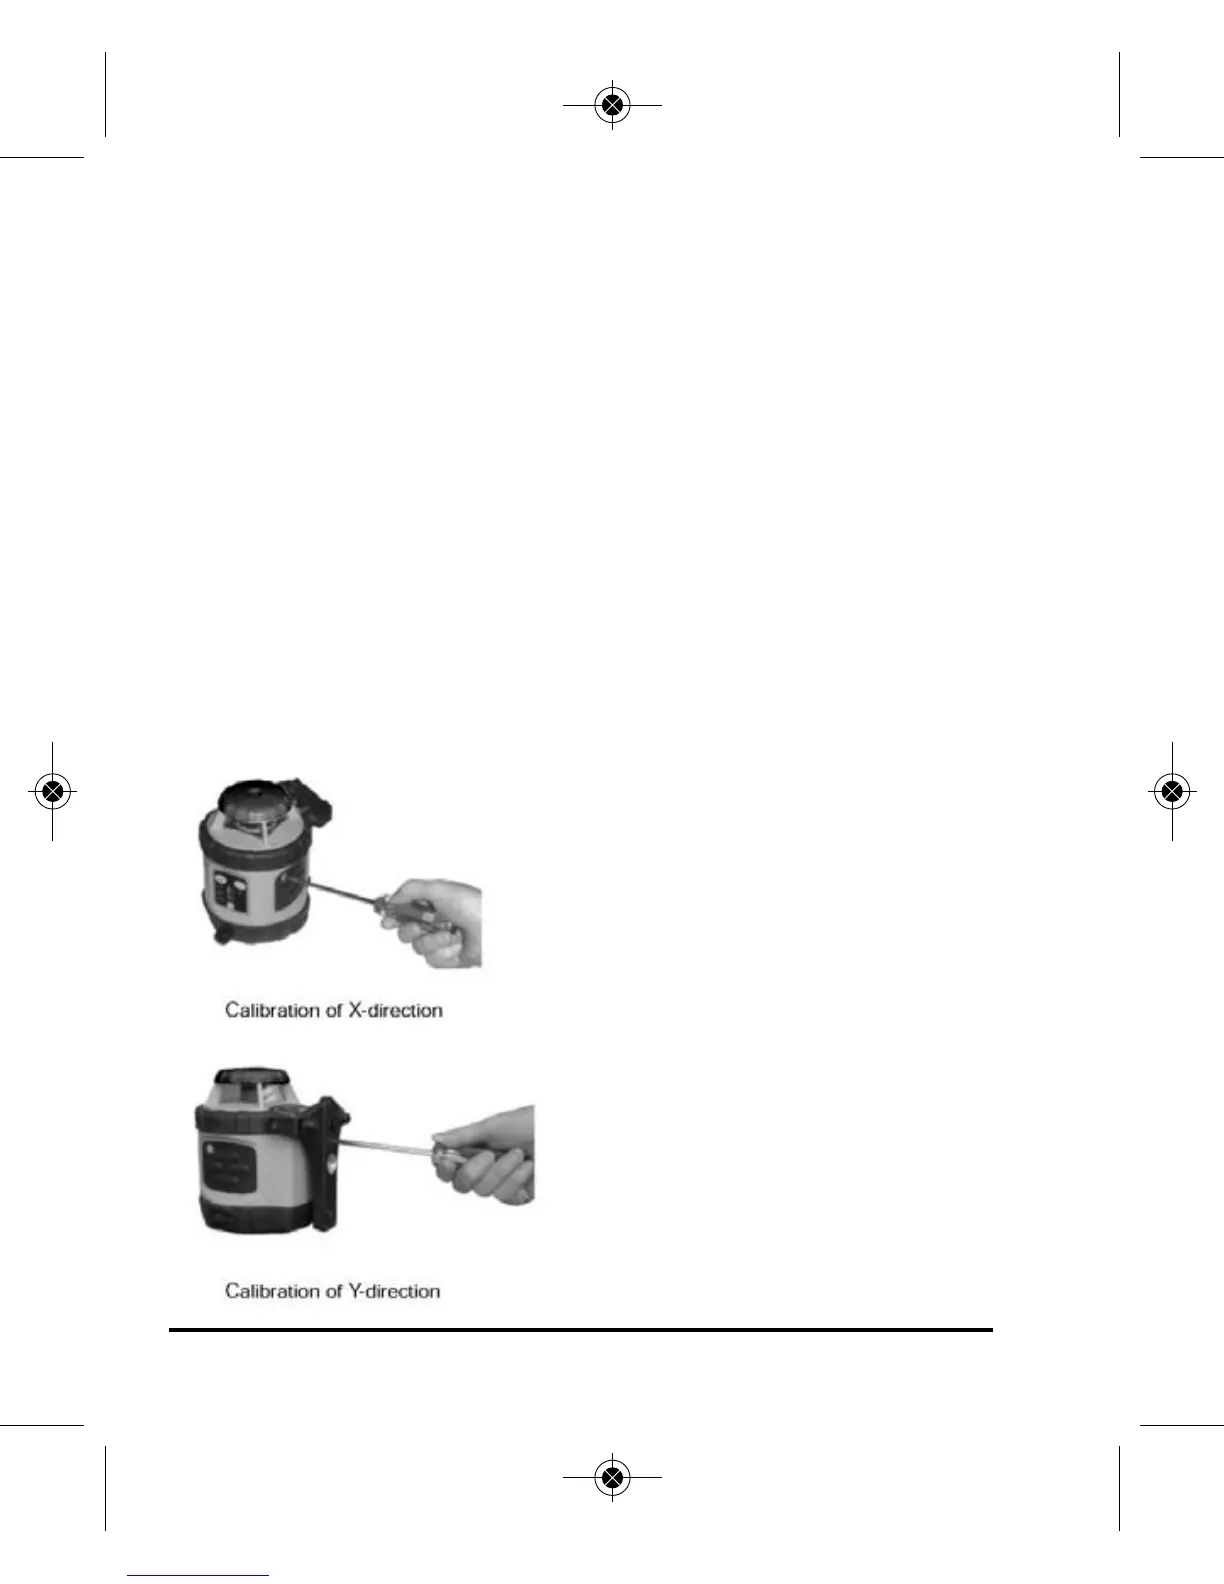
1. As shown in the following figures, screw off the adjustment-hole
bolt with the cross screwdriver, and adjust the fine-adjustment
bolt in the instrument core with a flat head screwdriver until the
laser line in within 1/8” at 50’.
2. Adjust the X-direction and the Y-direction with the same method.
Note: The laser should be turned off and the compensator
must be locked prior to making any
adjustments. If the accuracy is
beyond tolerance, calibrate the
X-direction through the adjustment
hole as shown.
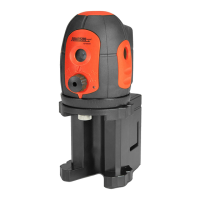
3. After X is calibrated, rotate the
instrument 90º to calibrate the Y-
direction.
Note: The alkaline batteries
must be removed to access the
instrument core with a flat head
screwdriver.
4. Reinstall the adjustment-hole bolt.
3515H_Manuals 6/2/10 9:00 AM Page 22