www.johnsonlevel.com/manuals
USING THE DETECTOR
1. Follow the instructions in “GETTING STARTED” to prepare the
detector for use.
TIP: If the rotary laser you are using has multiple rotational speed
options, use the highest speed when working with the detector.
This will make it easier to locate the laser beam.
2. Position the detector so the detection window is facing the laser
and nothing (including your own body) is in between the detector
and the laser.
TIP: Be cautious of laser reflections from windows, trucks and
other surfaces that can cause laser reflection and erroneous
signals.
3. Move the detector perpendicular to the plane of laser light until
you begin to locate the beam. The detector will beep, and the
LED’s will begin to light.
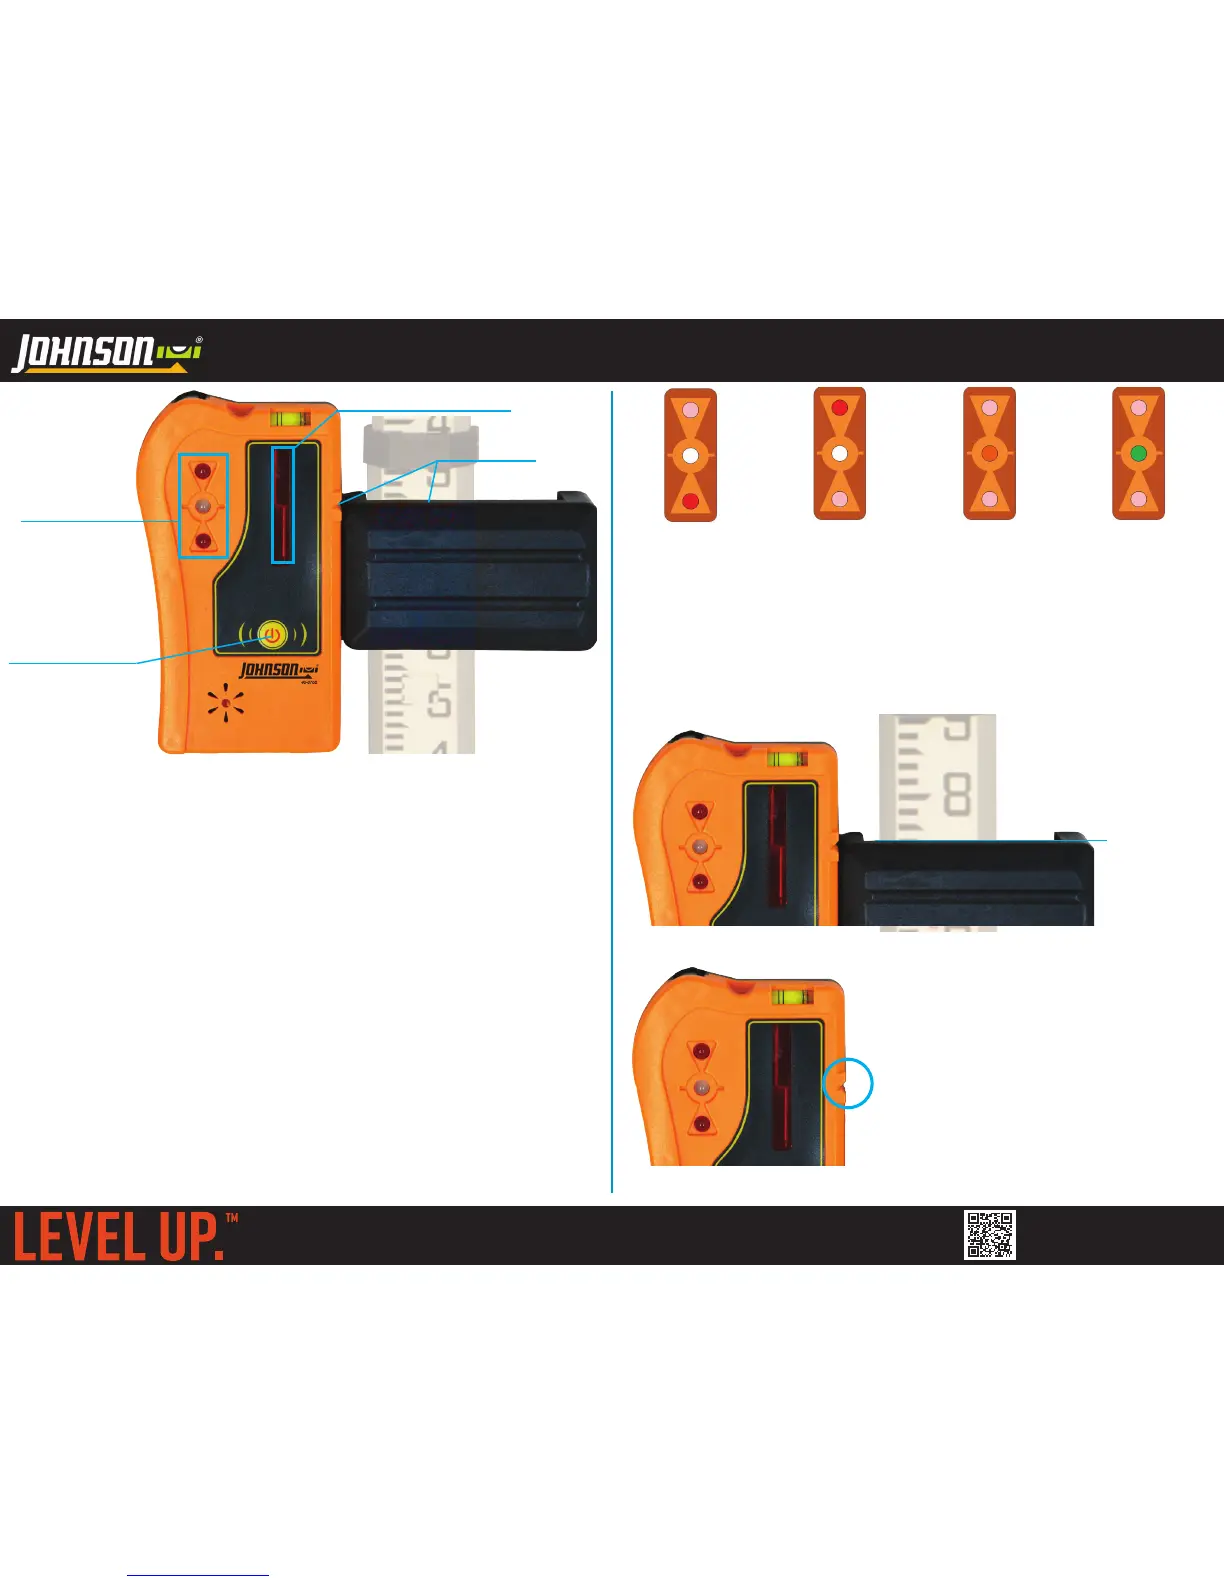
4. Move the detector in the direction indicated by the LED’s in order
to locate the laser beam:
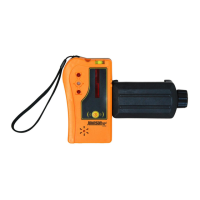
GRADE ROD
CLAMP
GRADE POSITION
INDICATORS
LED DISPLAY
DETECTION WINDOW
POWER BUTTON
GRADE ROD
(NOT INCLUDED)
IF NOT USING A GRADE ROD:
Read grade position using the grade
position indicator on the housing of
the laser detector (shown in the blue
circle in the image to the left).
For your convenience, an indent in
the housing will help center a pencil,
marker or other marking tool so that
you can mark the grade position
directly on your work surface.
0.74’
MOVE UP MOVE DOWN NEAR GRADE ON GRADE
(bottom red) (top red) (center orange) (center green)
IF USING A GRADE ROD: The top edge of the grade rod clamp is
the grade position indicator. Read grade along this edge (indicated
by the blue line in the image below). In this image of a ft/100’s
(engineer’s scale) grade rod, the grade reading would be 0.74’.
READING THE GRADE POSITION INDICATORS