901-10113 - 32 - 9/16/2024
5.4 Condensing Unit Inspection
These checks keep the condensing unit operating in its best condition. Begin by ensuring that the
system is unplugged. It is not necessary to defrost the Cold Plates before this inspection.
WARNING: Disconnect electrical power before inspecting or servicing any part of the system.
WARNING: Refrigeration system may start unexpectedly at any time when plugged into
electrical power.
• Open the cowling. Check that cowling hardware is secure and in good condition.
• Remove any foreign debris from inside of condensing unit compartment.
o Leaves, animal nests, branches, dirt, ice, snow, etc.
• Check frame and components for excessive corrosion, cracks, loose or missing bolts/fasteners.
• Check that there are no oil stains/leaks on condensing unit frame, refrigerant tubing, or other
components around the condensing unit. Oil leaks can be evidence of a small refrigerant leak.
• Check refrigerant tubing and any hoses, that there is no chafing, rubbing, loose clamps, etc.
• Check that condenser fan is in good condition, with no cracked or bent blades.
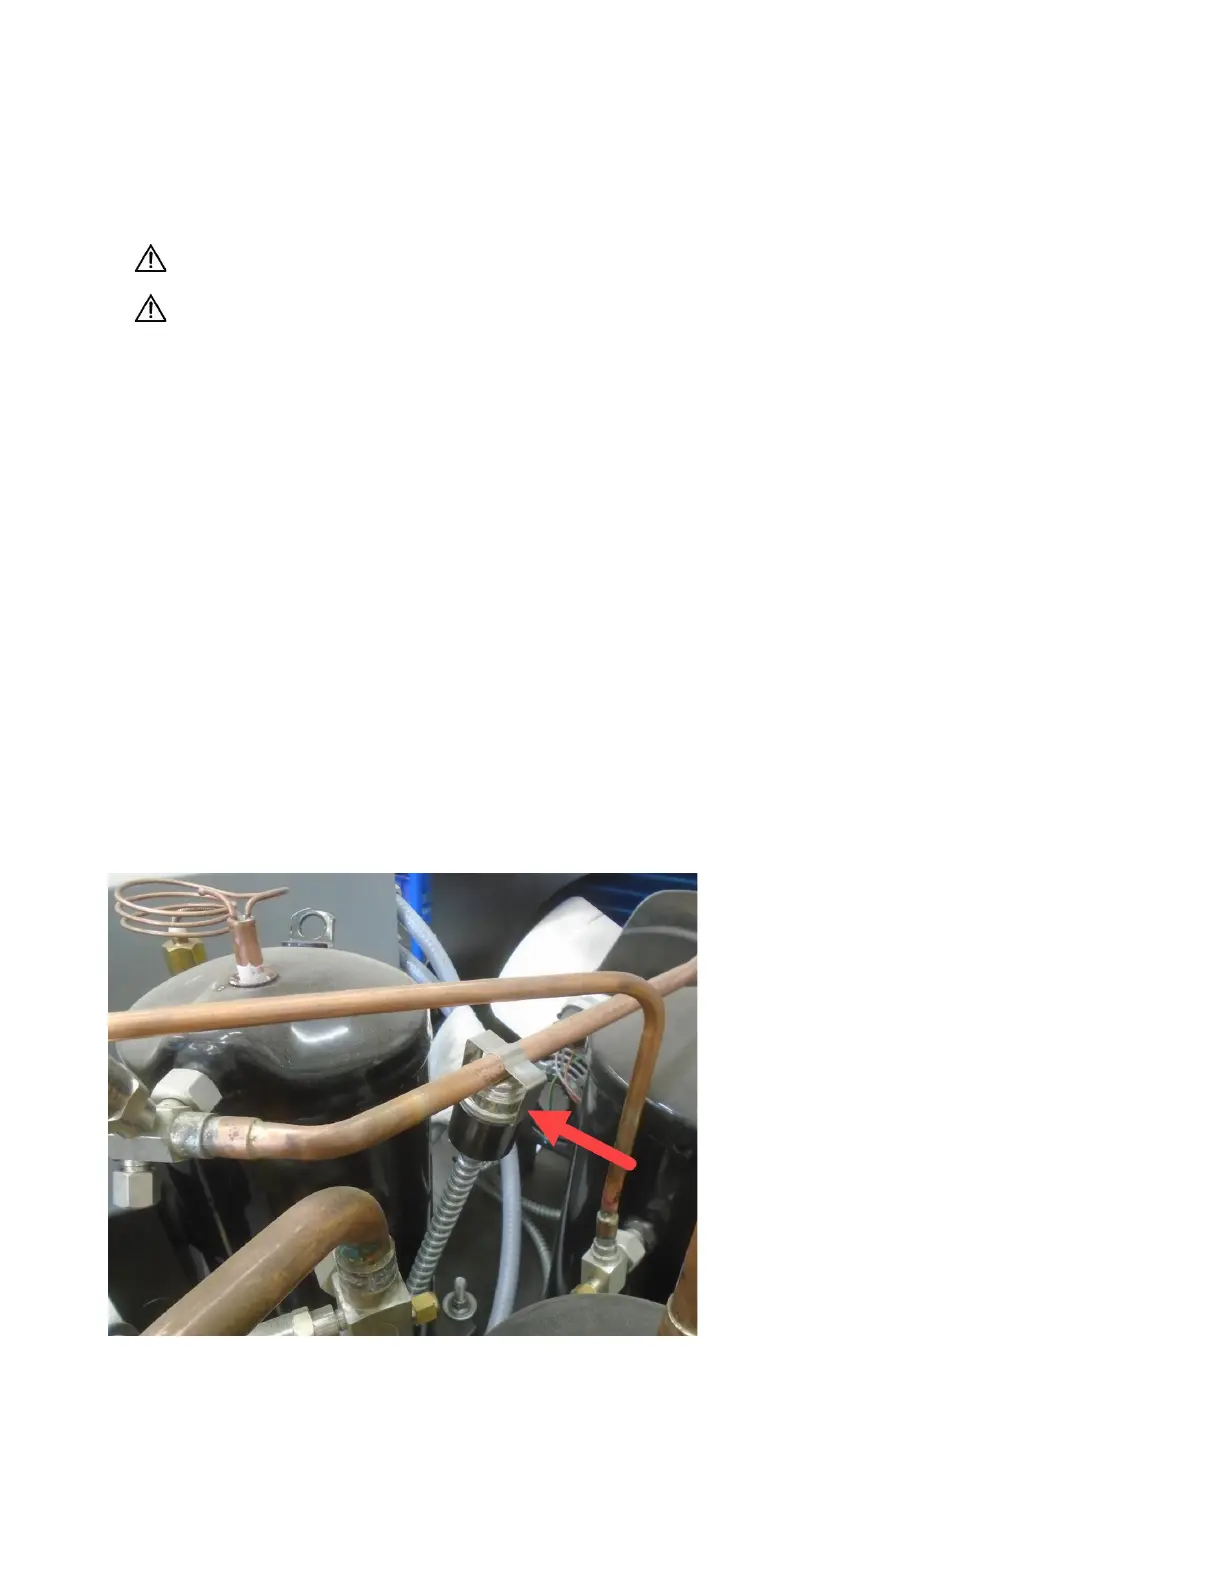
• Check that discharge line thermostat is secure on the copper tubing near the compressor. (See
Figure 9)
• Wash condenser coil with a garden hose sprayer. (See Figure 5 and Figure 6)
o Take care not to damage the aluminum fins.
o Clean condenser coils prolong compressor life.
o Clean condenser coils allow more efficient operation.
Figure 9: Discharge line thermostat.