2120
T R E A D M I L L T 7 0 0 0 P R O T R E A D M I L L T 7 0 0 0 P R O
WORKOUT TIPS
• Johnson Fitness strongly recommends seeing a physician for a complete medical exam
before undertaking an exercise program. If, at any time while exercising, the user experiences
faintness, dizziness, pain, or shortness of breathe, he or she must stop immediately.
• Without anyone standing on the treadmill, plug the power cord into a dedicated
electrical outlet.
• The On/Off switch for the treadmill is located next to the power supply plug in. Turn the
switch to the on "︱" position to activate the treadmill.
• To mount or dismount the treadmill, grasp the stationary side-handrails and place the
feet firmly on the right and left side platforms before the running belt begins moving.
Prior to the workout, please always attach the security clip to your clothing.
• When you are comfortable situated onto the running belt, the computerized display
console on the treadmill instructs you to operate the unit.
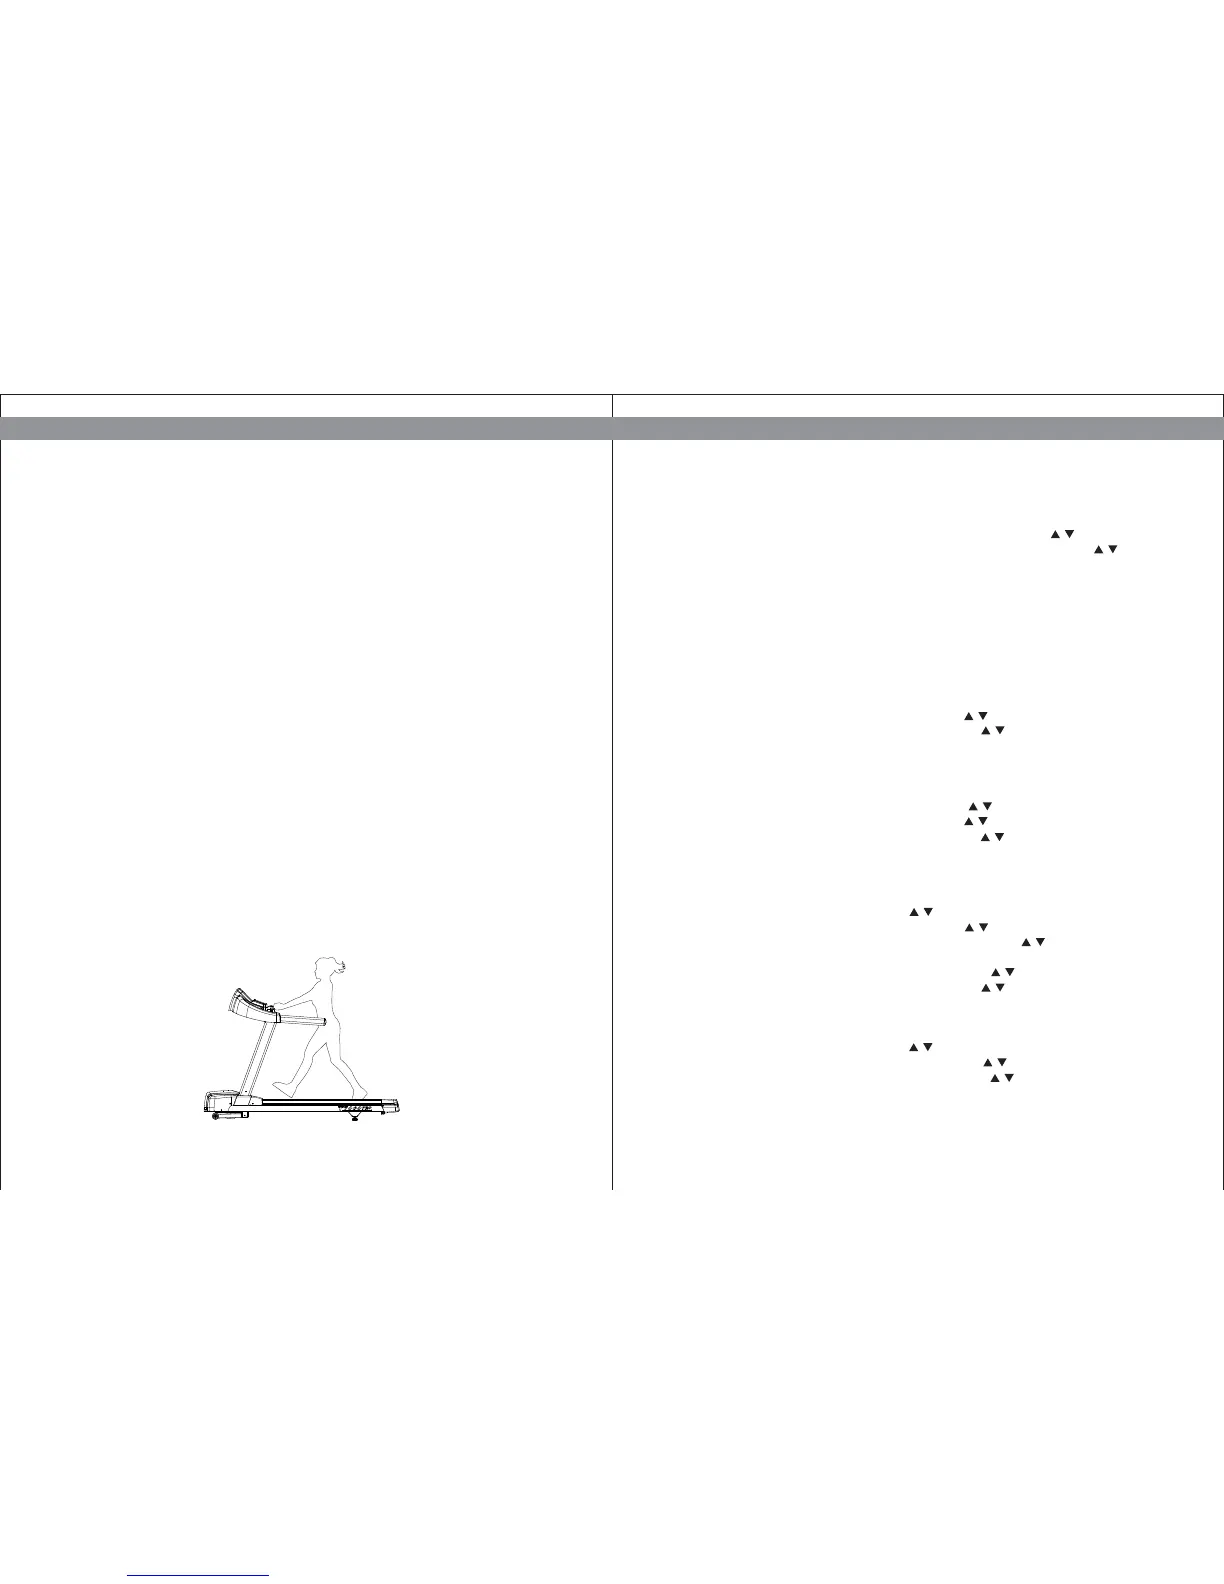
• The better position of feet to walk on the treadmill is where feet planted on the belt to
have your arms bent slightly and your hands grasped the heart rate sensors (as below
illustration). At the running speed, the feet stand on the point of the belt where the
hands at a natural swing are not able to touch the front handrail.
• Hold onto the handrail with one hand while you increase SPEED with the other hand.
Once you are comfortable with the walking or running speed, you can remove your
hands from the handrail.
• Do not attempt to grasp the HR sensors at speeds above 7.2 km/h (4.5 mph). For these
speeds, the use of a heart rate chest strap is recommended.
• It is highly recommended that you always incorporate the warm-up and cool-down
period into your workout. Warm-up brings the heart rate into the lower end of the target
zone and increases respiration and blood flow to working muscles. Cool-down takes
time for a user’s heart rate to return to a resting state after vigorous exercise and
reduces the amount of lactic acid in muscle tissue.
WORKOUT SETUP STEPS
Use the PROGRAM PLUS™ KEYS to enter the program, or use SPEED keys to scroll to
desired program. Use the NUMBER keys to enter the values, or use SPEED keys to
scroll to desired values displayed on the INSTRUCTION CENTER. Press the SELECT key to
confirm each selection. Follow the steps to set up each workout.
QUICK START
Press the "QUICK START" key and the WORKOUT PROFILE WINDOW will display "3, 2, 1,
GO!” The workout begins at the lowest incline and speed, and the time counts “0” to the
maximum time.
MANUAL
1) Press the “MANUAL” key to enter the program.
2) “SELECT TIME” using the NUMBER keys or SPEED keys, and then press SELECT.
3) “SELECT WEIGHT” using the NUMBER keys or SPEED keys, and then press SELECT.
4) Press START to begin the workout.
INTERVAL
1) Press the “INTERVAL” key to enter the program.
2) “SELECT LEVEL” using the NUMBER keys or SPEED keys, and then press SELECT.
3) “SELECT TIME” using the NUMBER keys or SPEED keys, and then press SELECT.
4) “SELECT WEIGHT” using the NUMBER keys or SPEED keys, and then press SELECT.
5) Press START to begin the workout
GOAL+
A) TIME GOAL
1) Press the “GOAL+” key and use SPEED keys to select “TIME GOAL”.
2) “SELECT TIME” using the NUMBER keys or SPEED keys, and then press SELECT.
3) “SELECT START INCLINE” using the NUMBER keys or SPEED keys, and then press
SELECT.
4) “SELECT START SPEED” using the NUMBER keys or SPEED keys, and then press SELECT
5) “SELECT WEIGHT” using the NUMBER keys or SPEED keys, and then press SELECT.
6) Press START to begin the workout
B) DISTANCE GOAL
1) Press the “GOAL+” key and use SPEED keys to select “DISTANCE GOAL”.
2) “SELECT DISTANCE” using the NUMBER keys or SPEED keys, and then press SELECT.
3)
“SELECT START INCLINE” using the NUMBER keys or SPEED keys, and then press SELECT.