A
andrewhaysAug 1, 2025
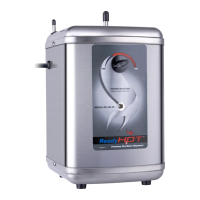
Why is the water not hot in my Joneca Ready H2OT?
- EEdward SmithAug 1, 2025
If the water from your Joneca Water Dispenser isn't hot, several factors could be at play. First, ensure the unit is properly plugged into a grounded electric outlet and that the outlet is switched on. Check that the circuit breaker or fuses are functioning correctly. Finally, turn the thermostat control dial fully clockwise; this may cause the water to boil and make gurgling sound. If boiling occurs, slightly turn the dial counterclockwise until it stops.