English - 49
Repair Instructions
F
D
Replacing the generator
1
Dismantle the following parts:
• Clutch cover
• Bar and chain
• Cylinder cover
• Starter
• Flywheel *
* See the chapter “Dismantling the ignition module
and ywheel.”
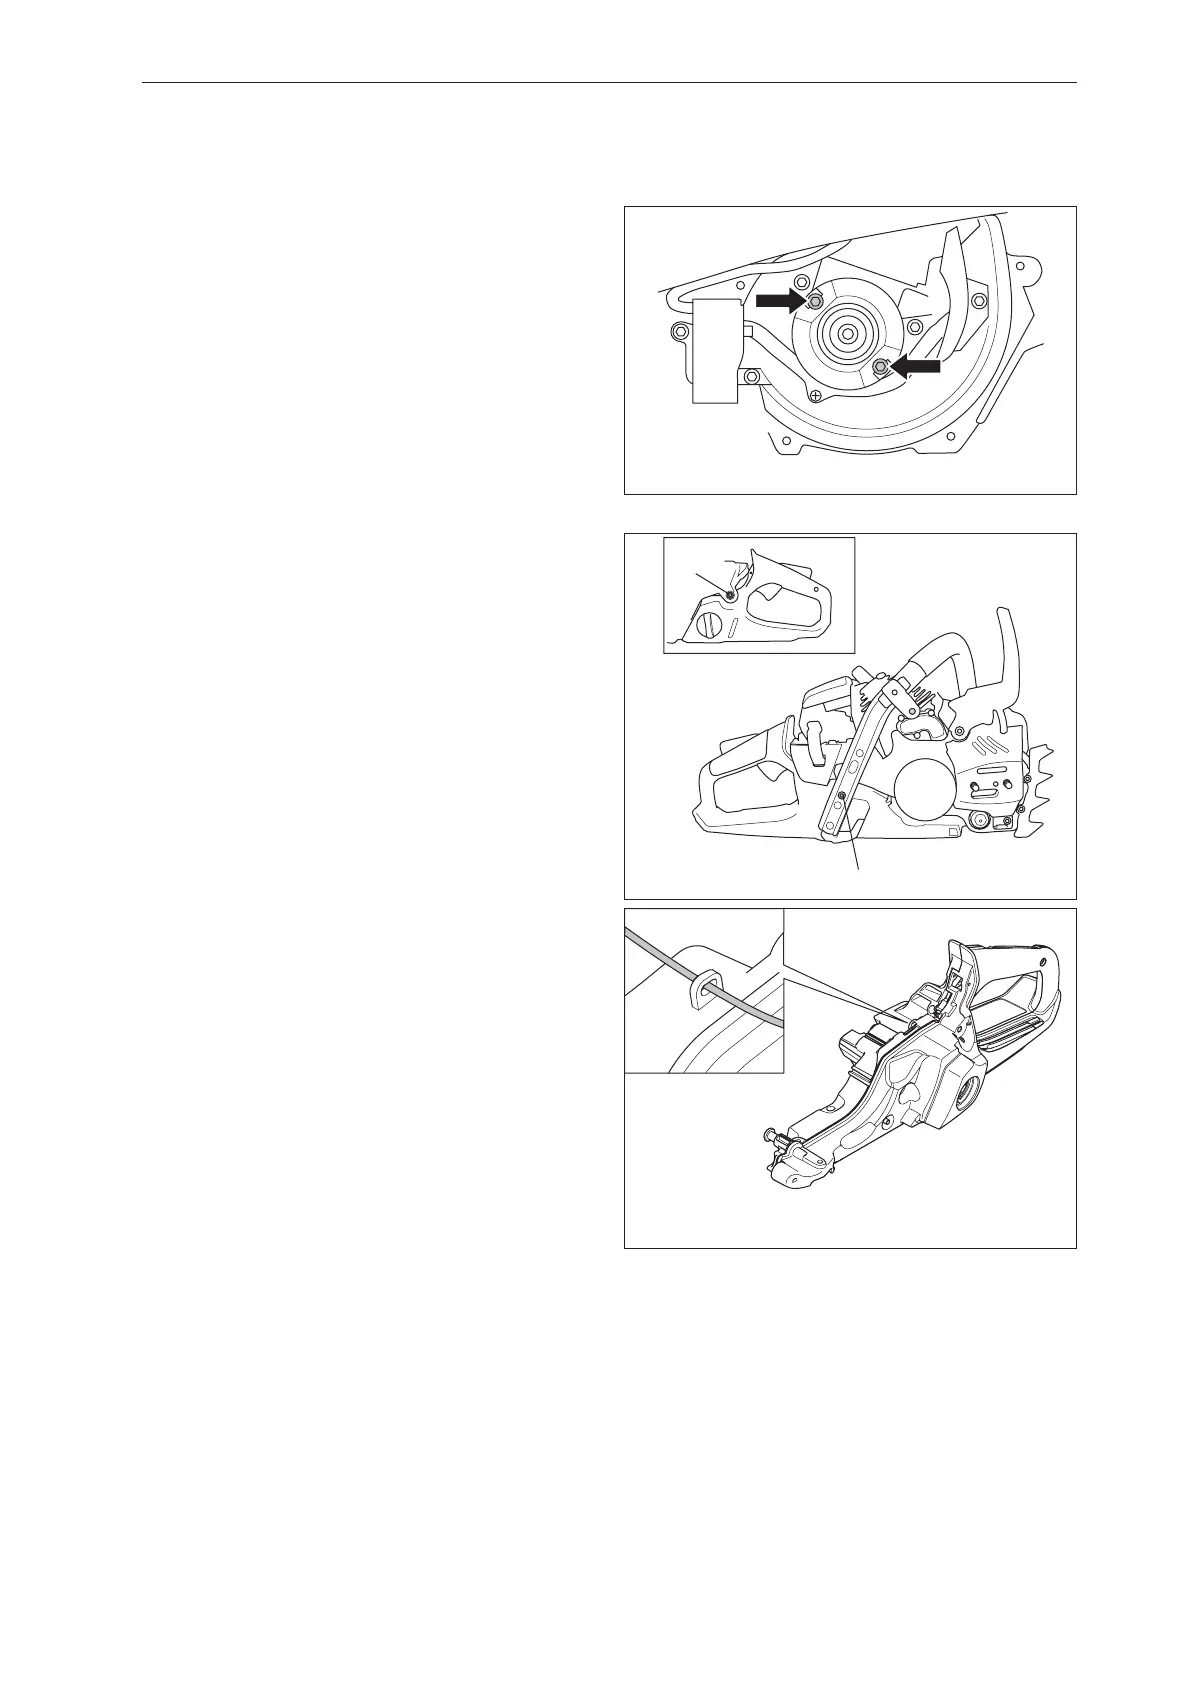
2
Loosen the screws to the generator without remov-
ing it. See Figure 13.
Fig 13
Fig 14a
3
Loosen the return hose B and the tank bleeding
hose C. See Figure 16. Loosen the fuel tank’s rear
mounting bracket, i.e. the rear vibration element
(D). Loosen the screw F as outlined in Figure 14 a
and remove the limiter cap band. Lower the tank as
much as possible to access the attachment for the
generator cable on the tank. See Figure 14b.
Fig 14b
4
Loosen the generator cable from its cable lug by
the handle bar. Remove the generator and cable
and replace it with a new one.
5
Run the generator cable through the opening in the
crankcase, the attachment in the tank unit and the
front handle. Screw the generator in place with a
tightening torque of 5 Nm.
6
Lift the tank in place and attach it with the screws
D and F. Attach the return hose and the tank bleed-
ing hose. Connect the cabling in the front handle
and t the following parts:
• Flywheel
• Cable bracket with cabling
• Power switch
• Cover
• Cylinder cover
• Tighten the screw for the earth cable.
• Bar and chain
• Clutch cover
 Loading...