All specifications herein mentioned apply to the series oscilloscopes. Before
checking an oscilloscope to see if it complies with these specifications, make sure
it meets the following conditions:
The oscilloscope must have been operating continuously for twenty minutes un-
der the specified operating temperature.
The Do Self Cal operation must be performed through the Utility menu if the oper-
ating temperature changes by more than 5°C.
The oscilloscope must be within the factory calibration interval.
All specifications are guaranteed unless noted ‘typical’.
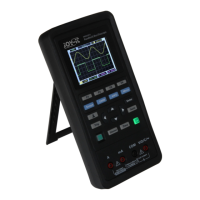
This Oscilloscope is a small, lightweight portable instrument which provides the
user with a convenient and easy to operate front panel with which you can per-
form basic tests.
• General Inspection:
Please check the instrument as following steps aer receiving:
Check the shipping container for damage: Keep the damaged shipping contain-
er or cushioning material until the contents of the shipment have been checked
for completeness and the instrument has been checked mechanically and electri-
cally.
Check the accessories: Accessories supplied with the instrument are listed in
"Accessories" in this manual. If the contents are incomplete or damaged, please
notify the franchiser.
Check the instrument: In case there is any mechanical damage or defect, or the
instrument does not operate properly or fails performance tests, please notify
your reseller.
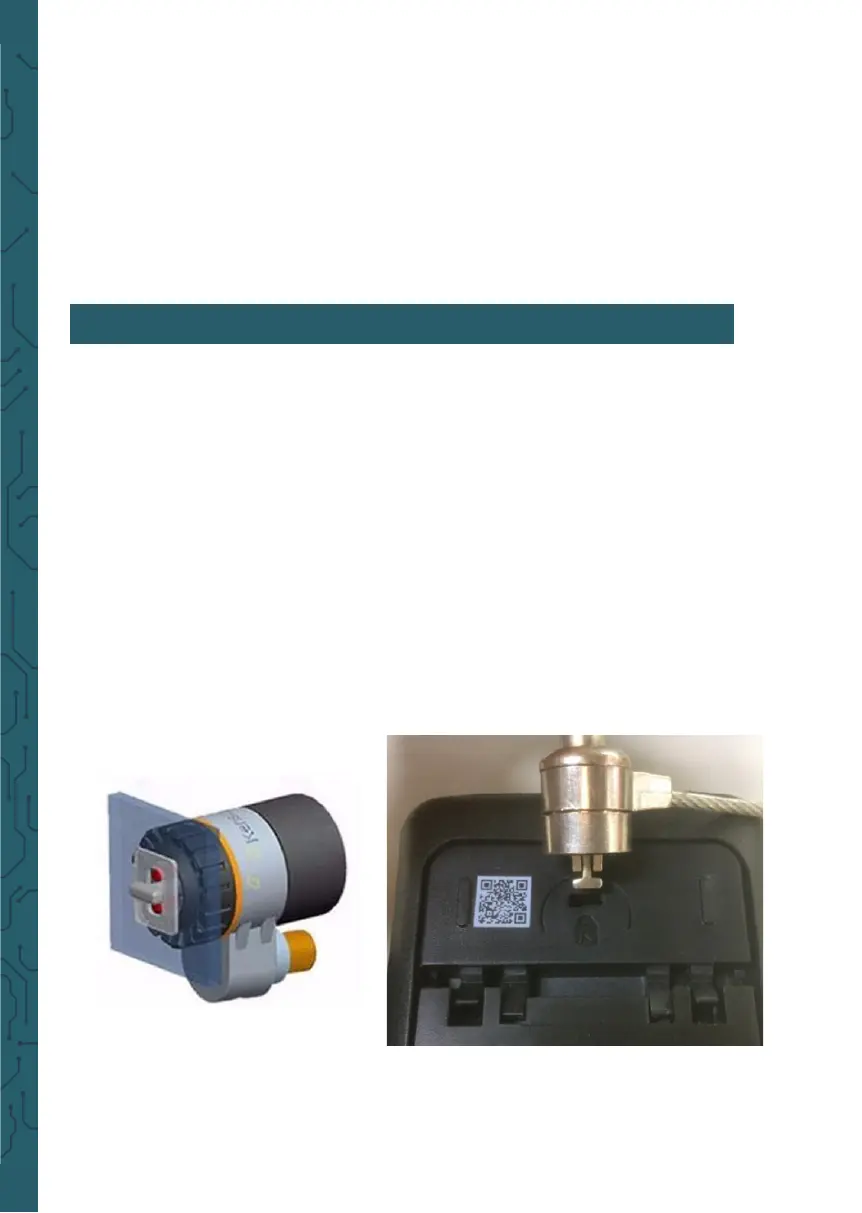
• Use of safety keyhole:
A safety keyhole is reserved on the
back shell of the oscilloscope. Users
need to purchase the safety lock by themselves. Wrap one end of the safety lock
around a hard-to-move object, insert the other end into the safety lock hole, turn
the key clockwise to lock the instrument, and then pull out the key. In this way,
the most basic anti-the requirements can be achieved.
4. GETTING STARTED