You can press Channel button to enter the channel setting menu and select CH1,
and select the Probe option that matches the attenuation factor of your probe.
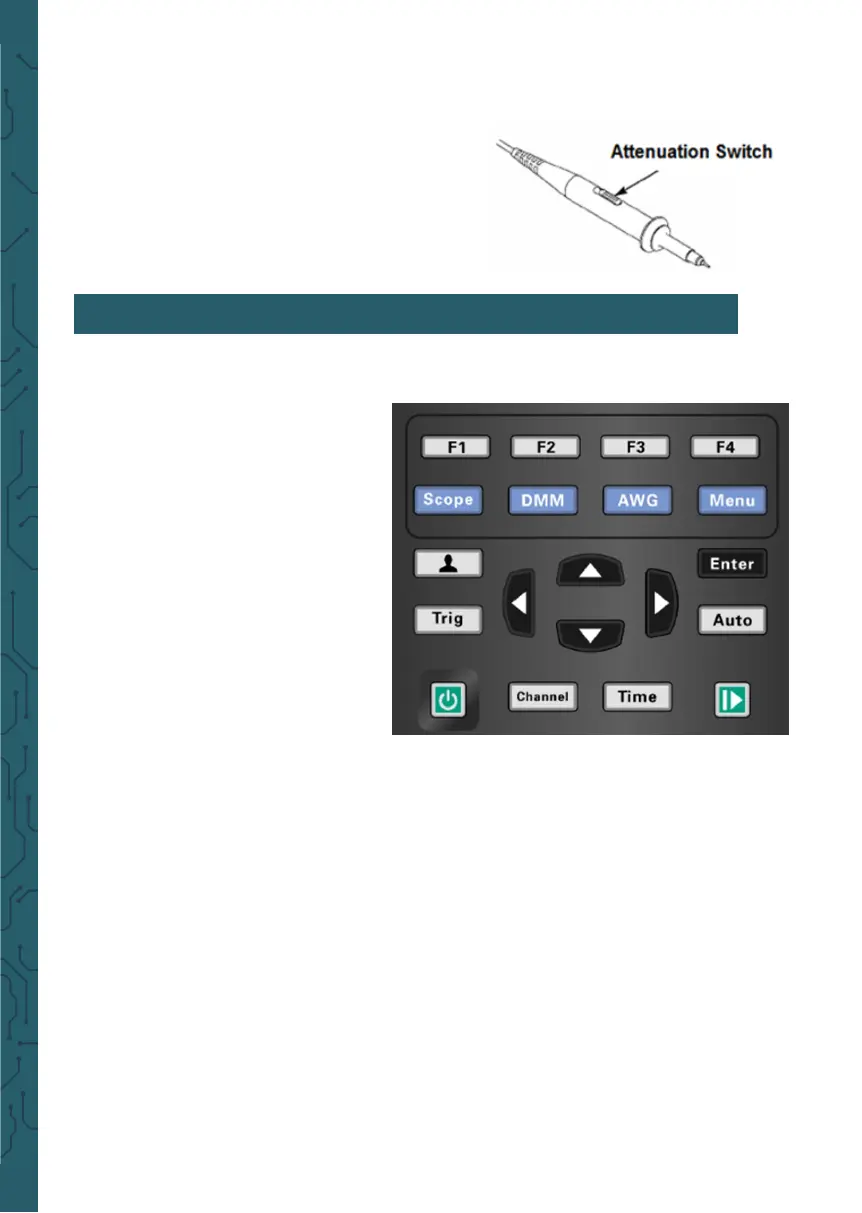
Make sure that the Attenuation switch on the
probe matches the Probe option in the oscillo-
scope. Switch settings are 1X and 10X.
When the Attenuation switch is set to 1X, the
probe limits the bandwidth of the oscilloscope
to 6MHz. To use the full bandwidth of the oscil-
loscope, be sure to set the switch to 10X.
Menu and Control Keys
All the keys are described as follows:
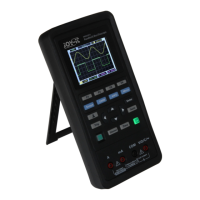
Scope: Oscilloscope mode
DMM:Multimeter mode
AWG:Waveform generator
Menu:Function menu
Trig:Trigger setting menu
Enter: In scope, it saves the user-
defined settings of the oscilloscope;
In generator, press the button to
confirm aer entering the character.
Auto: It adjusts the horizontal and
vertical scales of the oscilloscope
automatically and sets the trigger
coupling, type, position, slope, level
and mode, etc., to acquire a stable waveform display.
Channel: Channel setting menu
Time: Horizontal setting menu
Zoom and move keys:
In the trigger menu, the le and down keys push the trigger level down, and the
right and upper direction keys push the trigger level up;
In the channel menu, the upper and lower direction keys change the zero level posi-
tion of the channel, and the le and right direction keys change the volt/div of the
channel;
In the time base menu, the upper and lower direction keys change the time/div, and
the le and right direction keys change the horizontal trigger position;
In DMM, switch measurement function;
In generator, aer choosing a parameter, the le and lower direction key will reduce
the parameter value, the right and up direction key will increase the parameter val-
ue; it is also used for the digital selection of the virtual keyboard.
5. FUNCTION INTRODUCTION
 Loading...