Your JUGS Jr. pitching machine comes with two sets of legs depending on how
you will use it. Use the straight legs for baseball or lacrosse. Use the curved set
of legs for softball or field hockey. Please read carefully.
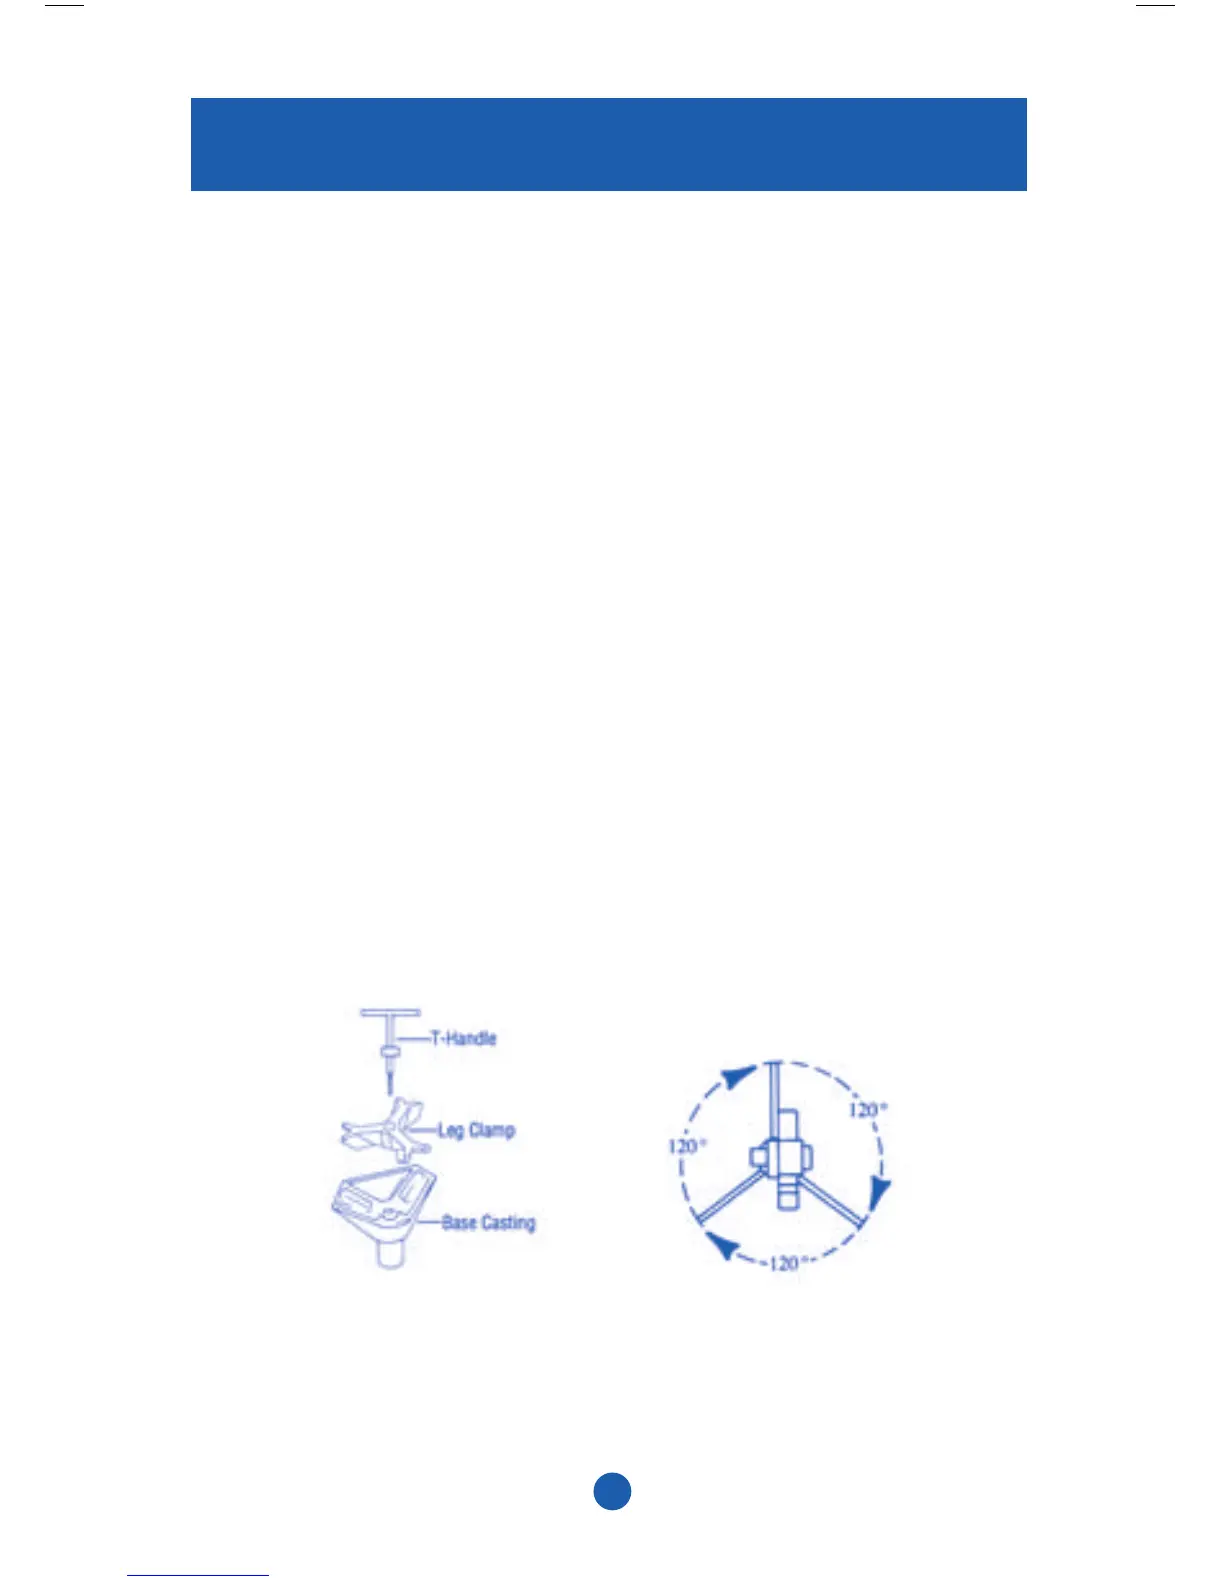
2. Installing the legs:
a. Screw the base T-clamp clockwise into the bottom of the base casting,
until the T-clamp engages the threads (see Figure 6).
b. Slide the three legs into place. Be sure the end of each leg is completely
inserted and in contact with the back of the casting slot.
c. Hand tighten the base T-clamp and set the “bottom” of the machine on
its legs.
d. If the legs appear wobbly:
• Make sure the legs are snug and properly placed in the base.
• Make sure the base T-clamp is turned as tightly, by hand, as
possible.
• Be sure the legs are equidistant from one other (Figure 7).
Assembly
Figure 6 Figure 7
14
 Loading...