25
4 Electrical connection
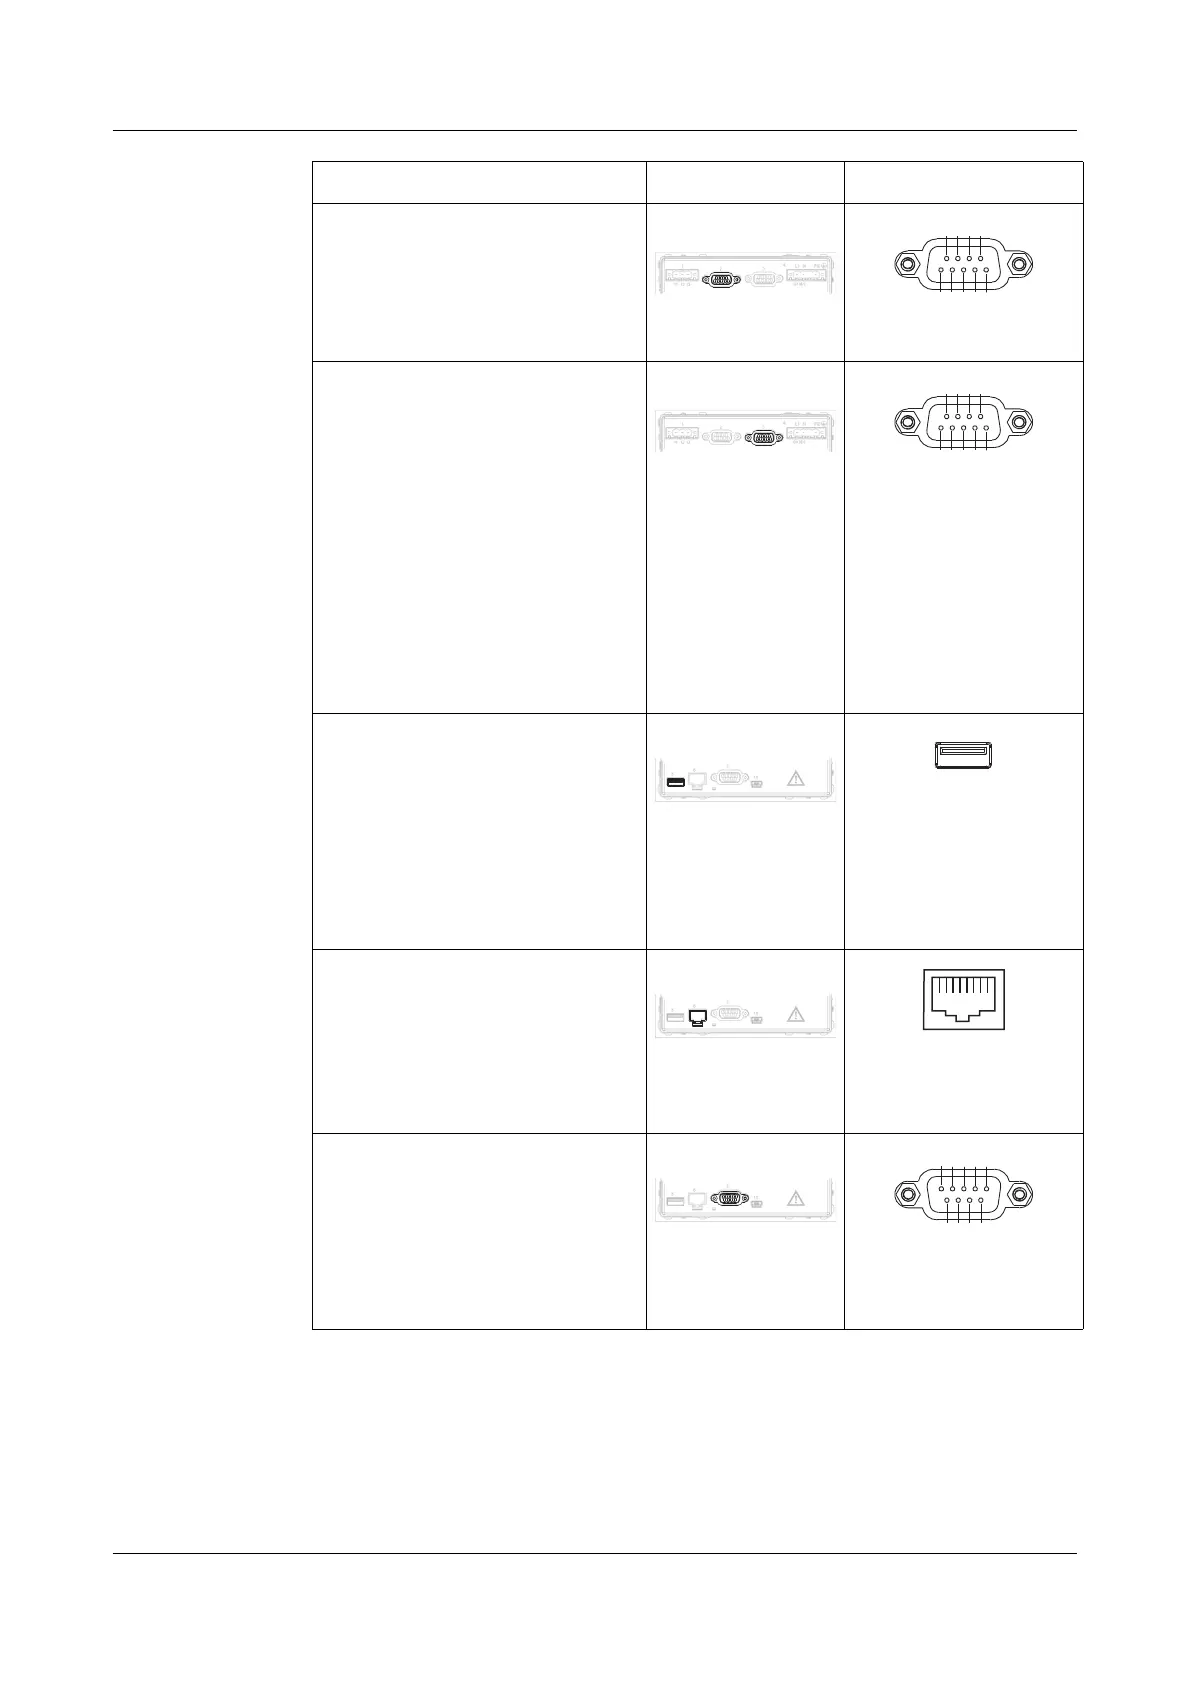
Interfaces RS232C for barcode reader
9-pin SUB-D socket connector
2 RxD receive data
3 TxD transmit data
5 GND ground
Connector 2
PROFIBUS-DP
9-pin SUB-D socket connector
(extra code)
3 RxD/TxD-P B conductor
Receive/transmit data
positive
5 DGND
Data transmission ground
6 VP supply voltage positive
8 RxD/TxD-N A conductor
Receive/transmit data
negative
Connector 3
USB host interface
for memory sticks
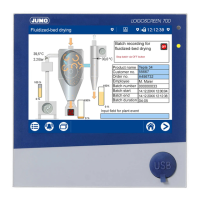
The recorder without stainless
steel front also has a USB host
interface on the front panel,
connected in parallel. The two
interfaces cannot both be
operated at the same time.
Connector 5
Ethernet
RJ45 socket connector
1 TX+ transmit data +
2 TX- transmit data -
3RX+ receive data +
6RX+ receive data -
Connector 6
RS232C
9-pin SUB-D socket connector
(switchable to RS485)
2 RxD receive data
3 TxD transmit data
5 GND ground
Connector 7
Terminal assignment Connector Diagram
3.
2.
1.
12
13
11
PE
N
L1
(L+)
(L-)
4.
2.
3.
2.
1.
12
13
11
PE
N
L1
(L+)
(L-)
4.
3.
 Loading...