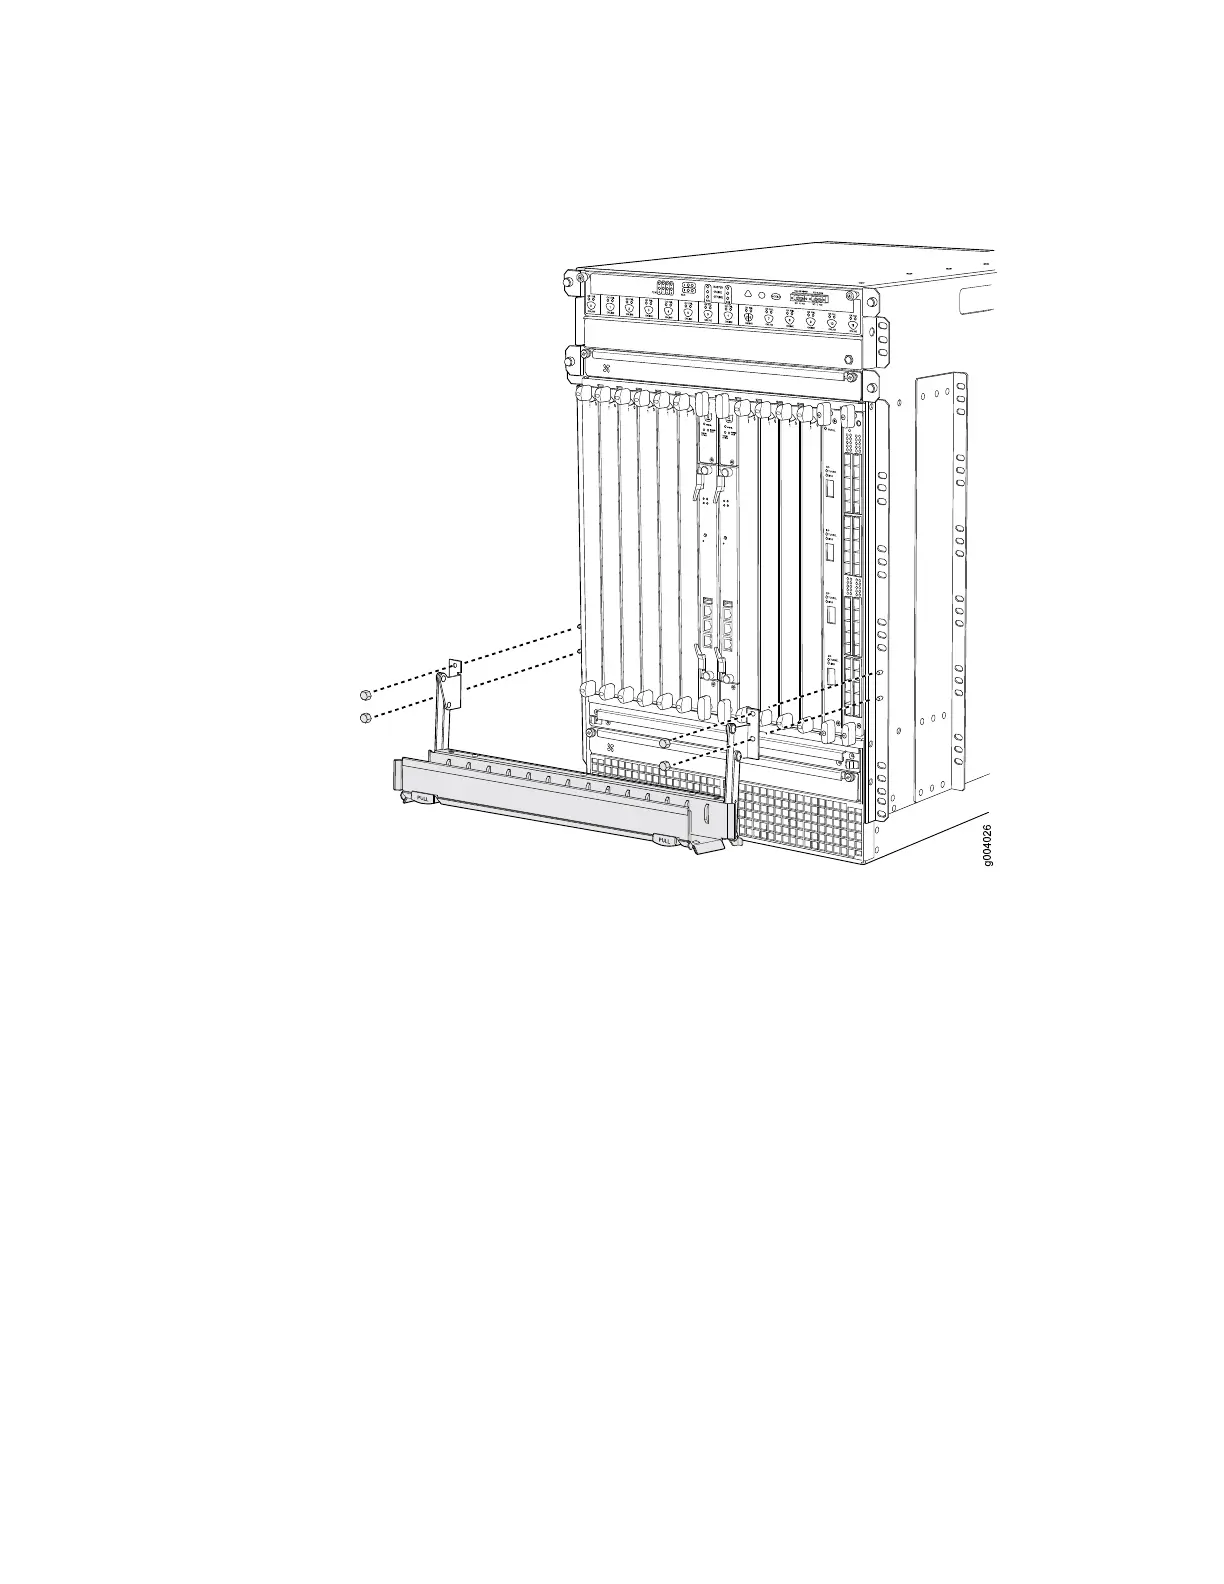
Figure 2: Removing the Standard Cable Manager
Removing the Fan Trays Before Installing an MX960 Router Without a Lift
To remove the upper or lower fan tray (see Figure 3 and Figure 4, which illustrate
the upper and lower fan trays):
1. Attach an electrostatic discharge (ESD) grounding strap to your bare wrist, and
connect the strap to one of the ESD points on the chassis.For more information
about ESD, see Preventing Electrostatic Discharge Damage to an M Series, MX
Series, or T Series Router.
2. Loosen the captive screw on each side of the fan tray faceplate.
3. Grasp both sides of the fan tray and pull it out approximately 1 to 3 inches.
4. Press on the two latches located on the inside of the fan tray to release the fan
tray from the chassis.
5. Place one hand under the fan tray to support it and pull the fan tray completely
out of the chassis.
Removing the Fan Trays Before Installing an MX960 Router Without a Lift ■ 3