Chapter 3 Configuring the Device
8 User’s Guide
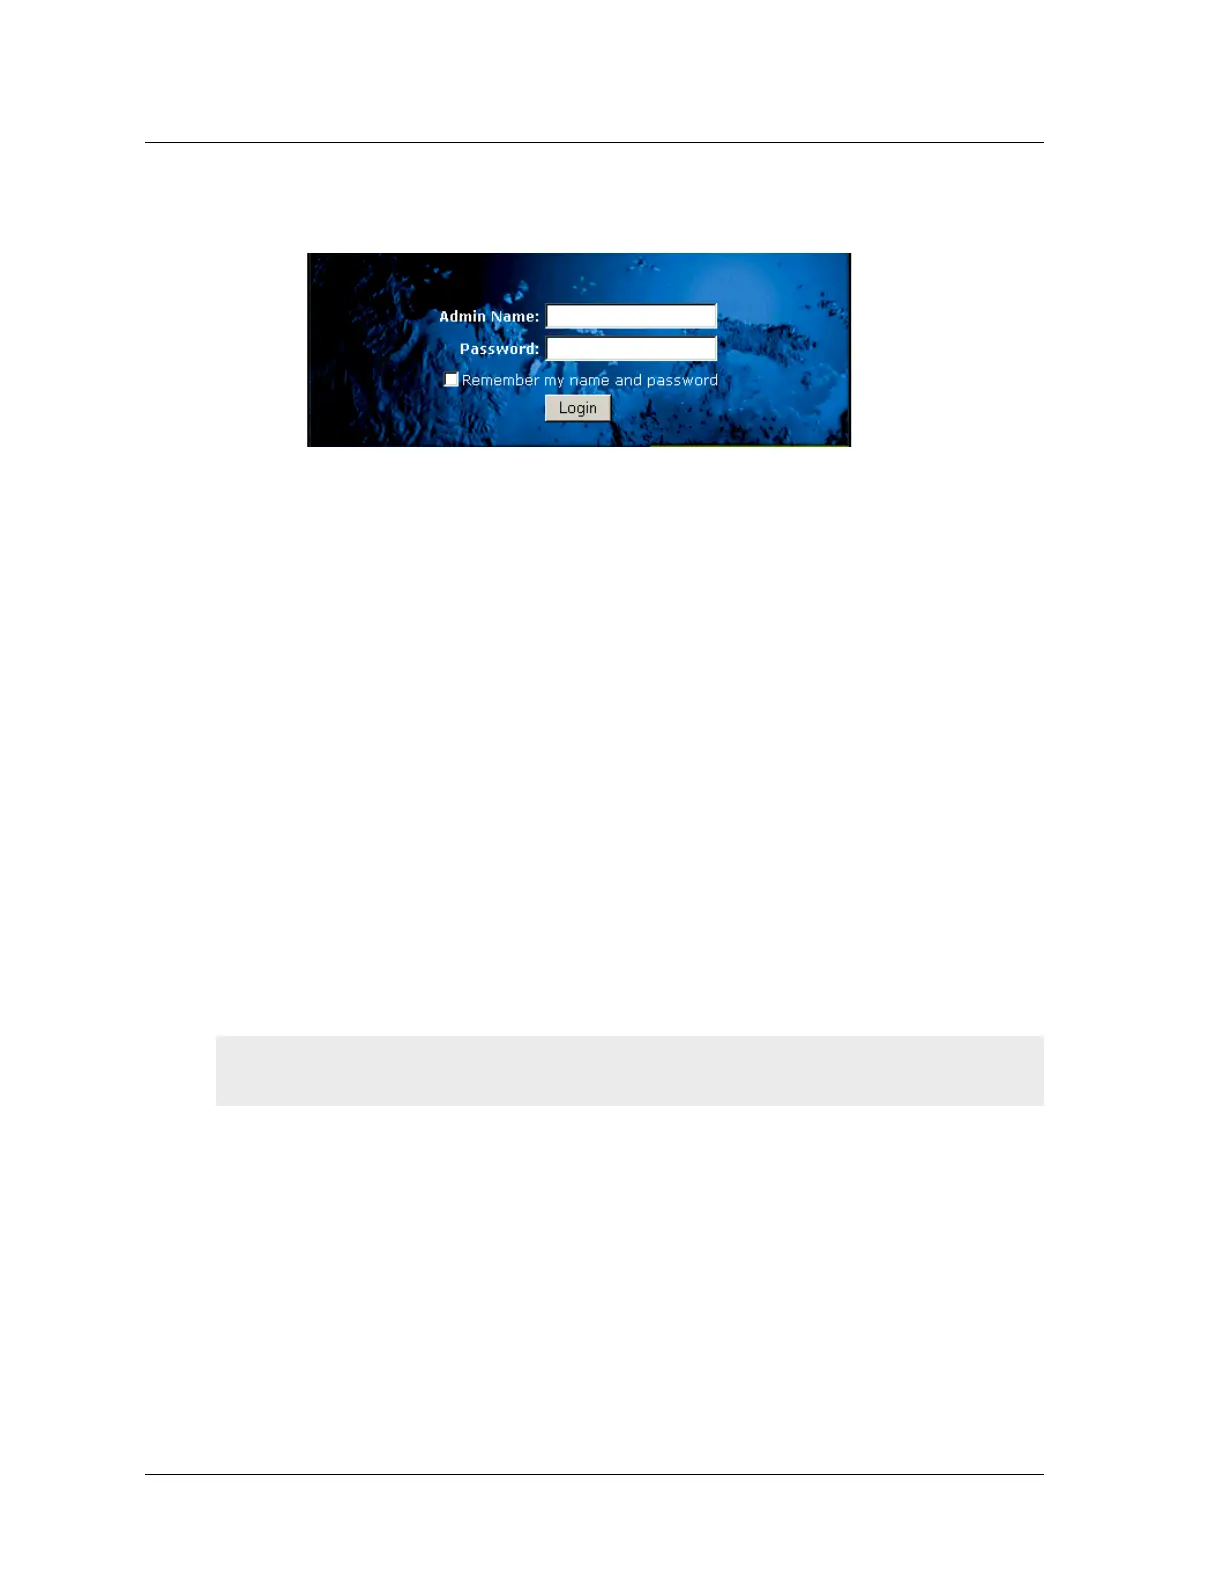
The NetScreen WebUI software displays the login prompt.
3. Enter netscreen in both the Admin Name and Password fields, then click
Login. (Use lowercase letters only. The Admin Name and Password fields are
both case sensitive.)
The NetScreen WebUI application window appears. (If you access the
NetScreen-5GT for the first time using the WebUI, the Initial Configuration
Wizard appears; refer to the Juniper Networks NetScreen-5GT Getting Started
Guide.)
Using Telnet
1. Connect your workstation (or your LAN hub) to the Trusted port, as described in
“Connecting the NetScreen Device to the Network” on page 1.
2. Start a Telnet client application to the IP address for the Trust interface.
For example, if the IP address of the Trust interface on the NetScreen-5GT is
192.168.1.1/24, enter the following:
192.168.1.1
3. Enter netscreen in both the login and password prompts. (Use lowercase
letters only. The login and password fields are both case sensitive.)
Using a Console Connection
To establish a console connection:
1. Plug the female DB-9 end of the serial cable into the serial port of your
computer. (Be sure that the DB-9 connector is seated properly in the port.)
2. Plug the male DB-9 end of the serial cable into the Console port of the
NetScreen-5GT (Be sure that the DB-9 connector is seated properly in the port.)
3. Launch a serial terminal emulation program. (A commonly-used terminal
program is Hilgreave HyperTerminal.) The required settings to launch a console
session with your NetScreen-5GT are as follows:
– Baud Rate: 9600
–Parity: No
Note: For the console connection, you require a serial cable with a male DB-9 connector on
one end and female DB-9 connector on the other end.
Artisan Technology Group - Quality Instrumentation ... Guaranteed | (888) 88-SOURCE | www.artisantg.com