Do you have a question about the JVC DLA-X700R and is the answer not in the manual?
Product safety, mercury lamp disposal, and general warnings.
USA FCC rules for digital devices and interference.
Ensuring a stable installation place to prevent injury or malfunction.
Basic rules for installation, use, and service to prevent hazards.
Precautions for the lamp, eye exposure during projection, and 3D viewing.
Emphasis on using qualified personnel for safe and proper installation.
Power cord details for USA, Canada, Europe, and UK.
List of standard accessories provided with the projector.
Optional items like 3D glasses and emitters, and their compatibility.
4K resolution, MPC technology, optimal adjustment, and color reproduction.
Realistic 3D effects, 2D-3D conversion, and flexible installation options.
Interpolation for clear video with minimal after-image.
High-precision pixel adjustment, THX, and isf certifications.
Dynamic aperture control for enhanced contrast.
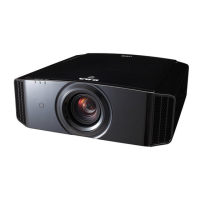
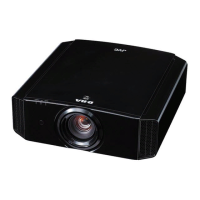
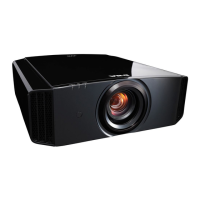
Identification of lens, cover, sensor, indicator, and vents.
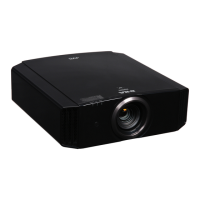
Identification of inlets, manual lens cover button, and feet.
Location of input terminals, lamp cover, operation panel, and power.
HDMI, LAN, RS-232C, 3D SYNCHRO, and TRIGGER terminal descriptions.
Detailed explanation of each button and its function.
Instructions for inserting batteries and understanding operating distance.
Warnings on location, clearance, inclination, and screen setup.
Setting for proper operation at low atmospheric pressure.
Guidelines for horizontal and ceiling mounting, earthquake safety.
Adjusting projector feet and using lens shift for image placement.
Connecting to HDMI and HDMI-DVI input terminals.
Connecting to a network for projector control.
Connecting to a PC via RS-232C for control.
Connecting trigger devices and power cord with safety notes.
Steps to turn on, select input, and temporarily hide the image.
Using lens control for focus, zoom, and screen position.
Saving focus, zoom, and shift settings for quick recall.
Retrieving previously saved focus, zoom, and shift configurations.
Renaming saved lens memory settings for better organization.
Setting screen size, viewing distance, and wall color for auto-adjustment.
Selecting aspect ratio (4:3, 16:9, Zoom) for input signals.
Connecting and positioning the emitter for 3D viewing.
Connecting HDMI devices and choosing 3D signal formats.
Enabling 2D to 3D conversion and adjusting 3D settings.
Fine-tuning parallax and crosstalk for optimal 3D viewing.
Choosing preset modes (Film, Cinema, etc.) for different content.
Mapping picture modes to color profiles and their descriptions.
Color profile settings specific to X900R/X700R models.
Navigating to the Color Profile and Color Management settings.
Adjusting Hue, Saturation, and Brightness for specific colors.
Adjusting MPC parameters like 4K e-shift and Enhance.
Using the BEFORE/AFTER button to compare image states.
Adjusting MPC settings while viewing frequency analysis.
Modifying gamma for brightness and contrast.
Gamma settings table for different color profiles.
Gamma settings table for specific models and color profiles.
Performing detailed gamma adjustments.
Fine-tuning color, picture tone, dark, and bright levels.
Choosing default correction values for gamma.
Reducing after-images in fast-moving scenes.
Adjusting lens aperture to enhance image contrast.
Overview of menu categories like Picture Adjust, Input Signal, Installation.
| Display Technology | DLP |
|---|---|
| Native Resolution | 1920 x 1080 |
| HDMI Ports | 2 |
| 3D | Yes |
| Projection Size | 60 - 200 inches |
| Dimensions | 455 x 179 x 472 mm |
| Brightness | 1300 lumens |
| Lamp Life | 4000 hours |
| Lens Shift | Vertical: ±80%, Horizontal: ±34% |
| Inputs | HDMI x 2, Component x 1, Trigger x 1, RS-232C x 1, LAN (RJ-45) x 1 |