EN7
A
B
2
1
3
3
1
2
4
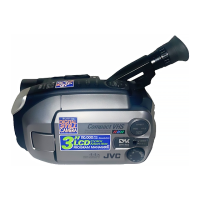
Using the battery pack
Hook its end to the camcorder ( ) and push the
battery pack in until it locks in place ( ).
(Charging procedure, Z pg. 10)
To remove the battery pack
Slide BATTERY RELEASE and pull out the battery
pack.
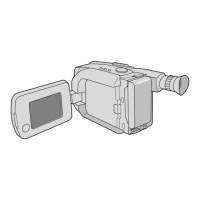
QUICK OPERATION GUIDE (D.S.C.)
1 Set the System Select Switch to “D.S.C.”.
2 Set the Power Switch to “PLAY”.
— A still image stored in memory appears.
3 Press REW (
2
/PAGE –) or FF (
3
/PAGE +) to
select the still image you want to view.
(For more details,
Z pg. 52.)
•The viewfinder switches off automatically to
save power when the LCD monitor is opened
at an angle of over 60 degrees.
•The LCD monitor turns on/off when it is
opened/closed at approx. 60 degrees.
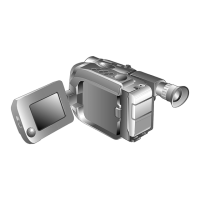
1 Turn the LENS COVER Open/Close Ring to
open the lens cover.
2 Set the System Select Switch to “D.S.C.”.
3 Set the Power Switch to “AUTO” or “PRO.”.
— The power lamp will light and an image
will appear.
4 Press the SNAPSHOT Button.
— A still image is shot and is stored in the
camcorder’s memory.
(For more details, Z pgs. 22 – 25)
• The viewfinder switches off automatically to
save power when the LCD monitor is opened
at an angle of over 60 degrees.
• The LCD monitor turns on/off when it is
opened/closed at approx. 60 degrees.
SUPPLY POWER
PLAYBACK
SHOOTING
Set to “PLAY”
Hook on.
Push in.
BATTERY RELEASE
LENS COVER
Open/Close Ring
Set to “AUTO”
or “PRO.”
System Select Switch
Set to “D.S.C.”
REW (
2
/PAGE –) Button,
FF (
3
/PAGE +) Button
System Select Switch
Set to “D.S.C.”
SNAPSHOT Button
A still image you shoot is stored in the camcorder's built-in memory.