Do you have a question about the JVC GR-AXM700U and is the answer not in the manual?
Warnings about mistreating the lithium battery, including fire or chemical burn hazards if mistreated.
Basic rules for product installation, use, and servicing to prevent hazards.
Instructions on referring servicing to qualified personnel if the product malfunctions.
Details on automatic exposure modes and special effects for shooting.
Basic steps for operating the camcorder to record video.
Steps for shooting still images using the digital still camera function.
Lists accessories included with the camcorder.
Step-by-step guide for charging the battery pack.
Steps for inserting and removing the battery for clock operation.
Step-by-step guide to set the year, month, and day.
Instructions for adjusting the grip strap for comfortable operation.
How to select recording modes like SP or EP for optimal quality or economy.
Steps for loading a video cassette into the camcorder.
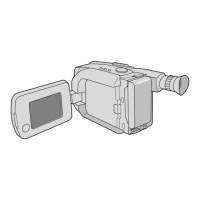
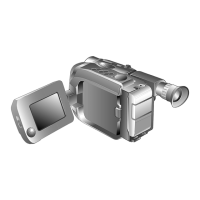
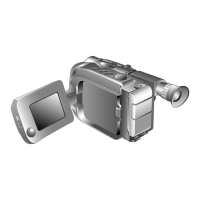
How to record using the LCD monitor, including tilting and starting recording.
How to use optical and digital zoom, and change zoom speed settings.
How to display and record date and time information on video.
Recording two types of digital still images onto tape and into memory.
How to access various shooting effects by turning the Select Dial.
Creates pro-style scene transitions like fade-in/out or wipe-in/out.
Superimposes preset titles onto video footage.
How to access the camcorder's menu system.
How to adjust specific settings like Focus, Exposure, Date/Time, etc.
Explains the camcorder's Auto Focus system and situations where it might not work well.
Steps for adjusting focus manually for nearer or farther subjects.
How to automatically or manually adjust the camcorder's exposure.
Steps for manually adjusting exposure to brighten or darken the image.
How to select white balance modes like AUTO, FINE, CLOUD, HALOGEN, MWB.
How to set a delay between pressing the button and the start of recording.
How to start shooting with a self-timer delay.
How to set the recording time for animation sequences.
How to set the interval between captured images.
How to start playback of recorded video.
How to eliminate noise bars on screen during playback.
How to pause playback and resume normal playback.
How to use the cassette adapter to play VHS-C cassettes on a VHS VCR.
How to connect the camcorder to a VCR for editing and playback.
Begin the dubbing process by starting playback and recording.
How to shoot and store still images in the camcorder's memory.
How to set the picture mode to FINE or STANDARD.
How to adjust specific settings in D.S.C. mode.
How to view stored still images one by one.
How to use the on-screen menu for detailed camcorder settings.
How to navigate and view still images in index format.
How to select and protect desired still images.
How to select deletion mode (SELECT or ALL).
How to transfer image data to a PC using provided software.
Steps for installing the battery in the remote control.
Set/release interval timer functions using the remote.
Instructions to set the remote control code for the VCR.
Connection options for different VCR types and terminals.
How to register the start point of a scene.
Start the automatic editing process.
Locate the point where the new scene should start.
Select the still image to insert.
Start the audio dubbing process.
How to clean the camcorder's exterior, LCD monitor, lens, and viewfinder.
Troubleshooting steps for power-related issues like no power or sudden shutdown.
Troubleshooting playback issues like no picture or blurred images.
Solutions for issues related to shooting still images, like memory full or self-timer problems.
Warnings about the video light being extremely hot and potential hazards.
Prohibitions regarding opening, disassembling, or modifying the unit.
What to do if the unit malfunctions.
Lists and describes the camcorder's connectors.
List of factory service center addresses across the USA.
JVC's commitment regarding repair or replacement of defective products.
Steps the customer must take to obtain warranty service.
| Image Sensor Size | 1/4 inch |
|---|---|
| Image Sensor | CCD |
| Image Stabilizer | Electronic |
| Focus Adjustment | Auto/Manual |
| Display Type | LCD |
| Display Size | 2.5 inches |
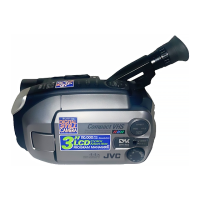
| Type | Camcorder |
| Shooting Modes | Auto |
| White Balance | Auto, Manual |
| Microphone | Built-in |
| Viewfinder Type | Electronic |