LYT1000-001A
Please visit our Homepage on the World Wide Web
and answer our Consumer Survey (in English only):
http://www.jvc-victor.co.jp/english/index-e.html
For Accessories:
http://www.jvc-victor.co.jp/english/accessory/
INSTRUCTIONS
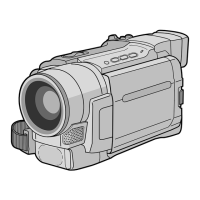
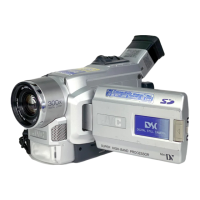
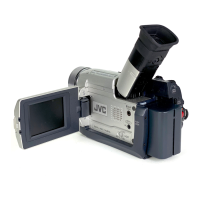
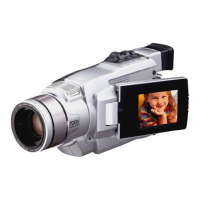
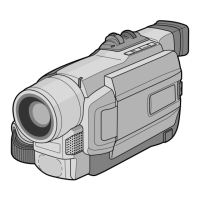
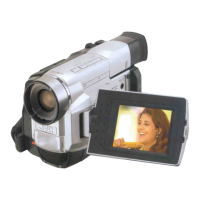
GR-DVL167
DIGITAL VIDEO CAMERA
ENGLISH
CONTENTS
AUTOMATIC DEMONSTRATION
6
GETTING STARTED
7 – 13
RECORDING & PLAYBACK
14 – 22
RECORDING ................................ 15 – 18
PLAYBACK .................................. 19 – 22
ADVANCED FEATURES
23 – 51
FOR RECORDING .......................... 24 – 31
USING MENUS FOR
DETAILED ADJUSTMENT ............. 32 – 37
DUBBING .................................... 38 – 39
USING THE REMOTE
CONTROL UNIT .......................... 40 – 50
SYSTEM CONNECTIONS ........................ 51
REFERENCES
52
– 71
DETAILS ............................................ 53
TROUBLESHOOTING ..................... 54 – 58
USER MAINTENANCE ........................... 59
CAUTIONS ................................... 60 – 62
SPECIFICATIONS ................................. 63
INDEX ........................................ 64 – 69
TERMS ....................................... 70 – 71