Dubbing Files to a Disc by Connecting to a
DVD Recorder
You can dub videos in standard quality by connecting to a DVD recorder.
0
Refer also to the instruction manuals of the TV and DVD recorder.
1
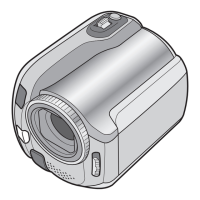
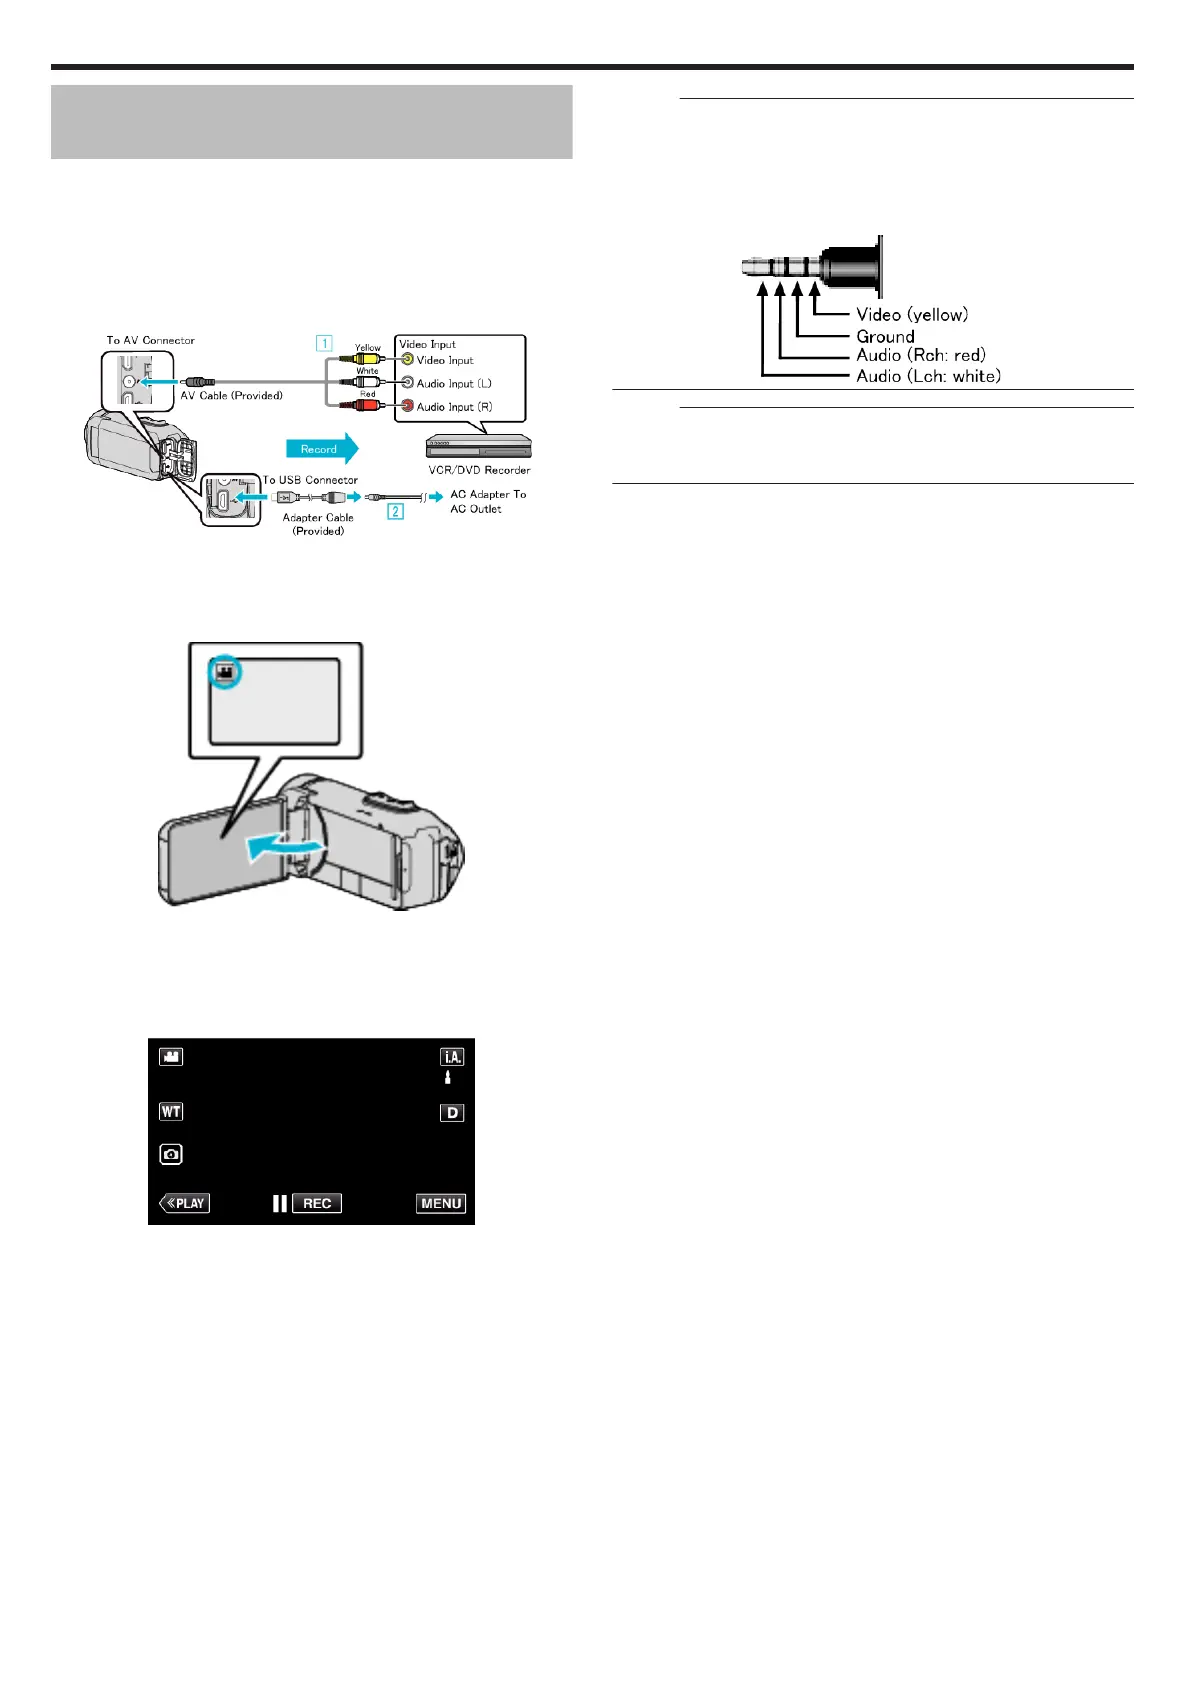
Open the terminal cover.
2
Connect to a DVD recorder.
0
Before making any connection, close the LCD monitor to turn off this
unit.
.
A
Connect using the optional AV cable.
B
Connect the adapter cable and AC adapter to this unit.
3
Open the LCD monitor.
.
0
Check if the recording mode is A.
0
If the mode is B still image, tap B on the recording screen to display
the mode switching screen.
Tap A to switch the mode to video.
4
Tap M to select the playback mode.
.
5
Prepare the TV/DVD recorder for recording.
0
Switch to a compatible external input.
0
Insert a disc (DVD-R, etc.) into the DVD recorder.
6
Prepare this unit for playback.
0
Set “VIDEO OUTPUT” in the “CONNECTION SETTINGS” menu to
the aspect ratio (“4:3” or “16:9”) of the connecting TV.
“ VIDEO OUTPUT ” (A p. 96)
7
Start recording.
0
Start playback on this unit and press the record button on the
recorder.
“Playing Back Videos” (A p. 44)
0
After playback is complete, stop the recording.
Memo :
0
AV cable (Optional: QAM1322-001)
Before using the cable, attach the core filter provided with this unit.
“Attaching the Core Filter (for Optional AV Cable)” (A p. 8)
Wiring specifications (for video/audio) of the 4-pole mini plug are described
in the following.
To purchase, consult your nearest JVC service center.
.
Memo :
0
To include the recording date and time during dubbing, set “DISPLAY
DATE/TIME” in the “PLAYBACK SETTING” menu to “ON”. Or, set
“DISPLAY ON TV” in the “CONNECTION SETTINGS” menu to “ON”.
Copying
64
 Loading...