No. 51809
HV-L34PRO
21
ADJUSTMENT OF FOCUS & SCREEN
Item
Measuring
instrument
Test point Adjustment part Description
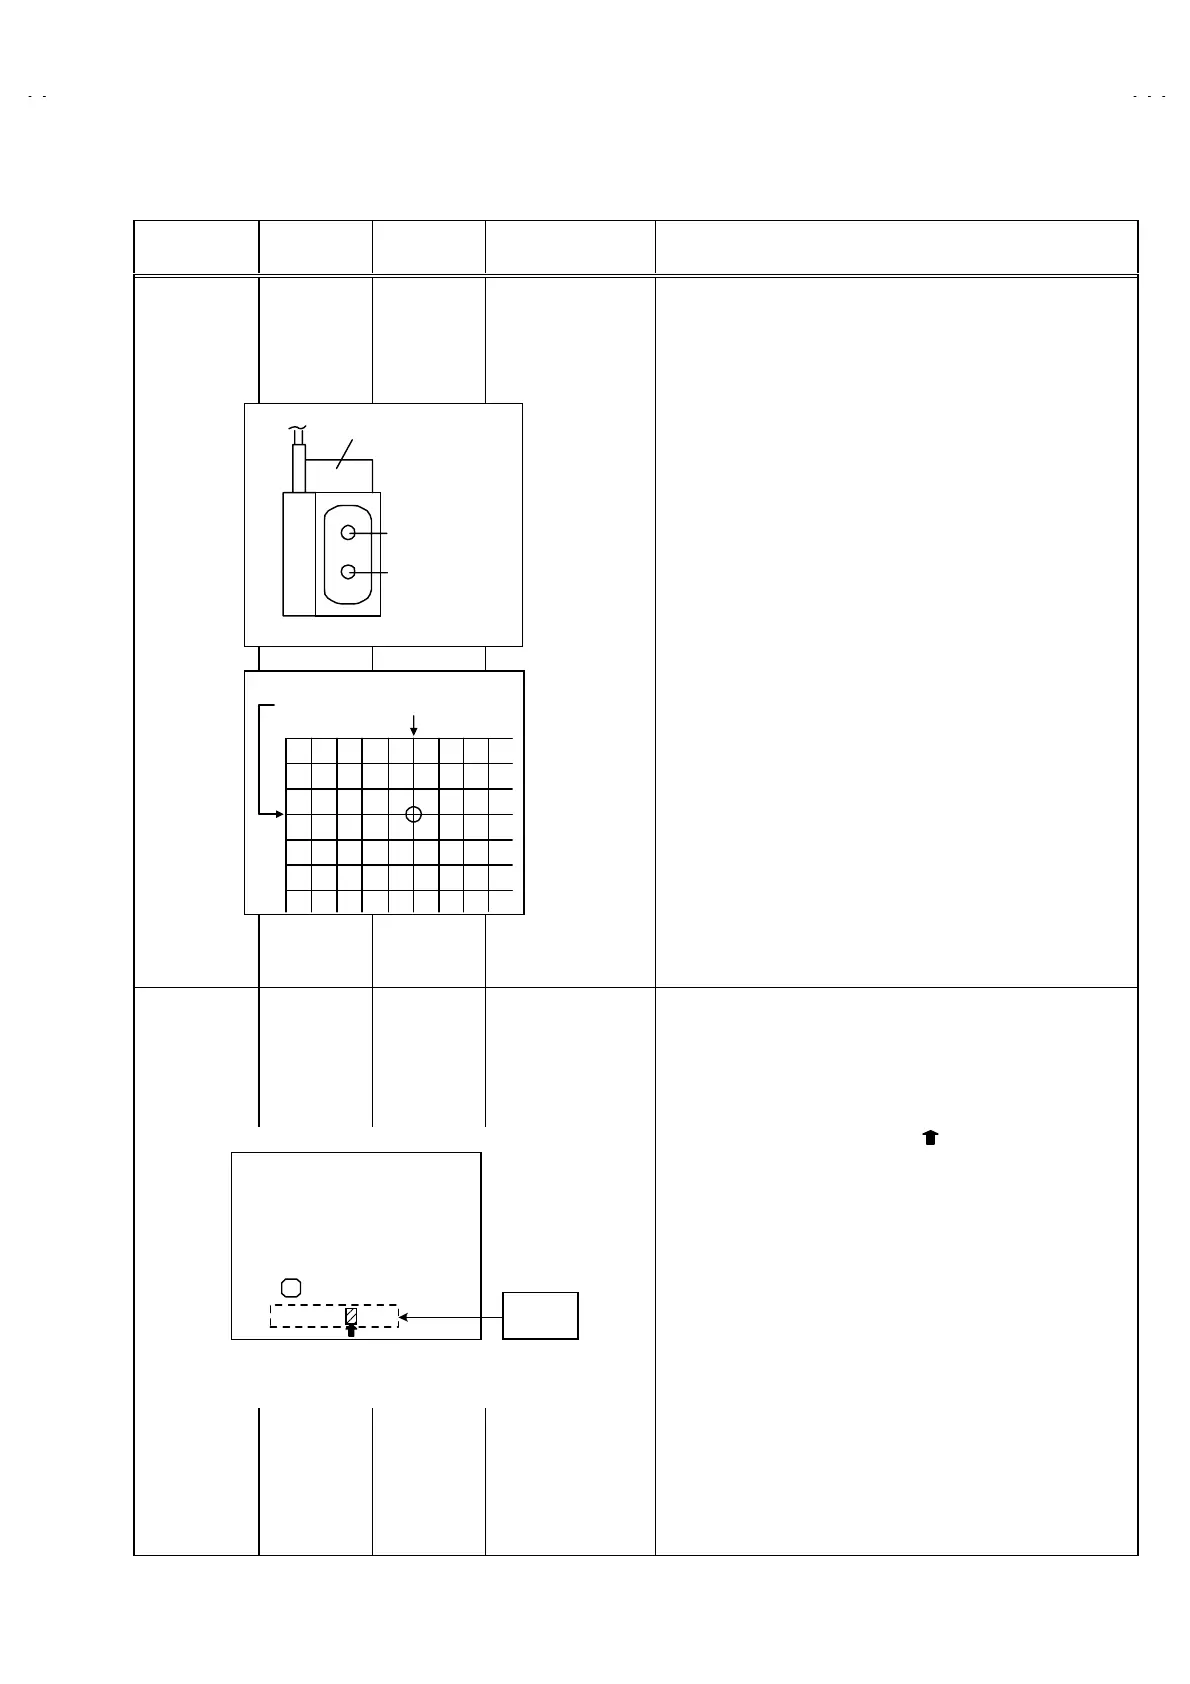
Adjustment of
FOCUS
Signal
generator
FOCUS 1 VR(In HVT)
FOCUS 2 VR
(IN CRT SOCKET PWB)
1. Receive a cross-hatch signal.
2. Press the ZOOM key and select the regular mode.
3. By turning the FOCUS 1 VR, adjust the to make the vertical
lines as fine and sharp as possible.
4. By turning the FOCUS 1 VR, adjust the picture so that the 5th
vertical line from left side of the cross-hatch picture becomes
thinnest.
5. By turning the FOCUS 2 VR(In CRT SOCKET PWB), adjust
the 3rd horizontal line from the upper side may become
uniform at the line center and its periphery.
6. Carry out adjustment by repeating the steps 3, 4 and 5 about.
7. Make sure that the screen is darkened, the lines remain in
good focus.
Adjustment of
SCREEN VR
Signal
generator
SCREEN VR
(In HVT)
1. Receive a whole black signal .
2. Press the ZOOM key and select the regular mode.
3. Select 2. V/C from the SERVICE MENU.
4. Rotate the SCREEN VR (In HVT) clockwise(from 1
→
0
→
1)
from the full counterclockwise
slowly
and stop it at the point
where “CLOW” status (marked in Fig.) changes from 1 to
0 (which is indicated at the 3rd
column from the right.).
*
“CLOW” : control loopout of window.
V/C
1. RGB _ BLK
00
SERVICE MODE SCREEN
CLOW
status
0 0 0 0 0 1 0 0
PAL
- / + : STORE DISP : EXIT
OK
1
SCREEN VR
FOCUS 1 VR
HVT
FOCUS 1 VRFOCUS 2 VR
1
2
3
12345
 Loading...