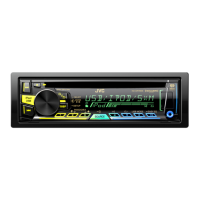
(No.MA140)1-19
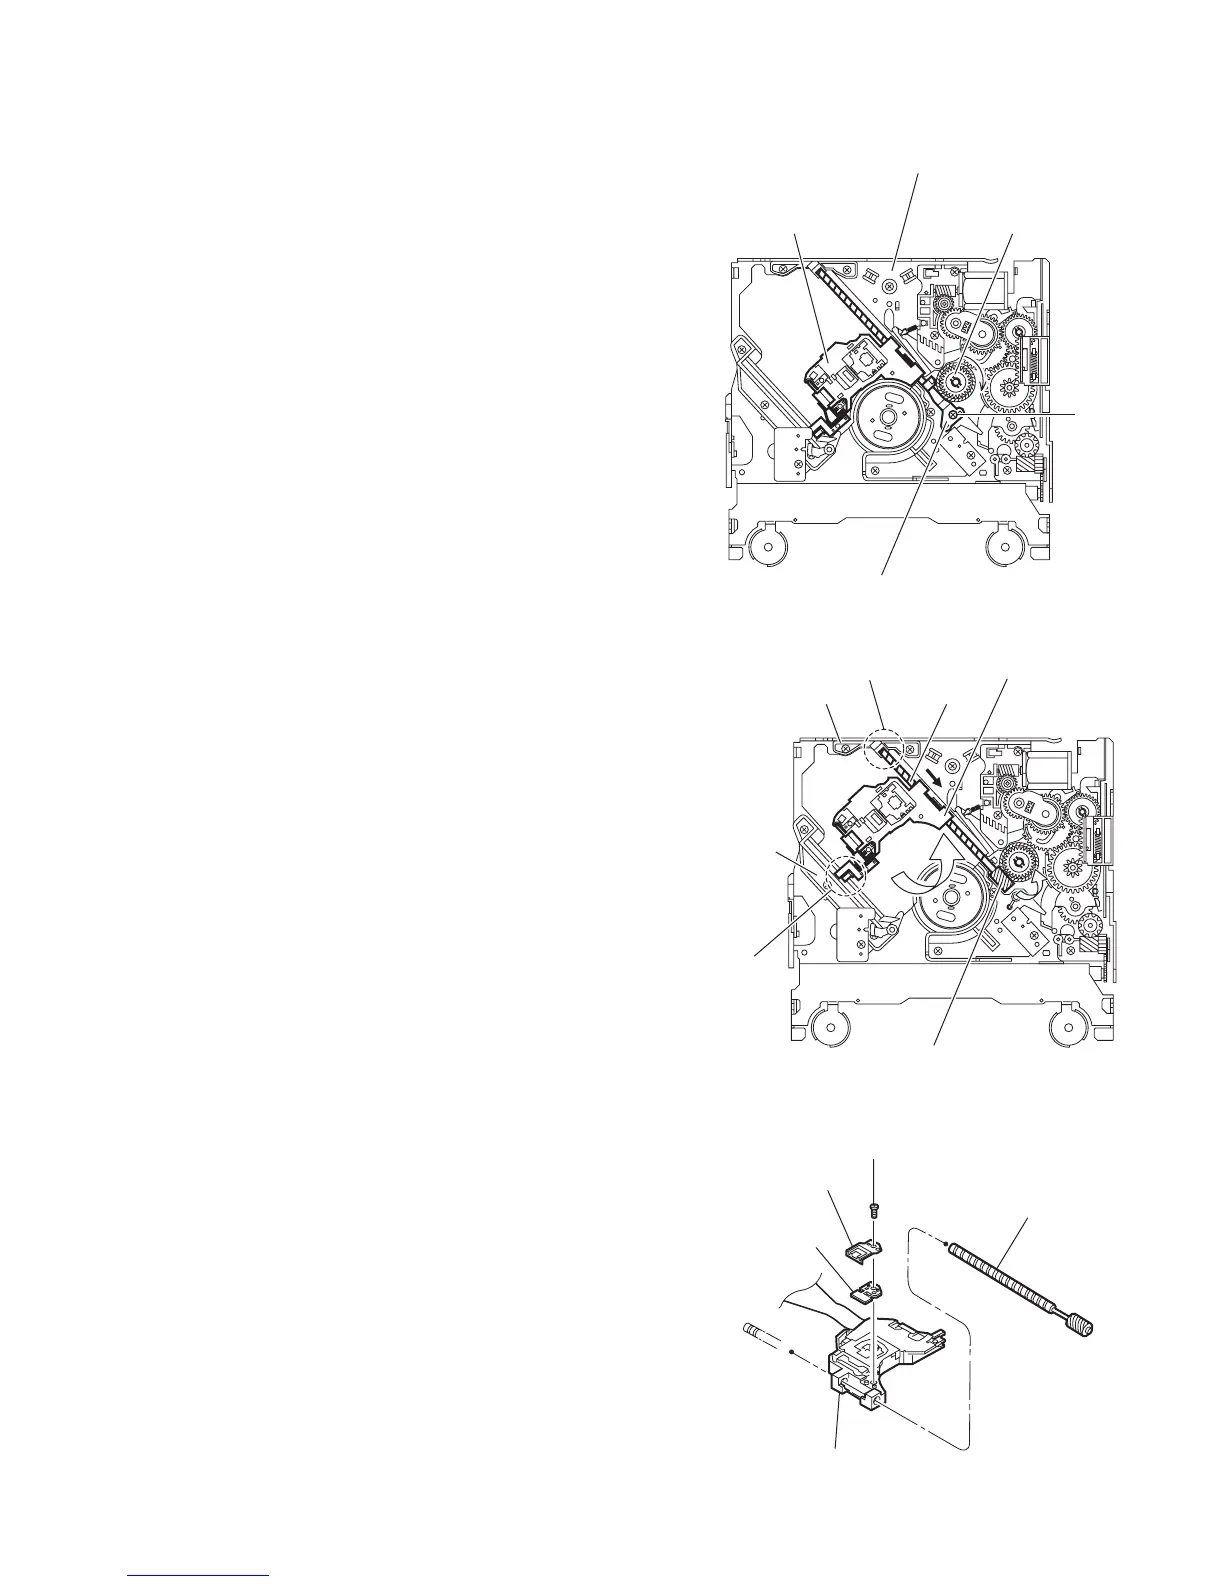
3.2.9 Removing the CD pickup
(See Figs.17 to 19)
• Remove the mechanism control board.
(1) From the bottom side of the CD mechanism assembly, turn
the feed gear in the direction of the arrow to move the CD
pickup assembly outwards. (See Fig.17.)
(2) Remove the screw F and remove the thrust spring. (See
Fig.17.)
(3) Remove the CD pickup assembly in an upward direction
from the side of L.S. gear and release the CD pickup as-
sembly from joint s of the sub guide. (See Fig.18.)
(4) Move the lead screw of the CD pickup assembly in the di-
rection of the arrow to release at joint t. (See Fig.18.)
(5) Remove the screw G attaching the CD rack spring and CD
rack plate on the CD pickup assembly. (See Fig.19.)
(6) Pull out the lead screw. (See Fig.19.)
Caution:
• When attaching the CD pickup assembly, attach the CD
pickup assembly at joint s of sub guide first, and attach the
lead screw to the joint t on the L.S.holder 2. (See Fig.18.)
• Perform electric adjustment after replacing the pickup.
Fig.17
Fig.18
Fig.19
F
Feed gear
Thrust spring
CD pickup assembly
CD mechanism assembly
s
t
L.S.holder 2
L.S. Gear
Lead screw
CD Pickup assembly
Sub guide
G
CD rack spring
CD rack plate
CD Pickup
Lead screw
 Loading...