EasyManua.ls Logo

JVC KD-G200

JVC KD-G200
28 pages
To Next Page IconTo Next Page
Loading...
GET0182-001A
[J]
INSTRUCTIONS
MANUAL DE INSTRUCCIONES
MANUEL D’INSTRUCTIONS
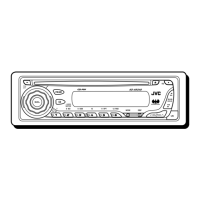
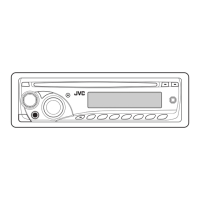
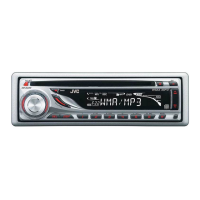
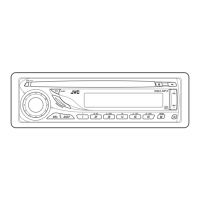
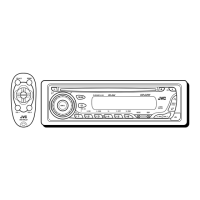
CD RECEIVER KD-AR200/KD-G200
ENGLISH
ESPAÑOL
FRANÇAIS
For installation and connections, refer to the separate manual.
Para la instalación y las conexiones, refiérase al manual separado.
Pour l’installation et les raccordements, se référer au manuel séparé.
RECEPTEUR CD KD-AR200/KD-G200
RECEPTOR CON CD KD-AR200/KD-G200
For customer Use:
Enter below the Model No. and
Serial No. which are located on
the top or bottom of the
cabinet. Retain this information
for future reference.
Model No.
Serial No.
This unit is equipped with the display demonstration. To cancel it, see page 8.
Esta unidad está equipada con demostración en la pantalla. Para cancelarla, consulte la página 8.
Cet appareil est équipé d’une fonction de démonstration des affichages. Pour l’annuler, référez-
vous à la page 8.
S
Cover001AKD-AR200[J]f.p65 9/30/03, 5:20 PM3

Other manuals for JVC KD-G200

Questions and Answers:

JVC KD-G200 Specifications

General IconGeneral
CD PlayerYes
MP3 PlaybackYes
WMA PlaybackYes
USB InputNo
BluetoothNo
Equalizer3-Band
AUX InputYes
Display TypeLCD
Detachable FaceplateYes
Channels4
TypeSingle DIN
Power Output50 W
RMS Power22W x 4
Tuner TypeFM/AM
Presets18 FM, 6 AM

Summary

Safety and Product Information

How to Reset Your Unit

Procedure to reset the unit's microcomputer by holding SEL and / ATT buttons.

Location of Buttons and Controls

Control Panel Layout

Diagram and identification of buttons and display elements on the main unit.

Remote Controller Operation

Explanation of buttons and functions for the KD-AR200 remote control.

Preparing the Remote Controller

Instructions for aiming the remote and installing/replacing the battery.

Basic Operations

Powering the Unit On and Off

Steps to power the unit on, select source, adjust volume, and turn it off.

Canceling Display Demonstration

Procedure to deactivate the automatic display demonstration mode.

Setting the Clock

Instructions for setting the current time, including checking and changing display modes.

Radio Operations

Listening to the Radio

How to select bands and perform auto-search tuning for radio stations.

Manual Radio Tuning

Steps for manual station selection and improving reception with mono mode.

Storing Radio Stations in Memory

Methods for automatic (SSM) and manual preset storage of radio stations.

Tuning to a Preset Station

How to select a stored radio station using preset numbers or up/down buttons.

CD Operations

Playing a CD

Instructions for inserting a CD, automatic playback, and stopping/ejecting.

Locating Tracks on a CD

How to fast-forward, reverse, skip tracks, or go directly to a specific track.

Selecting CD Playback Modes

How to set Disc Random Play mode for varied track playback.

Track Repeat Playback

How to enable track repeat playback for a single track.

Prohibiting CD Ejection

Steps to lock a CD in the loading slot and cancel the prohibition.

Sound Adjustments

Selecting Preset Sound Modes

Choosing EQ presets like Rock, Classic, Pops, Jazz, or custom user settings.

Adjusting Sound Characteristics

How to adjust bass, treble, fader, balance, loudness, and volume.

Other Main Functions

Selecting Dimmer Mode

Procedure to activate or deactivate the display dimmer for night use.

Selecting Amplifier Gain Control

How to set amplifier gain (High/Low PWR) to protect speakers based on wattage.

Control Panel Management

Detaching and Attaching the Control Panel

Instructions for safely removing and reattaching the detachable control panel.

Maintenance

Handling Discs

Proper handling, cleaning, and precautions for CDs, CD-Rs, and CD-RWs.

Specifications

Installation and Connections

Installation Parts List

List of components included for unit installation and connection.

In-Dash Mounting Installation Guide

General guidance for installing the unit into a vehicle's dashboard.

Removing the Unit from Dashboard

Steps to safely detach the main unit from the dashboard using handles.

Using Optional Stay for Installation

Guidance on installing the unit using an optional bracket or directly into the dashboard.

Typical Electrical Wiring Connections

Diagram and explanation of power, speaker, and antenna connections to the unit.

Connecting External Equipment

Instructions for connecting an external amplifier and its leads.

Related product manuals