
L
Larry McdonaldSep 9, 2025
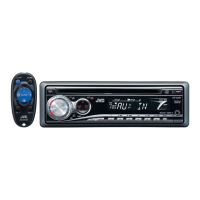
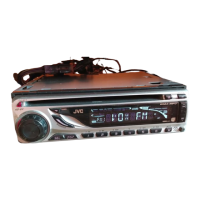
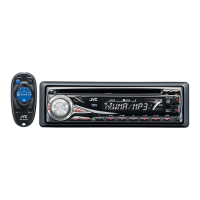
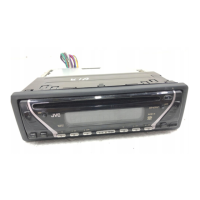
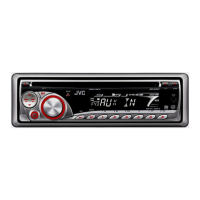
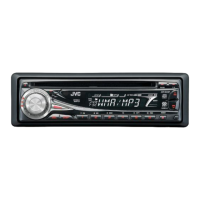
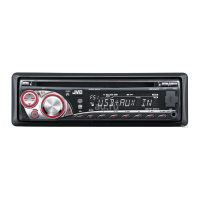
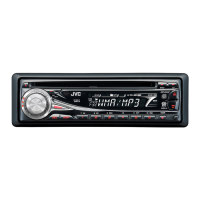
Why is there static noise when listening to the radio on my JVC Car Receiver?
- BBradley RasmussenSep 9, 2025
If you are experiencing static noise while listening to the radio on your JVC Car Receiver, ensure the antenna is firmly connected.