ENGLISH
25
Data Size: B6L (182 mm x 128 mm)
Book Size: B6L (182 mm x 128 mm)
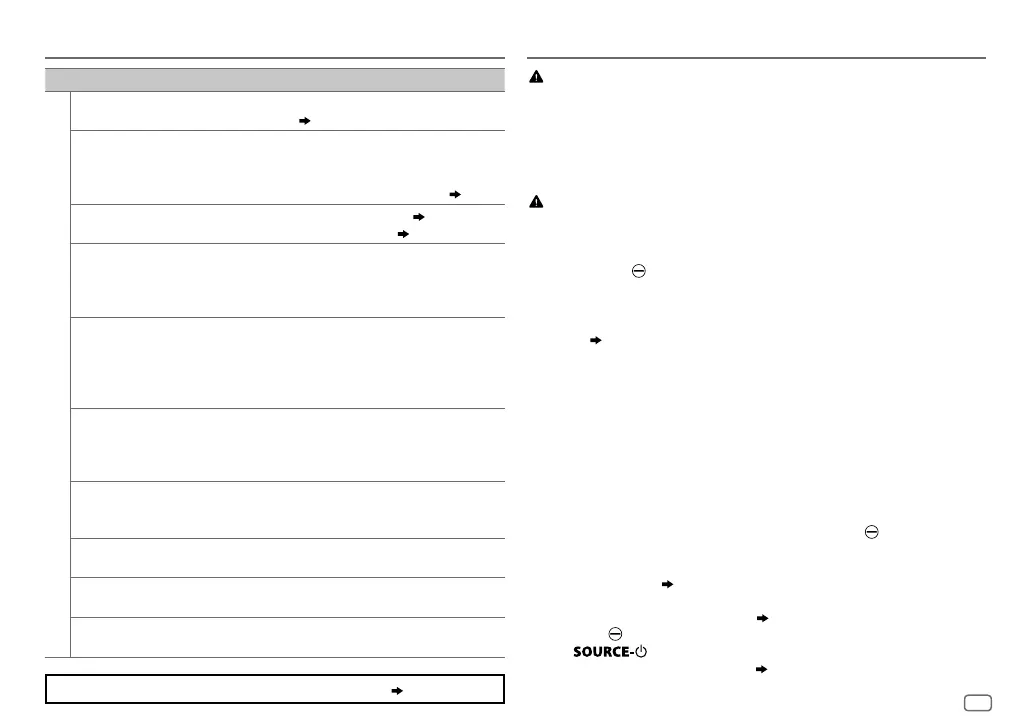
TROUBLESHOOTING INSTALLATION/CONNECTION
Symptom Remedy
Bluetooth®
No Bluetooth device is
detected.
•
Search from the Bluetooth device again.
•
Reset the unit.
( 3)
Pairing cannot be made.
•
Make sure you have entered the same PIN code to both
the unit and Bluetooth device.
•
Delete pairing information from both the unit and the
Bluetooth device, then perform pairing again.
( 9)
Echo or noise occurs.
•
Adjust the microphone unit’s position.
( 9)
•
Check the
[ECHO CANCEL]
setting.
( 11)
Phone sound quality
is poor
•
Reduce the distance between the unit and the Bluetooth
device.
•
Move the car to a place where you can get a better signal
reception.
Sound is being
interrupted or skipped
during playback of a
Bluetooth audio player.
•
Reduce the distance between the unit and the Bluetooth
audio player.
•
Turn off, then turn on the unit and try to connect again.
•
Other Bluetooth devices might be trying to connect to the
unit.
The connected Bluetooth
audio player cannot be
controlled.
•
Check whether the connected Bluetooth audio player
supports Audio/Video Remote Control Profile (AVRCP).
(Refer to the instructions of your audio player.)
•
Disconnect and connect the Bluetooth player again.
“PLEASE WAIT”
The unit is preparing to use the Bluetooth function. If the
message does not disappear, turn off and turn on the unit,
then connect the device again.
“NOT SUPPORT”
The connected phone does not support Voice Recognition
feature.
“ERROR”
Try the operation again. If “ERROR” appears again, check if
the device supports the function you have tried.
“H/W ERROR”
Reset the unit and try the operation again. If “H/W ERROR”
appears again, consult your nearest service center.
If you still have troubles, reset the unit.
( 3)
Warning
•
The unit can only be used with a 12V DC power supply, negative ground.
•
Disconnect the battery’s negative terminal before wiring and mounting.
•
Do not connect Battery wire (yellow) and Ignition wire (red) to the car chassis or Ground wire
(black) to prevent a short circuit.
•
Insulate unconnected wires with vinyl tape to prevent a short circuit.
•
Be sure to ground this unit to the car’s chassis again after installation.
Caution
•
For safety’s sake, leave wiring and mounting to professionals. Consult the car audio dealer.
•
Install this unit in the console of your vehicle. Do not touch the metal parts of this unit during
and shortly after use of the unit. Metal parts such as the heat sink and enclosure become hot.
•
Do not connect the wires of speakers to the car chassis or Ground wire (black), or connect
them in parallel.
•
Connect speakers with a maximum power of more than 50W. If the maximum power of
the speakers is lower than 50W, change the
[AMP GAIN]
setting to avoid damaging the
speakers.
( 17)
•
Mount the unit at an angle of less than 30º.
•
If your vehicle wiring harness does not have the ignition terminal, connect Ignition wire (red)
to the terminal on the vehicle’s fuse box which provides 12 V DC power supply and is turned
on and off by the ignition key.
•
Keep all cables away from heat dissipate metal parts.
•
After the unit is installed, check whether the brake lamps, blinkers, wipers, etc. on the car are
working properly.
•
If the fuse blows, first make sure the wires are not touching car’s chassis, then replace the old
fuse with one that has the same rating.
Basic procedure
1
Remove the key from the ignition switch, then disconnect the terminal of the car
battery.
2
Connect the wires properly.
See Wiring connection.
( 27)
3
Install the unit to your car.
See Installing the unit (in-dash mounting).
( 26)
4
Connect the terminal of the car battery.
5
Press to turn on the power.
6
Detach the faceplate and reset the unit.
( 3)
JS_JVC_KD-X342BT_E_EN_4.indd 25JS_JVC_KD-X342BT_E_EN_4.indd 25 9/14/2016 3:51:10 PM9/14/2016 3:51:10 PM
 Loading...