Basic operations / Operasi dasar
Preparation
Before operating the unit, make sure that all external
components are correctly connected and installed.
CAUTION:
• Do not open or close the monitor by hand.
• Do not apply any force to the monitor while it is
moving.
• Do not touch the surface of the liquid crystal panel
directly.
11 Turn on the power.
The monitor opens.
• You can change the monitor
action when turning on the
power by “AUTO OPEN/
CLOSE” setting (see page 3).
1 Hidupkan daya.
Monitor terbuka.
• Kerja monitor dapat diubah
sewaktu menghidupkan daya
dengan penyetelan “AUTO
OPEN/CLOSE”
(lihat halaman 3).
22 Select the playback
source.
Each time you press the button,
the playback source changes.
* Appears only when the TV
tuner KV-C1001 or KV-C1008
is connected.
2 Pilih sumber playback.
Setiap kali tombol ditekan,
sumber playback akan berubah.
* Muncul hanya sewaktu tuner
TV KV-C1001 atau KV-C1008
dihubungkan.
3 Operate the playback
source you selected.
To operate the external
components, refer to the
manuals for the connected
components.
3 Operasikan sumber
playback yang telah
dipilih.
Untuk dapat mengoperasikan
komponen luar, lihat buku
petunjuk untuk komponen yang
tersambung.
4 Adjust the volume on
the car receiver.
4 Setel volume pada
penerima di mobil.
To turn off the power / Untuk mematikan daya
Press and hold button. Tekan dan tahan tombol .
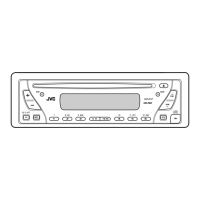
To change the monitor angle / Untuk mengubah sudut monitor
Press ANGLE+/– button.
Each time you press the button, the
monitor changes its angle step by
step.
• By holding the button (+/–), you
can easily change the angle to its
extreme.
To operate the car switches
behind the monitor, press and
hold FLAT button until it beeps.
The monitor temporarily changes its
angle as illustrated on the left, and
returns to its previous position in
about 17 seconds.
• The monitor beeps 5 times before
returning its previous position.
• Press FLAT button to return to
its previous position before its
automatic return.
• You can also adjust the monitor
position as illustrated on the left
on the monitor menu. See page 3
for detail.
• The monitor angle may
automatically move one step
when you change the monitor
position to BACK, not to hit
its back to the unit. It is not
malfunction. Adjust the angle
again if needed.
Tekan tombol ANGLE+/–.
Setiap kali tombol ditekan, monitor
mengubah sudutnya tahap demi
tahap.
• Dengan menahan tombol (+/–),
dengan mudah sudut dapat
diubah ke kondisi ekstrimnya.
Untuk mengoperasikan sakelar
mobil di belakang monitor, tekan
dan tahan tombol FLAT sampai
berbunyi bip.
Monitor sementara merubah
sudutnya seperti yang
digambarkan di sebelah kiri, dan
kembali ke posisi sebelumnya
dalam waktu kira-kira 17 detik.
• Monitor berbunyi bip 5 kali
sebelum kembali ke posisi
sebelumnya.
• Tekan tombol FLAT untuk
kembali ke posisi sebelumnya
sebelum kembali secara
otomatis.
• Posisi monitor juga dapat
disesuaikan sebagaimana
dijelaskan di sebelah kiri pada
menu monitor. Untuk lebih
rinciannya, lihat halaman 3.
• Sudut monitor dapat secara
otomatis pindah satu langkah
sewaktu posisi monitor diubah
ke BACK, jangan membentur
bagian belakangnya ke unit. Ini
bukan malfungsi. Sesuaikan lagi
sudut, bila perlu.
Persiapan
Sebelum mengoperasikan unit, pastikan seluruh
komponen luar sudah tersambung dan terpasang
dengan benar.
PERHATIAN:
• Jangan membuka atau menutup monitor dengan
tangan.
• Jangan memberi tekanan apapun pada monitor
selagi bergerak.
• Jangan menyentuh langsung permukaan panel
kristal cair.
Adjustments / Penyetelan
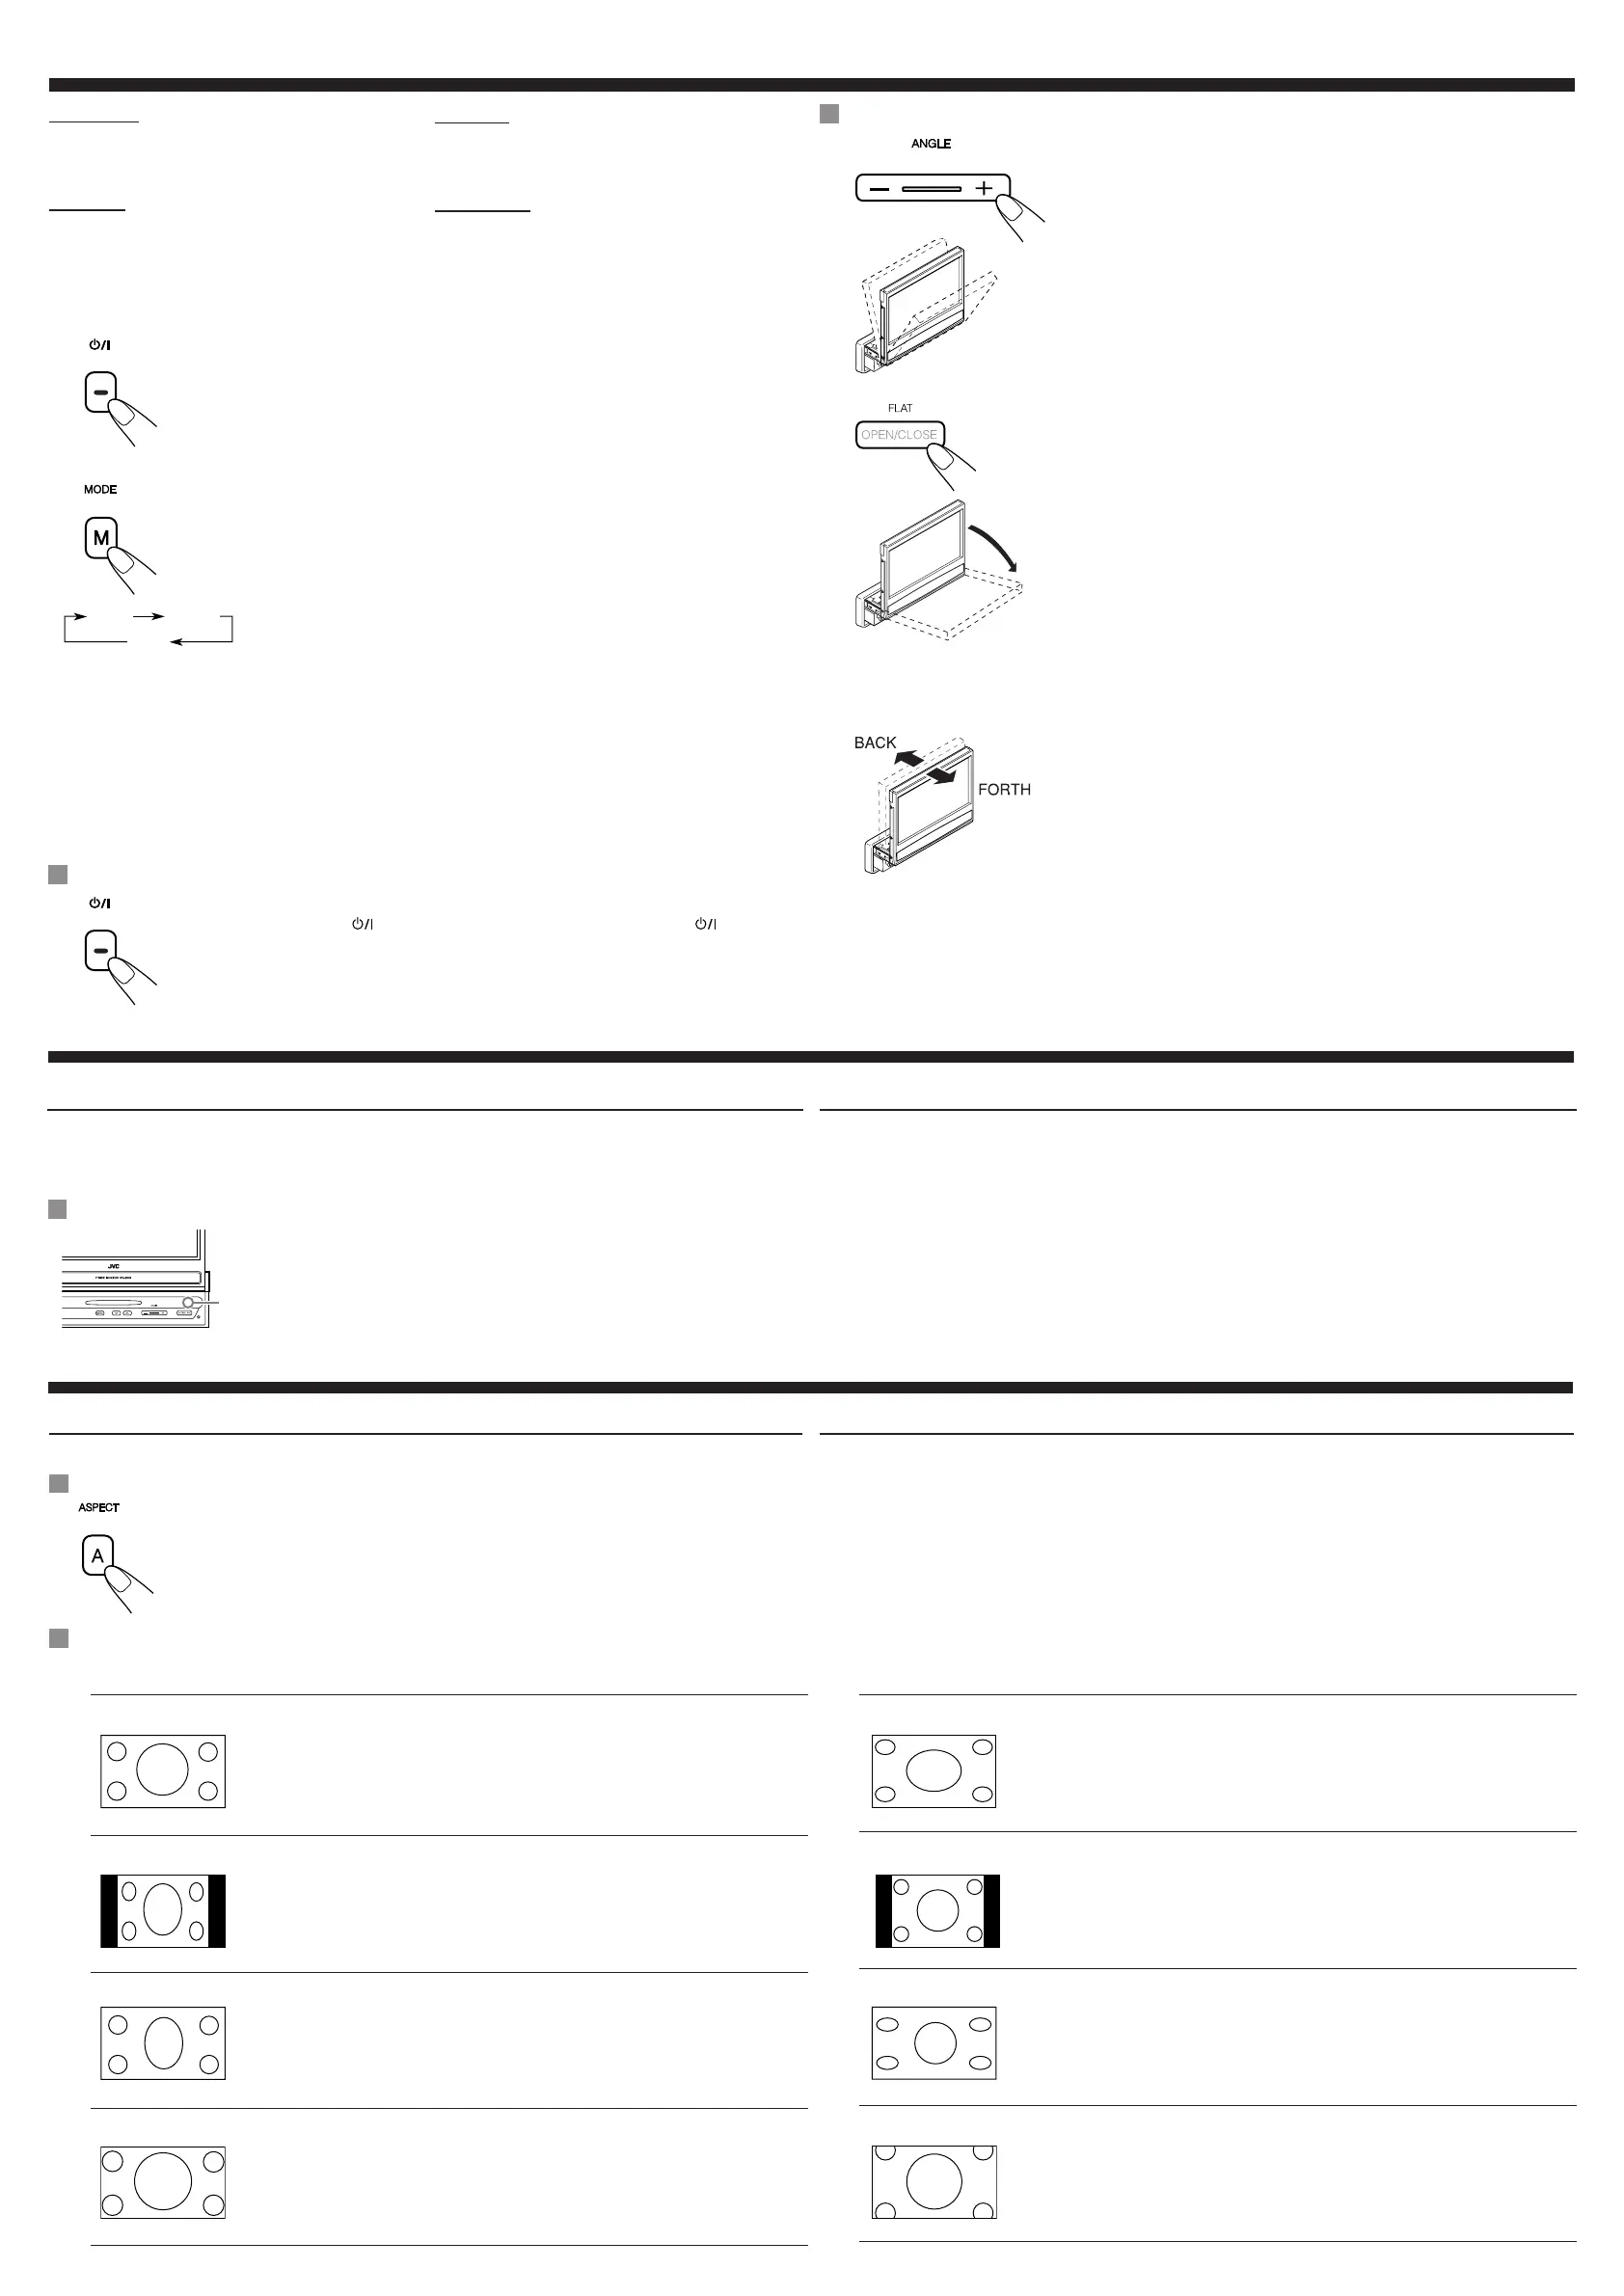
Changeable aspect ratio / Rasio aspek yang dapat diubah
When incoming 16:9 video signal / Sewaktu sinyal video 16:9 masuk
FULL:
Pictures are fully shown on the
screen.
• In some cases, the black bars may
be shown at the top and bottom
sides of the screen.
Gambar ditampilkan penuh di layar.
• Dalam beberapa kasus, batang
hitam dapat diperlihatkan di sisi
atas dan bawah layar.
NORMAL:
Pictures are reduced horizontally.
• The black bars will be shown at the
left and right sides of the screen.
• In some cases, the black bars
may be shown also at the top and
bottom sides of the screen.
Gambar diperkecil dengan arah
horisontal.
• Batang hitam akan diperlihatkan di
sisi kiri dan kanan layar.
• Dalam beberapa kasus, batang
hitam juga dapat diperlihatkan di
sisi atas dan bawah layar.
JUST:
The middle of pictures is reduced
horizontally, and the left and
right side of the picture enlarged
horizontally.
• In some cases, the black bars may
be shown at the top and bottom
sides of the screen.
Bagian tengah gambar diperkecil
dengan arah horisontal, sedangkan
sisi kiri dan kanan gambar
diperbesar dengan arah horisontal.
• Dalam beberapa kasus, batang
hitam dapat diperlihatkan di sisi
atas dan bawah layar.
ZOOM:
Pictures are enlarged on the screen
so that no black bars will be shown
on the screen. (The entire picture
cannot be shown on the screen.)
Gambar diperbesar di layar
sehingga tidak ada batang hitam
yang diperlihatkan di layar. (Gambar
utuh tidak dapat diperlihatkan di
layar.)
Changing the aspect ratio
You can select an appropriate aspect ratio for the playback video signals.
Basic procedure / Prosedur dasar
Each time you press the button, aspect ratio changes.
Setiap kali tombol ditekan, rasio aspek berubah.
Mengubah rasio aspek
Rasio aspek yang sesuai dapat dipilih untuk sinyal video playback.
When incoming 4:3 video signal / Sewaktu sinyal video 4:3 masuk
FULL:
Pictures are enlarged horizontally
and are fully shown on the screen.
Gambar diperbesar dengan arah
horisontal dan diperlihatkan penuh
di layar.
NORMAL:
Pictures are shown at the center of
the screen.
• The black bars will be shown at the
left and right sides of the screen.
Gambar diperlihatkan di bagian
tengah layar.
• Batang hitam akan diperlihatkan di
sisi kiri dan kanan layar.
JUST:
Pictures are enlarged horizontally.
The extension ratio increases toward
the both sides of the screen.
Gambar diperbesar dengan arah
horisontal. Rasio perbesaran
bertambah ke arah kedua sisi layar.
ZOOM:
Pictures are enlarged on the screen
so that no black bars will be shown
on the screen. (The entire picture
cannot be shown on the screen.)
Gambar diperbesar di layar
sehingga tidak ada batang hitam
yang diperlihatkan di layar. (Gambar
utuh tidak dapat diperlihatkan di
layar.)
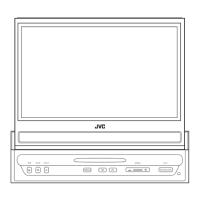
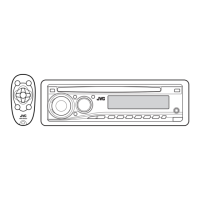
Before using the optional remote controller / Sebelum menggunakan pengendali jarak-jauh opsional
• Aim the remote controller directly at the remote sensor on the monitor. Make sure
there is no obstacle in between.
• Do not expose the remote sensor to strong light (direct sunlight or artificial lighting).
• Arahkan pengendali jarak-jauh langsung ke sensor jarak-jauh di monitor. Pastikan
di antaranya tidak ada rintangan.
• Jangan biarkan sensor jarak-jauh terpapar cahaya kuat (sinar matahari langsung
atau penerangan buatan).
Remote sensor
Sensor jarak-jauh
Other operations / Operasi lain
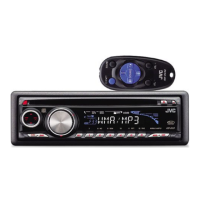
Using optional remote controller
You can use JVC’s remote controller RM-RK230, which is supplied with some JVC receivers, to control the
monitor.
• When the TV tuner KV-C1001 or KV-C1008 is connected, use the remote controller RM-RK510, which is
supplied with the TV tuners.
Dengan menggunakan pengendali jarak-jauh opsional
Pengendali jarak-jauh JVC, RM-RK230 dapat digunakan, yang dipasok bersama sebagian penerima JVC,
untuk mengendalikan monitor.
• Sewaktu tuner TV KV-C1001 atau KV-C1008 dihubungkan, gunakan pengendali jarak-jauh RM-RK510,
yang dipasok bersama tuner TV.
KV_M705_706UN.indd 2KV_M705_706UN.indd 2 7/6/05 8:59:18 AM7/6/05 8:59:18 AM
 Loading...