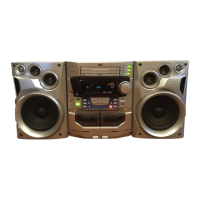
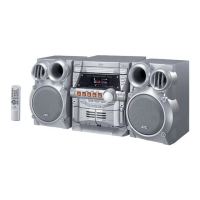
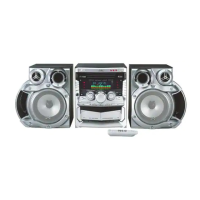
MX-DVB10
1-17
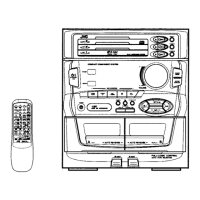
DVD Changer Mechanism
Removing the DVD Servo control
board (See Fig.1)
1.
2.
3.
4.
5.
Remove the metal cover.
Remove the DVD changer mechanism assembly.
From bottom side the DVD changer mechanism
assembly, remove the one screw 1 retaining the DVD
servo control board.
Disconnect the card wire, from the connector CN101,
on the DVD servo control board.
Disengage the two engagements "A", remove the DVD
servo control board.
Removing the DVD tray assembly
(See Fig.2~4)
1.
2.
3.
4.
5.
6.
7.
8.
9.
10.
11.
Remove the front panel assembly.
Remove the DVD changer mechanism assembly.
Remove the DVD servo control board.
Remove the screw 2 retaining the disc stopper.
(See Fig.3)
Remove the three screws 3 retaining the T. bracket.
(See Fig.3)
From the T. bracket section and clamper base section
"B", remove the edges fixing the rod.
(See Fig.2)
Remove the screw 4 retaining the clamper assembly.
(See Fig.3)
From the blacket section "C", remove the clamper ass'y.
(See Fig.3)
From the left side face of the chassis assembly, remove
the one screw 5 retaining both of the return spring and
lock lever. (See Fig. 4)
By removing the pawl at the section "D" fixing the return
spring, dismount the return spring. (See Fig.4)
Remove the three lock levers. (See Fig.4)
Fig.1
Fig.2
Fig.3
Fig.4
1
DVD servo control board
CN101
AA
B
Rod
T. Bracket
Clamper base
2
3
3
4
3
T. Bracket
Disc stopper
Rod stopper
(C/J version only)
Clamper ass'y
C
D
Lock lever
Return spring
5