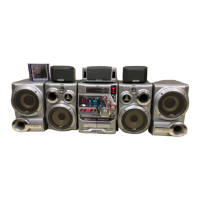
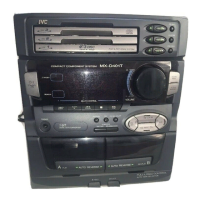
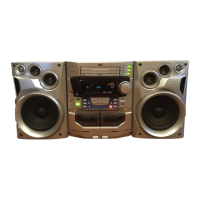
MX-DVB10
1-25
Removing the Capstan Motor (See Fig. 8)
From the joint bracket, remove the two screws "C"
retaining the capstan motor.
Removing the Flywheel (See Fig. 9,10)
1. Remove the head amp. and mechanism control
P.C. Board.
2. Remove the capstan motor assembly.
3. After turning over the cassette mechanism, remove
the slit washers "a" and "b" fixing the capstan shafts
R and L, and pull out the flywheels R and L respectively
from behind the cassette mechanism.
Removing the Reel Pulse P.C. Board and
Solenoid (See Fig. 11)
1. Remove the five pawls (c, d, e, f, g) retaining
the reel pulse P.C. board.
2. From the surface of the reel pulse P.C. board parts,
remove the two pawls "h" and "i" retaining the solenoid.
Capstan motor
Joint
bracket
Flywheel R
Flywheel L
Flywheel R
Flywheel L
Slit
washer "a"
Slit
washer "b"
Reel pulse board
Solenoid
Solenoid
C
C
a
b
c
d
e
f
g
hi
Fig. 8
Fig. 9
Fig. 11
Fig. 10