34
3
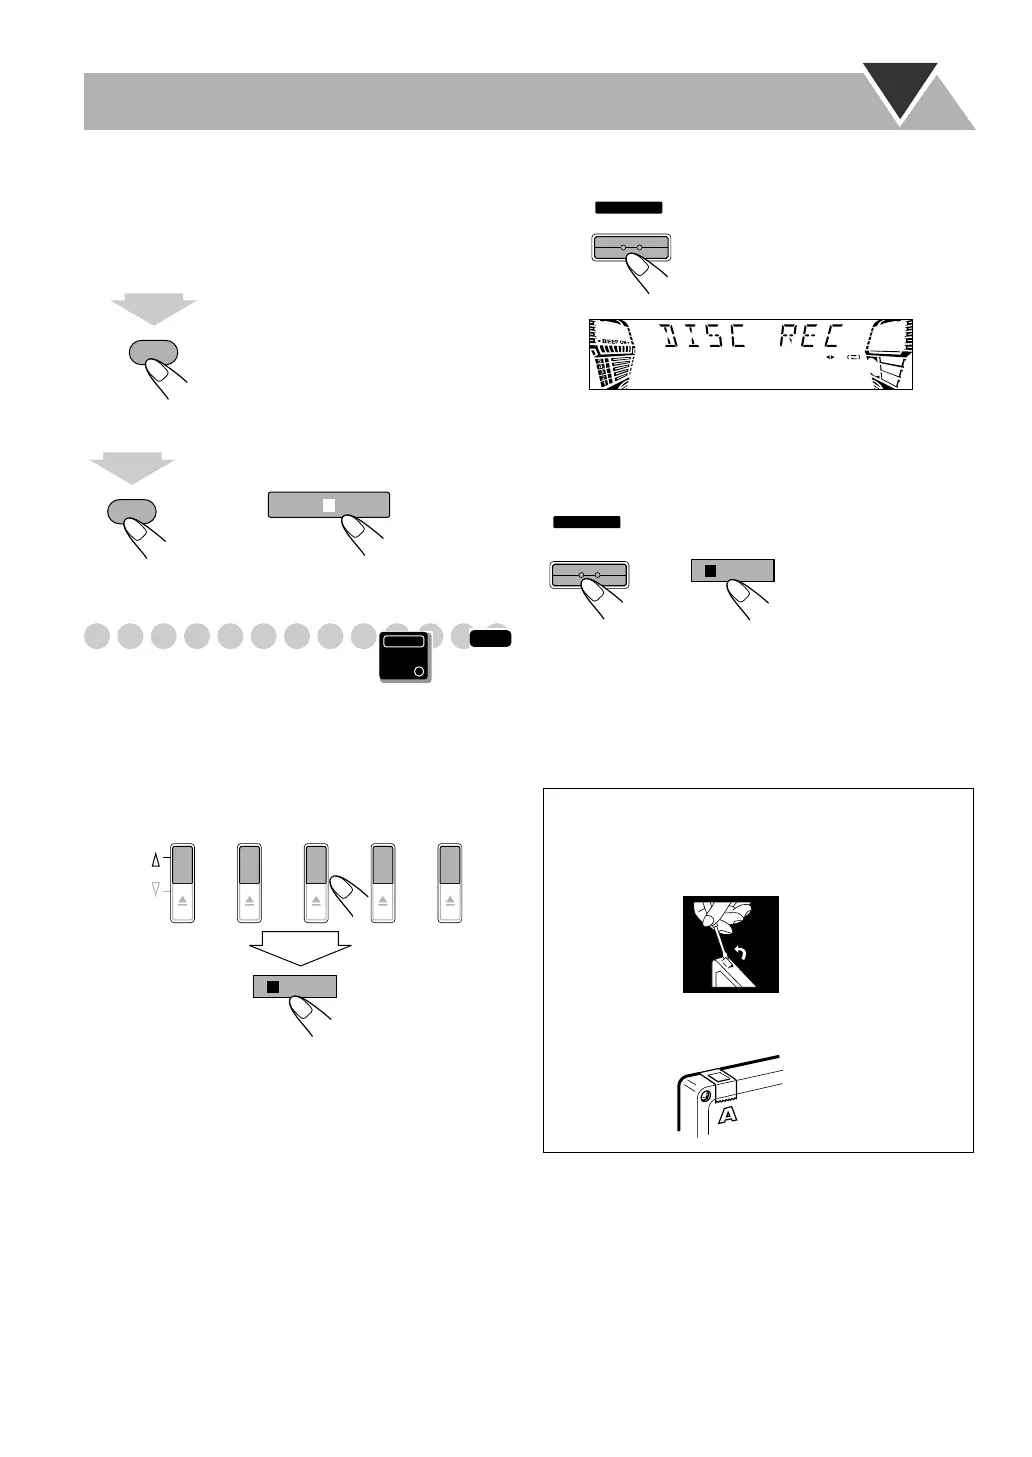
Start playing the source—“FM,” “AM,” “DVD/CD,”
or “AUX.”
• When recording a disc, you can also use “Synchronized
Disc Recording” (see the next column).
4
Start recording.
To stop recording
Synchronized Disc Recording
You can start and stop both disc play and tape recording at
the same time.
1
Load a disc and insert a recordable cassette.
2
Select a disc.
For recording desired tracks on discs:
You can program tracks to record from plural discs with
your preferred order.
• Select Program Play (and make a program (see
page 25)) without starting playback.
3
Check the tape running direction and Reverse Mode
settings on the display.
• See step
2
of “Recording on a Tape” on page 33.
4
Start recording.
• When either disc play or recording ends, both disc player
and the cassette deck stop at the same time.
To stop recording
To record without creating a 4-second blank
1 Press DVD/CD 3
, then press 8
.
2 Press 4
to go back to the beginning of the track.
3 Start recording.
REC START/STOP
1
sec.
REC START/STOP
1
sec.
or
INFO
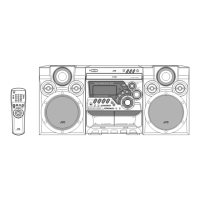
Main Unit
ONLY
DISC 1
PLAY
EJECT
DISC 2 DISC 3 DISC 4 DISC 5
/BEEP
The System automatically
creates 4-second blanks between
the tunes recorded on the tapes.
To protect your recording
Cassettes have two small tabs on the back to protect
from unexpected erasure or re-recording.
To protect your recording,
remove these tabs.
To re-record on a protected tape,
cover the holes with
adhesive tape.
START
DISC REC
START
/STOP
REC
or
/BEEP
HX-GD7.book Page 34 Monday, May 17, 2004 4:51 PM
 Loading...