1-28
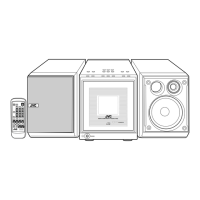
UX-A70MD
Adjustment Method (CD/MD section)
1. Jigs and test instruments
Laser power meter
Laser power meter sensor (or disk sensor)
Premastered disk (MRG-1018 or TGYS1)
Recordable disk (MDW-74/AU1)
2. Adjustment and check items
1) Indications in the modes that all LCD's are on
2) CD section
(1) Indication of the C1 error
(2) Cancel of the C1 error indication
3) MD section
(1) Setup of the TEST MODE 1
(2) Initialization of the EEPROM
(3) Adjustment of the laser power
(4) Adjustment of the disk
(5) Setup of the TEST MODE 2
(6) Indication of variation in the pickup adjustment value
(7) Indication of the C1 error
(8) Cancel of the TEST MODE
3. Adjustment and check method
1) CD section
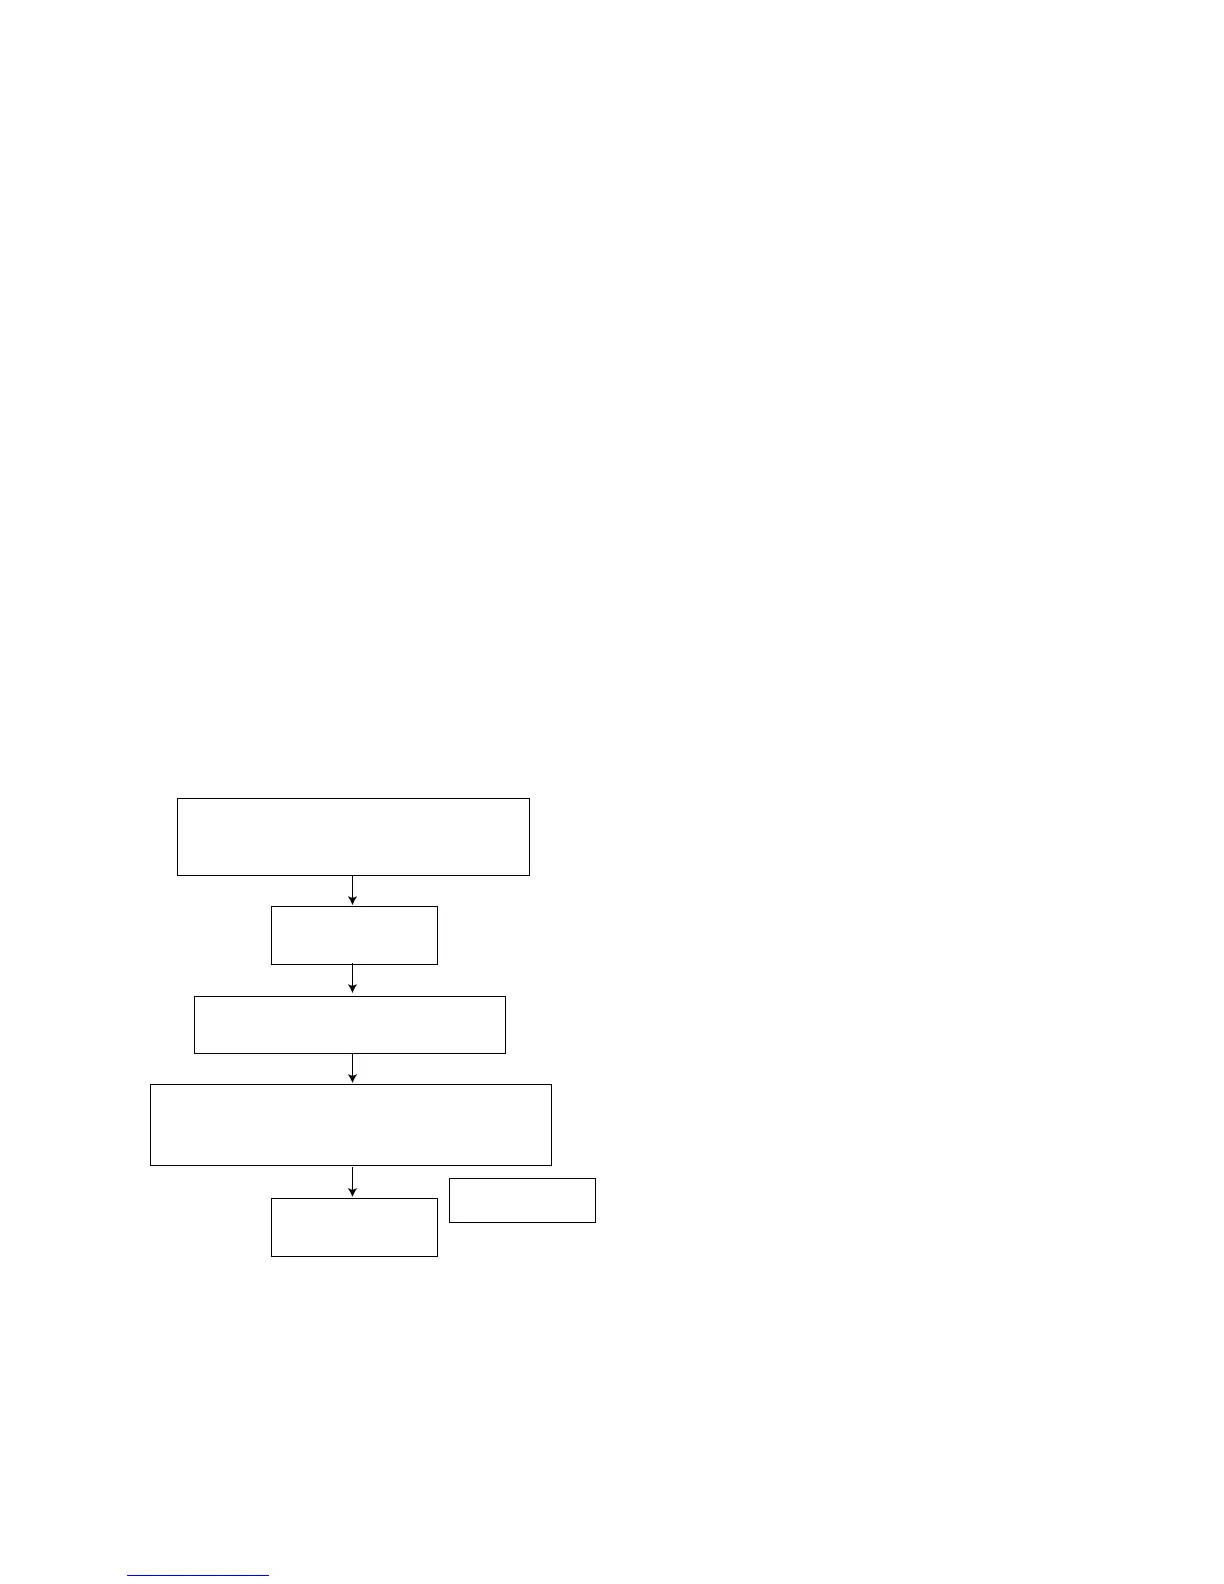
(1) Indication of the C1 error
(2) Cancel of the C1 error indication
To cancel the C1 error indication, cut off the power supply.
While pressing both the POWER key
and BACK SKIP key on the main unit,
turn on the primary power supply.
FL indication
CRC = 0
Press the CD OPEN/CLOSE key
and insert the test disk.
Press the CD PLAY key. The set starts
counting and the number of error correction
times is indicated every 10 seconds.
200 Hz or less
FL indication
CRC = ***
 Loading...