(No.MB248)1-9
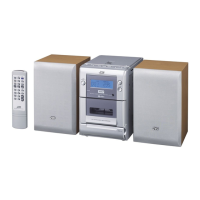
3.1.4 Removing the CD chassis assembly
(See Fig.5 to 8)
• Prior to performing the following procedures, remove the rear
cover.
(1) Remove a screw E retaining the main board onto the CD
chassis.
(2) Disconnect the two FFC cables X1, X2 from the connectors
CN704
, CN703 on the CD board.
(3) Disengage the claws F on both sides of the body, while
moving the CD chassis assembly downward and back-
ward.
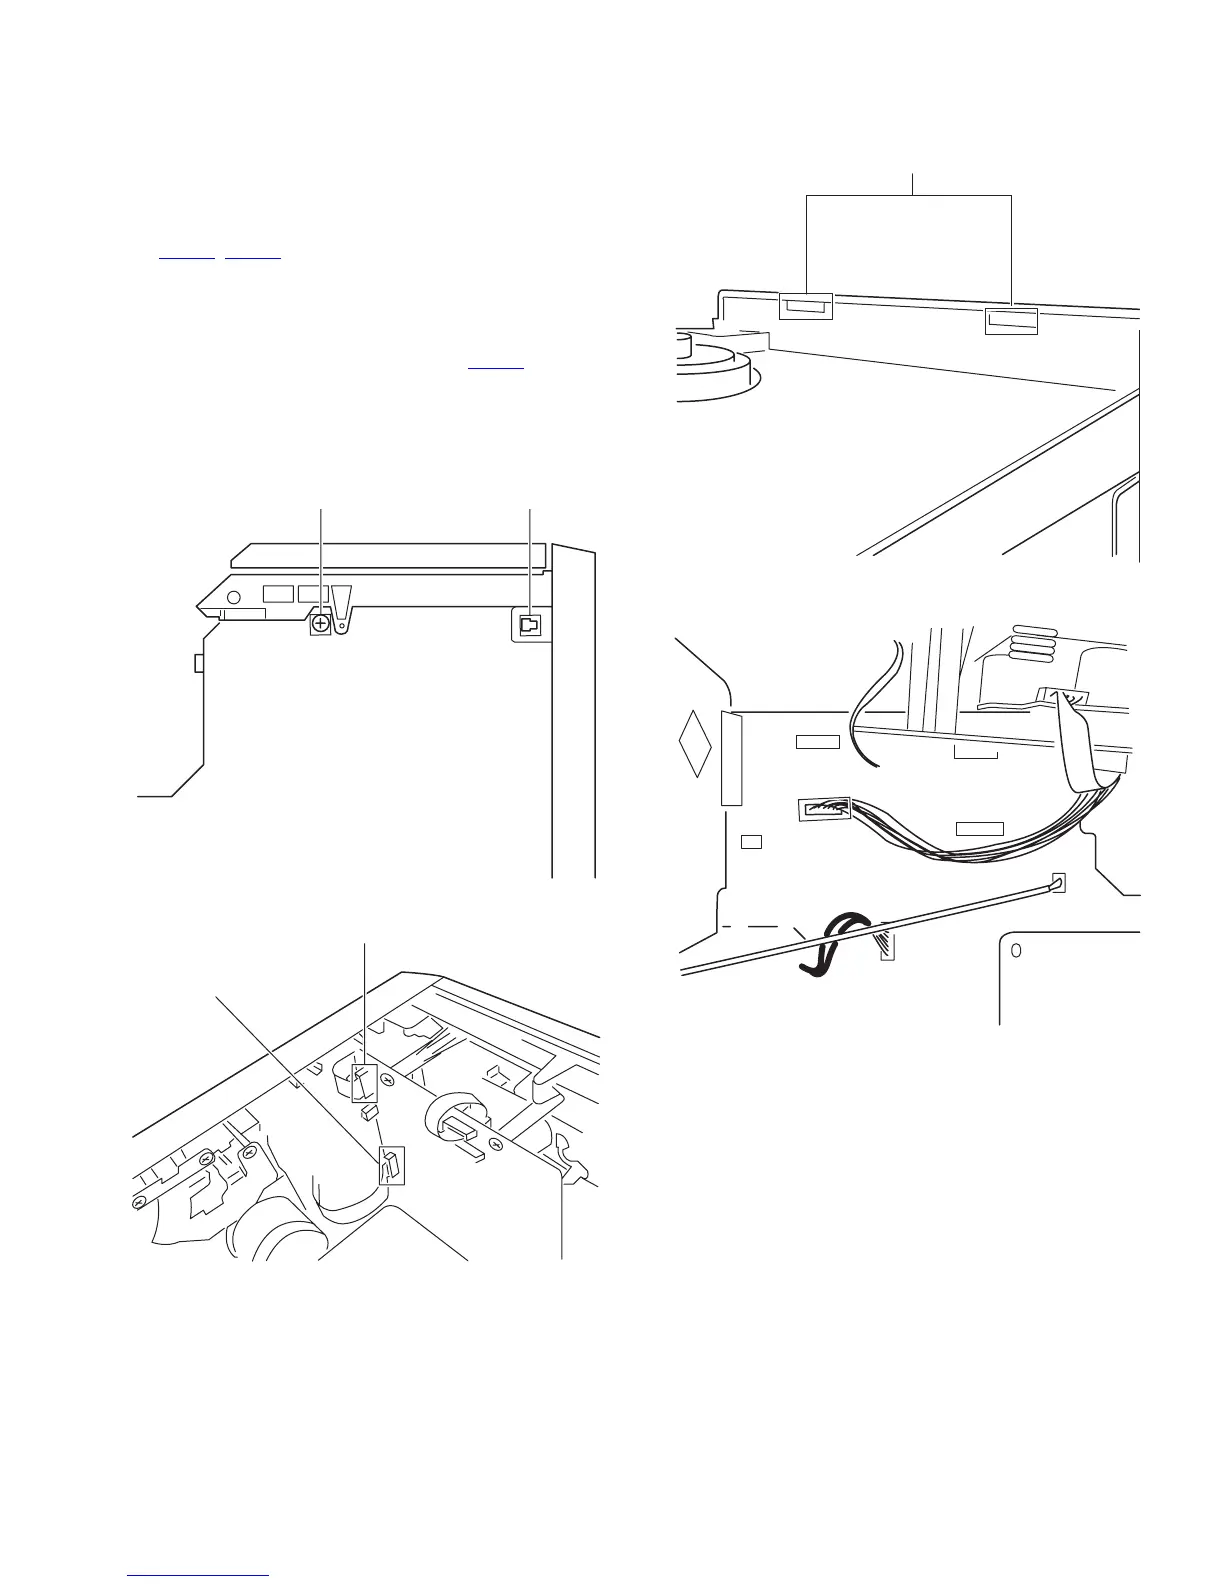
(4) Before you take away the CD chassis assembly, you must
disconnect the wire from the connector CN204
on the main
board. (Fig.8)
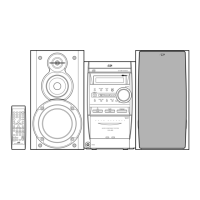
Caution:
You must ensure that the two claws of the CD chassis's top G
are disengaged, while moving the CD chassis assembly.
Fig.5
Fig.6
Fig.7
Fig.8
EF
X1
X2
G
Cassette mechanism
 Loading...