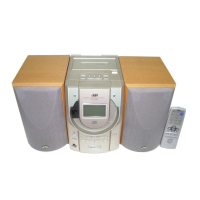
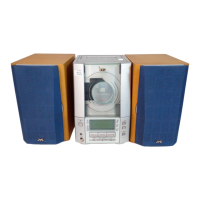
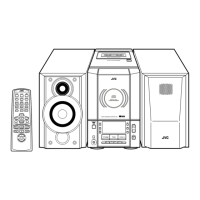
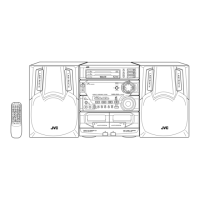
VS-DT9R/VS-DT6R
1-6
Fig.2
Fig.3
Fig.4
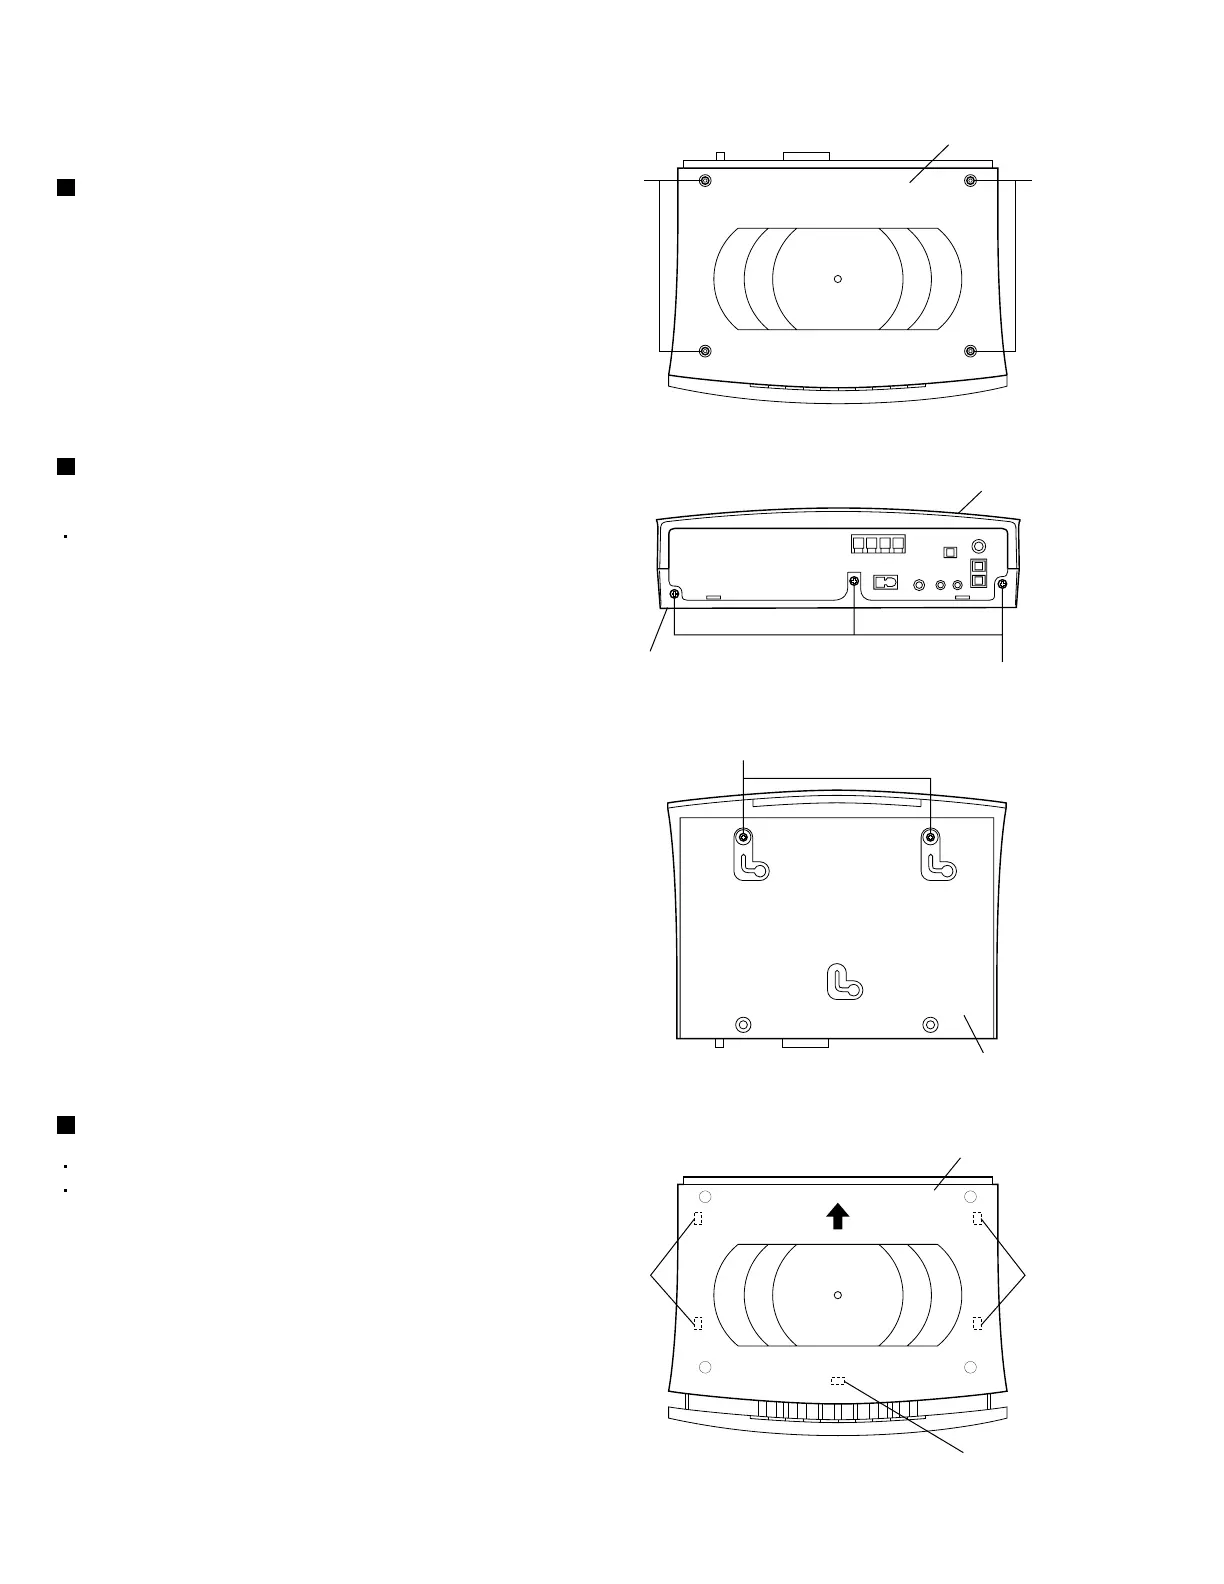
B
C
Top panel
Bottom panel
Bottom panel
bb
a
Top panel
Fig.1
AA
Top lens
Disassembly method
<Main body section>
Removing the bottom panel
(See Figs. 2 and 3.)
1.
2.
3.
From the rear side of the main body, remove the
three screws B attaching the bottom panel.
From the bottom side of the main body, remove the
two screws C attaching the bottom panel.
Remove the bottom panel in an upward direction.
1.
2.
Slide the top panel toward the rear (direction of the
arrow) and disengage it from the engagement
sections a and b of the bottom chassis.
Remove the top panel in an upward direction.
Removing the top panel (See Fig. 4.)
Remove the top lens. [VS-DT9R only]
Remove the bottom panel.
Removing the top lens [VS-DT9R only]
(See Fig. 1.)
From the top side of the main body, remove the
four screws A attaching the top lens.
Remove the top lens. [VS-DT9R only]
 Loading...