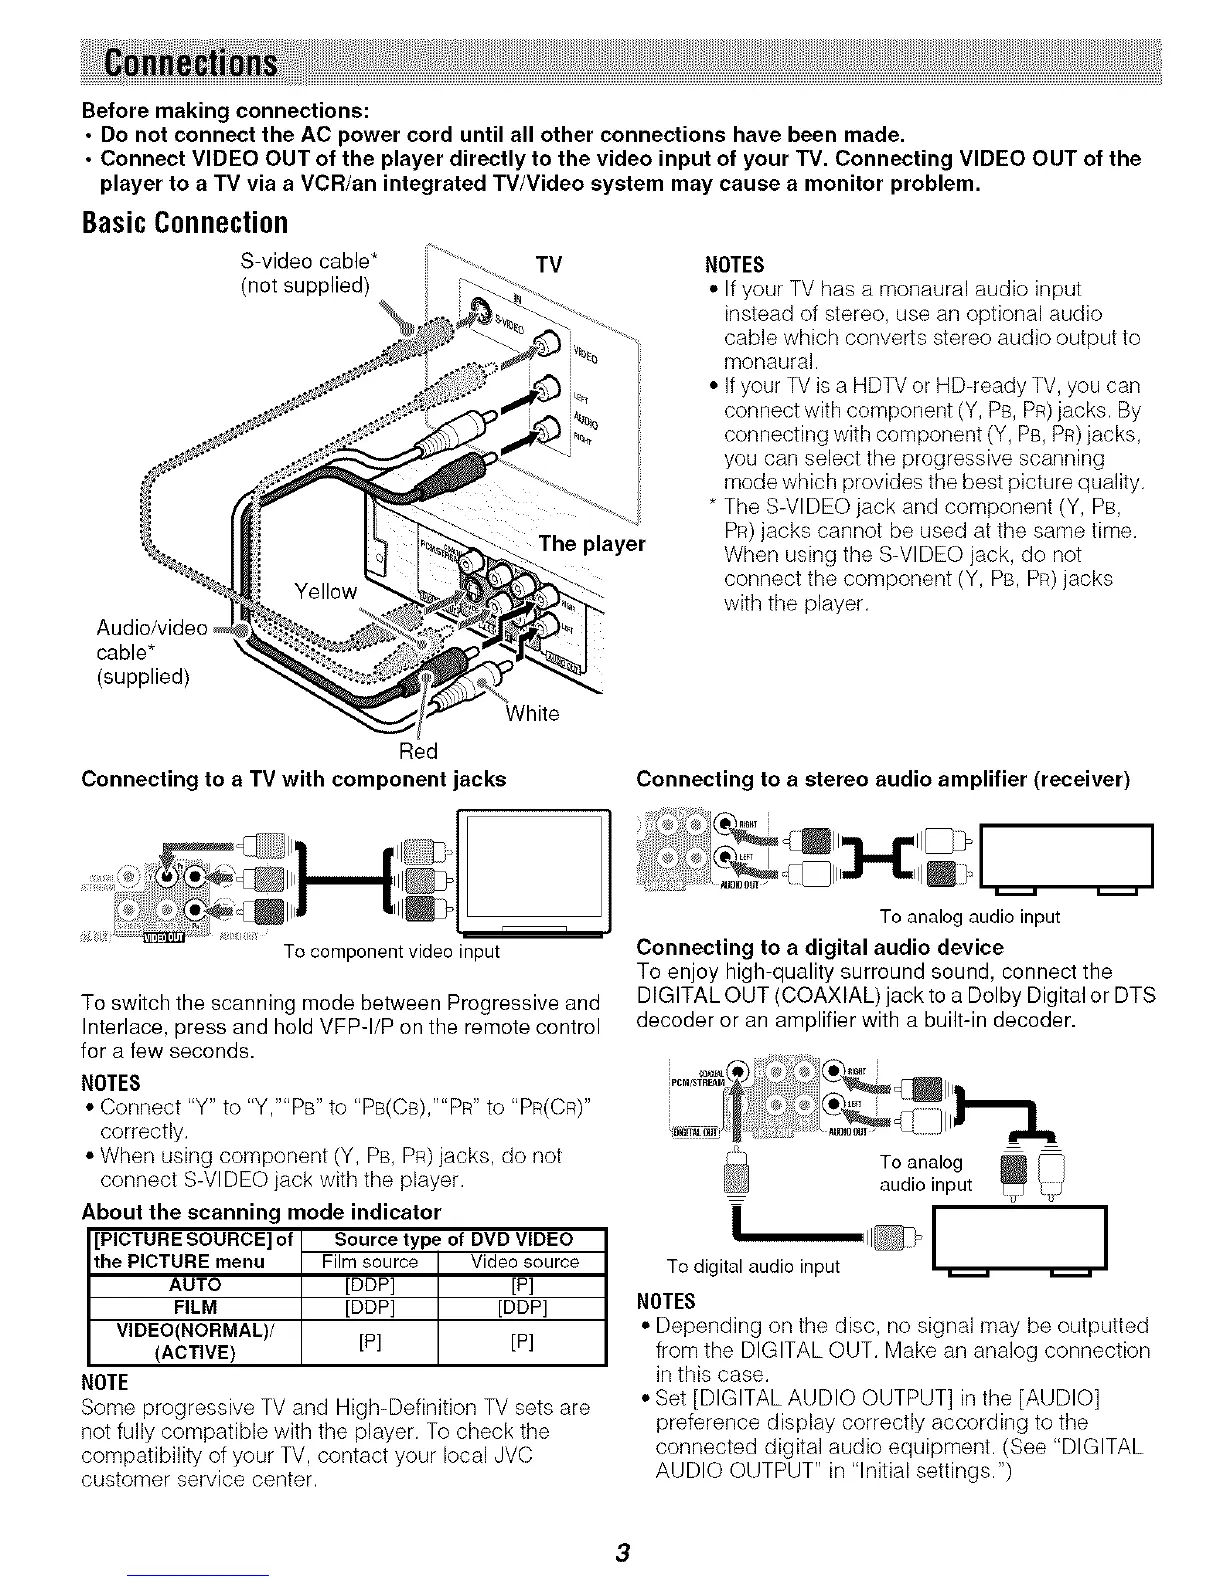
Before making connections:
• Do not connect the AC power cord until all other connections have been made.
• Connect VIDEO OUT of the player directly to the video input of your TV. Connecting VIDEO OUT of the
player to a TV via a VCR/an integrated TV/Video system may cause a monitor problem.
BasicConnection
Audio/video
cable*
(supplied)
S-video cable* TV
(not supplied)
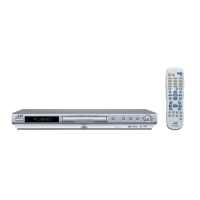
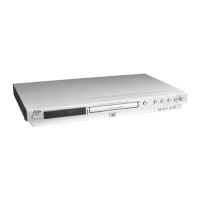
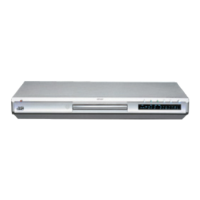
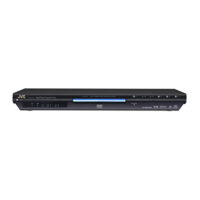
The player
White
NOTES
• If your TV has a monaural audio input
instead of stereo, use an optional audio
cable which converts stereo audio output to
monaural.
• If your TV is a HDTV or HD-ready TV, you can
connect with component (Y, PB, PR)jacks. By
connecting with component (Y, PB, PR)jacks,
you can select the progressive scanning
mode which provides the best picture quality.
* The S-VIDEO jack and component (Y, PB,
PR)jacks cannot be used at the same time.
When using the S-VIDEO jack, do not
connect the component (Y, PB, PR)jacks
with the player.
Red
Connecting to a TV with component jacks Connecting to a stereo audio amplifier (receiver)
To component video input
To switch the scanning mode between Progressive and
Interlace, press and hold VFP-I/P on the remote control
for a few seconds.
NOTES
• Connect "Y" to "Y,""PB" to "PB(CB),""PR" to "PR(CR)"
correctly.
• When using component (Y, PB, PR)jacks, do not
connect S-VIDEO jack with the player.
About the scanning mode indicator
[PICTURE SOURCE] of
the PICTURE menu
AUTO
FILM
VIDEO[NORMAL]/
[ACTIVE]
NOTE
Source type of DVD VIDEO
Film source Video source
[DDP] [P]
[DDP] [DDP]
[P] [P]
Some progressive TV and High-Definition TV sets are
not fully compatible with the player. To check the
compatibility of your TV, contact your local JVC
customer service center.
I
To analog audio input
Connecting to a digital audio device
To enjoy high-quality surround sound, connect the
DIGITAL OUT (COAXIAL) jack to a Dolby Digital or DTS
decoder or an amplifier with a built-in decoder.
To analog _audio input
i I I
To digital audio input _
NOTES
• Depending on tile disc, no signal may be outputted
from the DIGITAL OUT. Make an analog connection
in this case.
• Set [DIGITAL AUDIO OUTPUT] in the [AUDIO]
preference display correctly according to the
connected digital audio equipment. (See "DIGITAL
AUDIO OUTPUT" in "Initial settings.")
 Loading...