3.3 Work Instructions
These work instructions function as a basic guide to instruct the installer of the best practice
workflow. It is understood that the installer may deviate from these guidelines based on the
environmental factors at the time. The integrity of the device and float switch shall be
prioritised when deviating from the following guide.
3.3.1 Step 1 – Install the Antenna
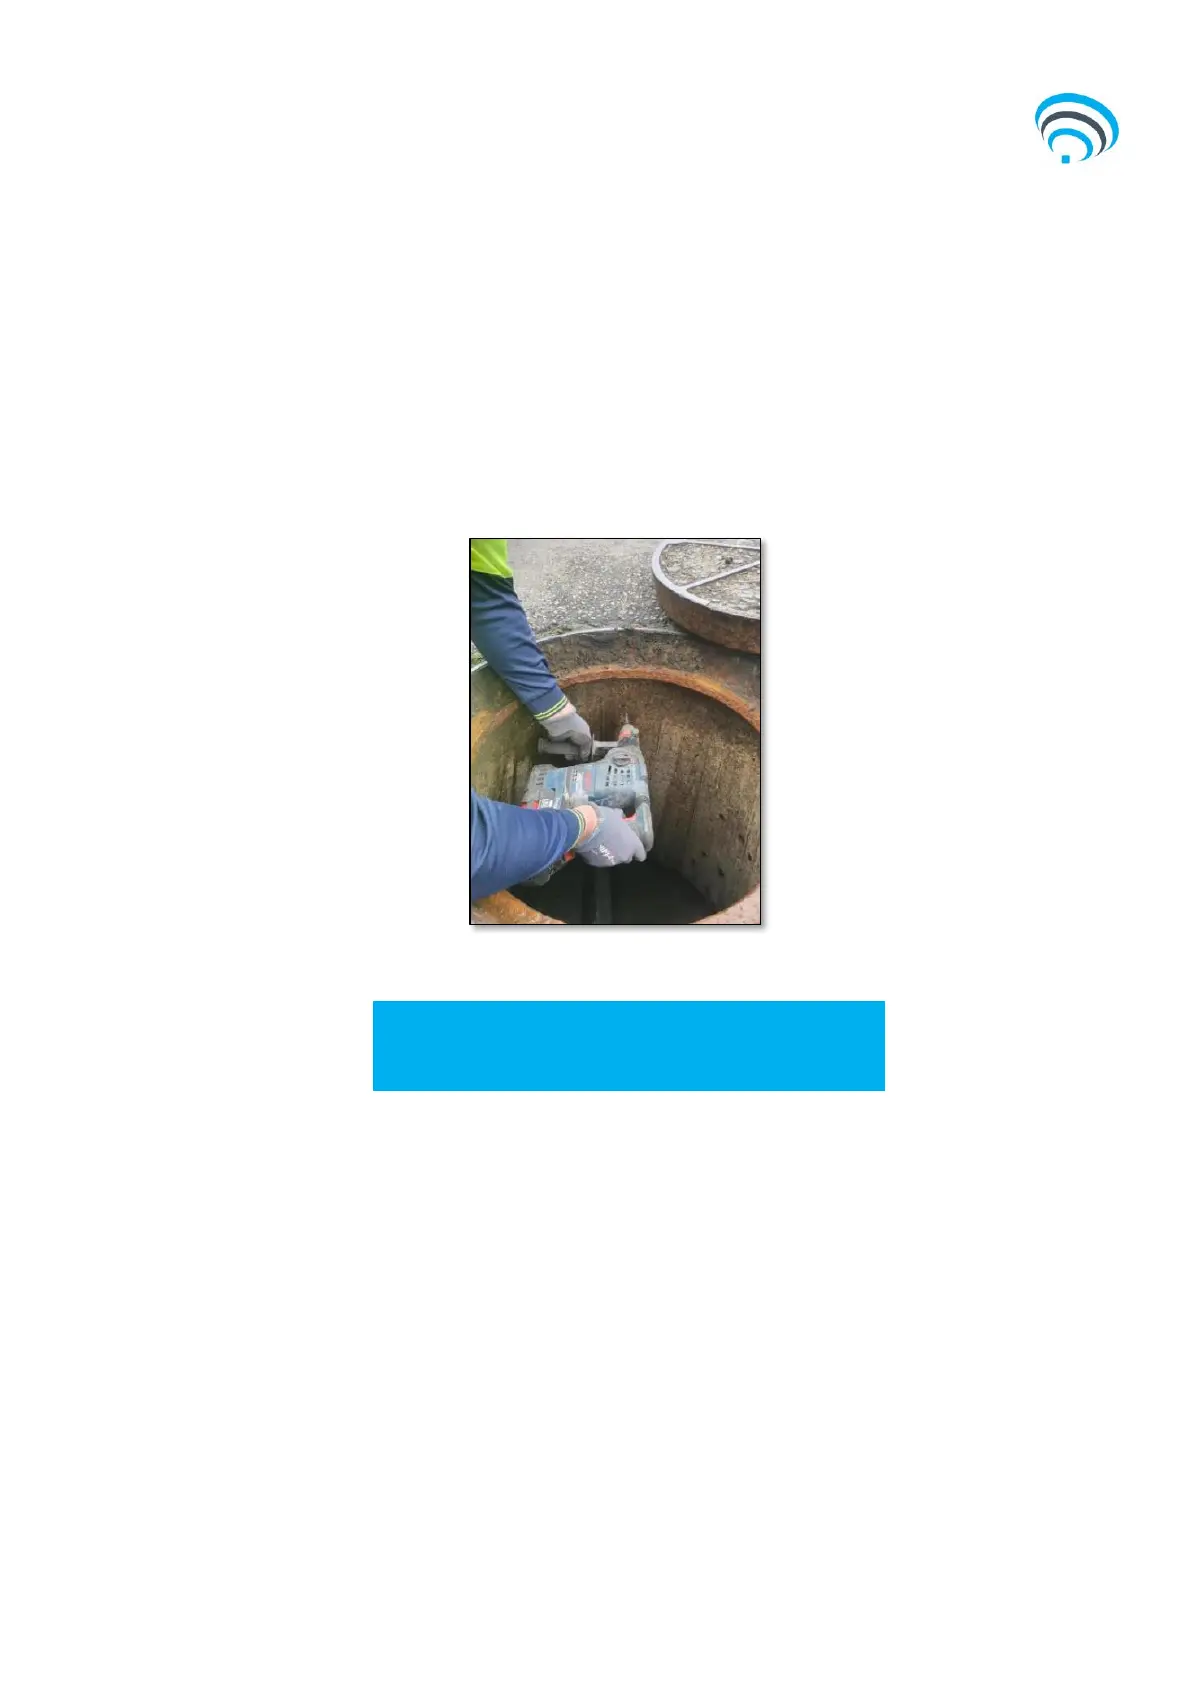
The installer will need to drill a hole in the inside will of the riser to mount an eyebolt.
Figure 2: Reference for hole location
1) Open the Manhole (MH) and gas test
2) Drill an 8mm hole in solid concrete/brick at a minimum of 100mm from the base of
the MH rim. The location of the 8mm hole will be determined by three factors:
a) Upstream side of the MH to prevent the float being pulled downstream during
surcharge, if possible.
b) Not in front of a drop-junction or overflow window as this will cause the float to
be damaged and potential fouling to occur leading to the alarm being
triggered
c) Not be directly adjacent to the step irons as this can lead to the float
becoming tangled and stuck in the ‘alarm’ position during internal surcharge
events.
Do not torque or over-screw the antenna SMA
or Amphenol reciprocal connector as this will
cause damage to the device.