Note: Conduct a test to determine whether the float has the potential to become
caught on benches, overflow windows and/or drop junctions
2) After confirming the length of float switch, wrap the chosen cable around a thimble,
and cable tie tightly to create an anchor point.
Figure 7: Reference for strain relief thimble
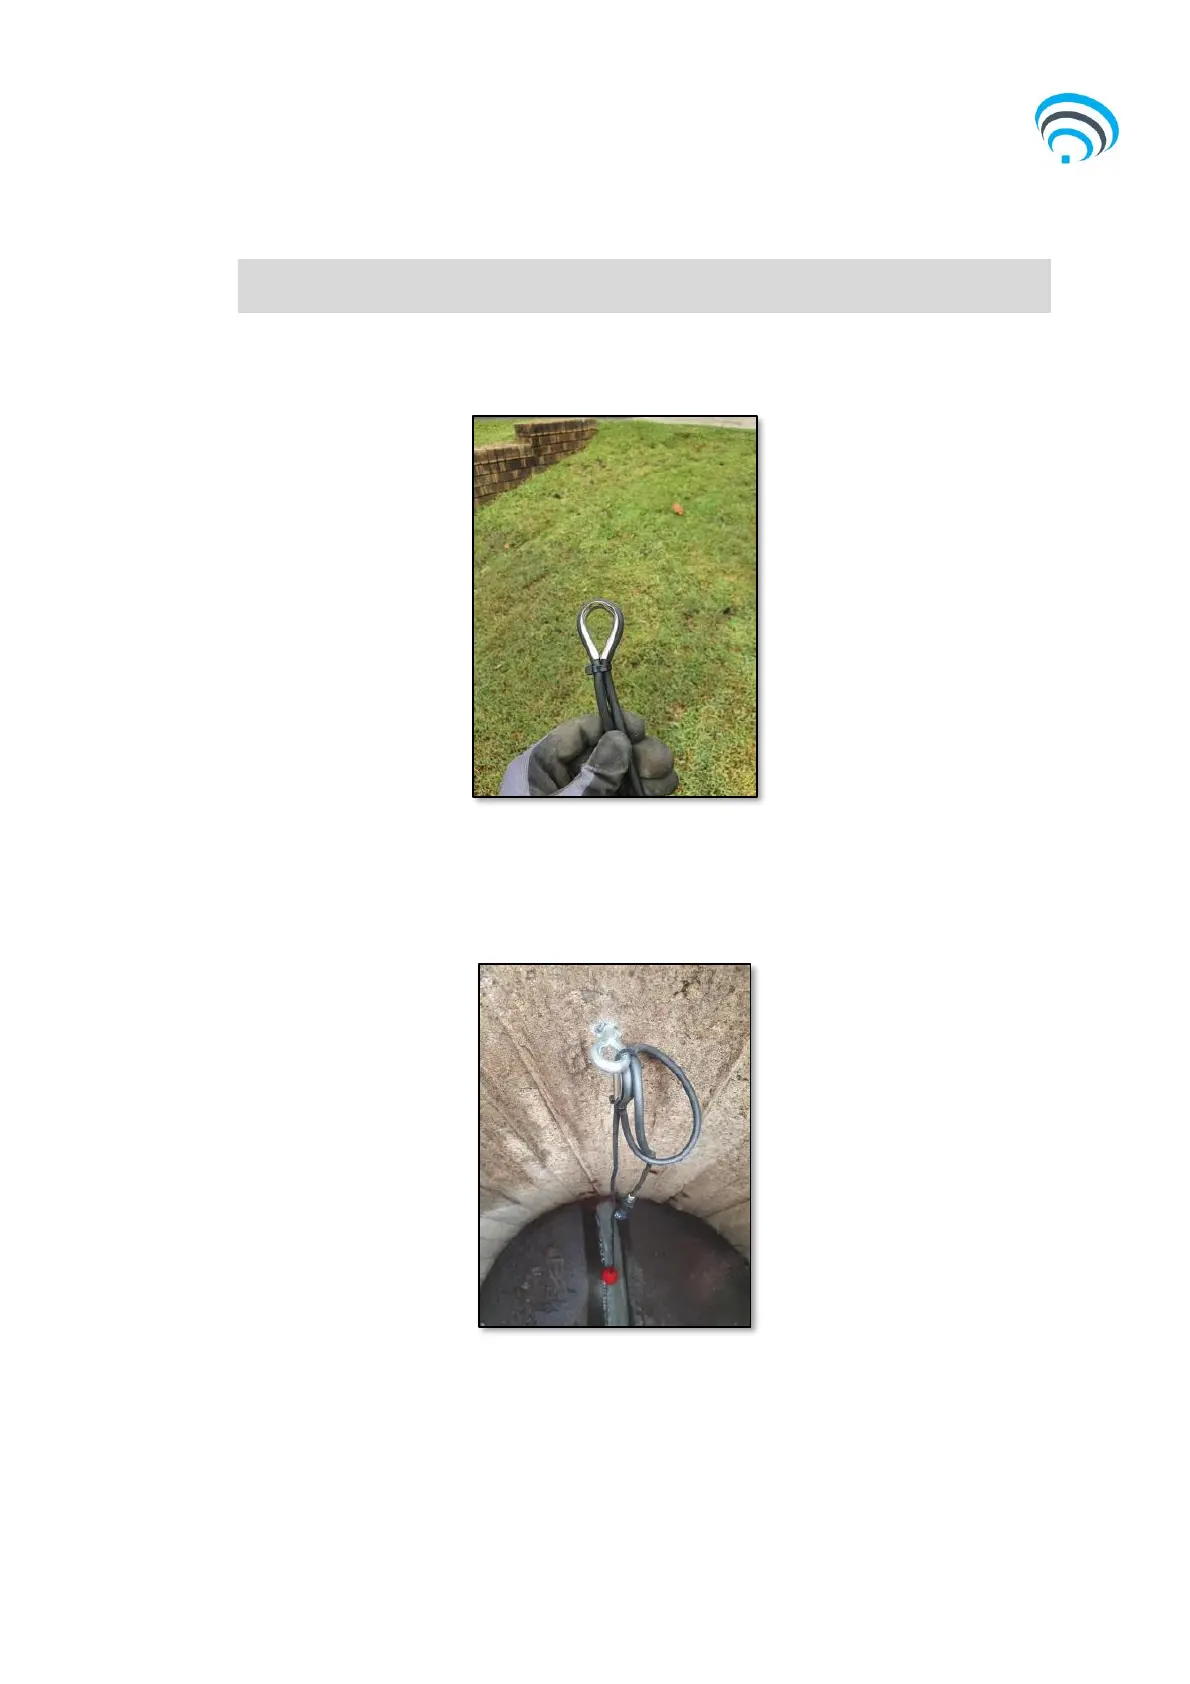
3) Cable tie the float switch to the eyebolt using the thimble and loop any excess lead.
If the float switch is not at the right height, remove and redo.
Figure 8: Reference for float switch mounting
4) Prior to placing the device into the MH, plug the float switch into the side of the
device. The connection point will click and lock.