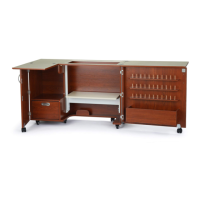
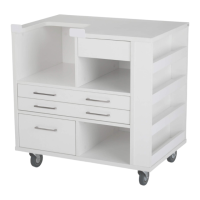
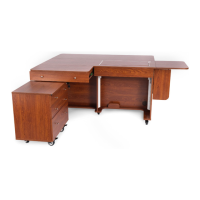
Assembly InstructionsWallaby II
15
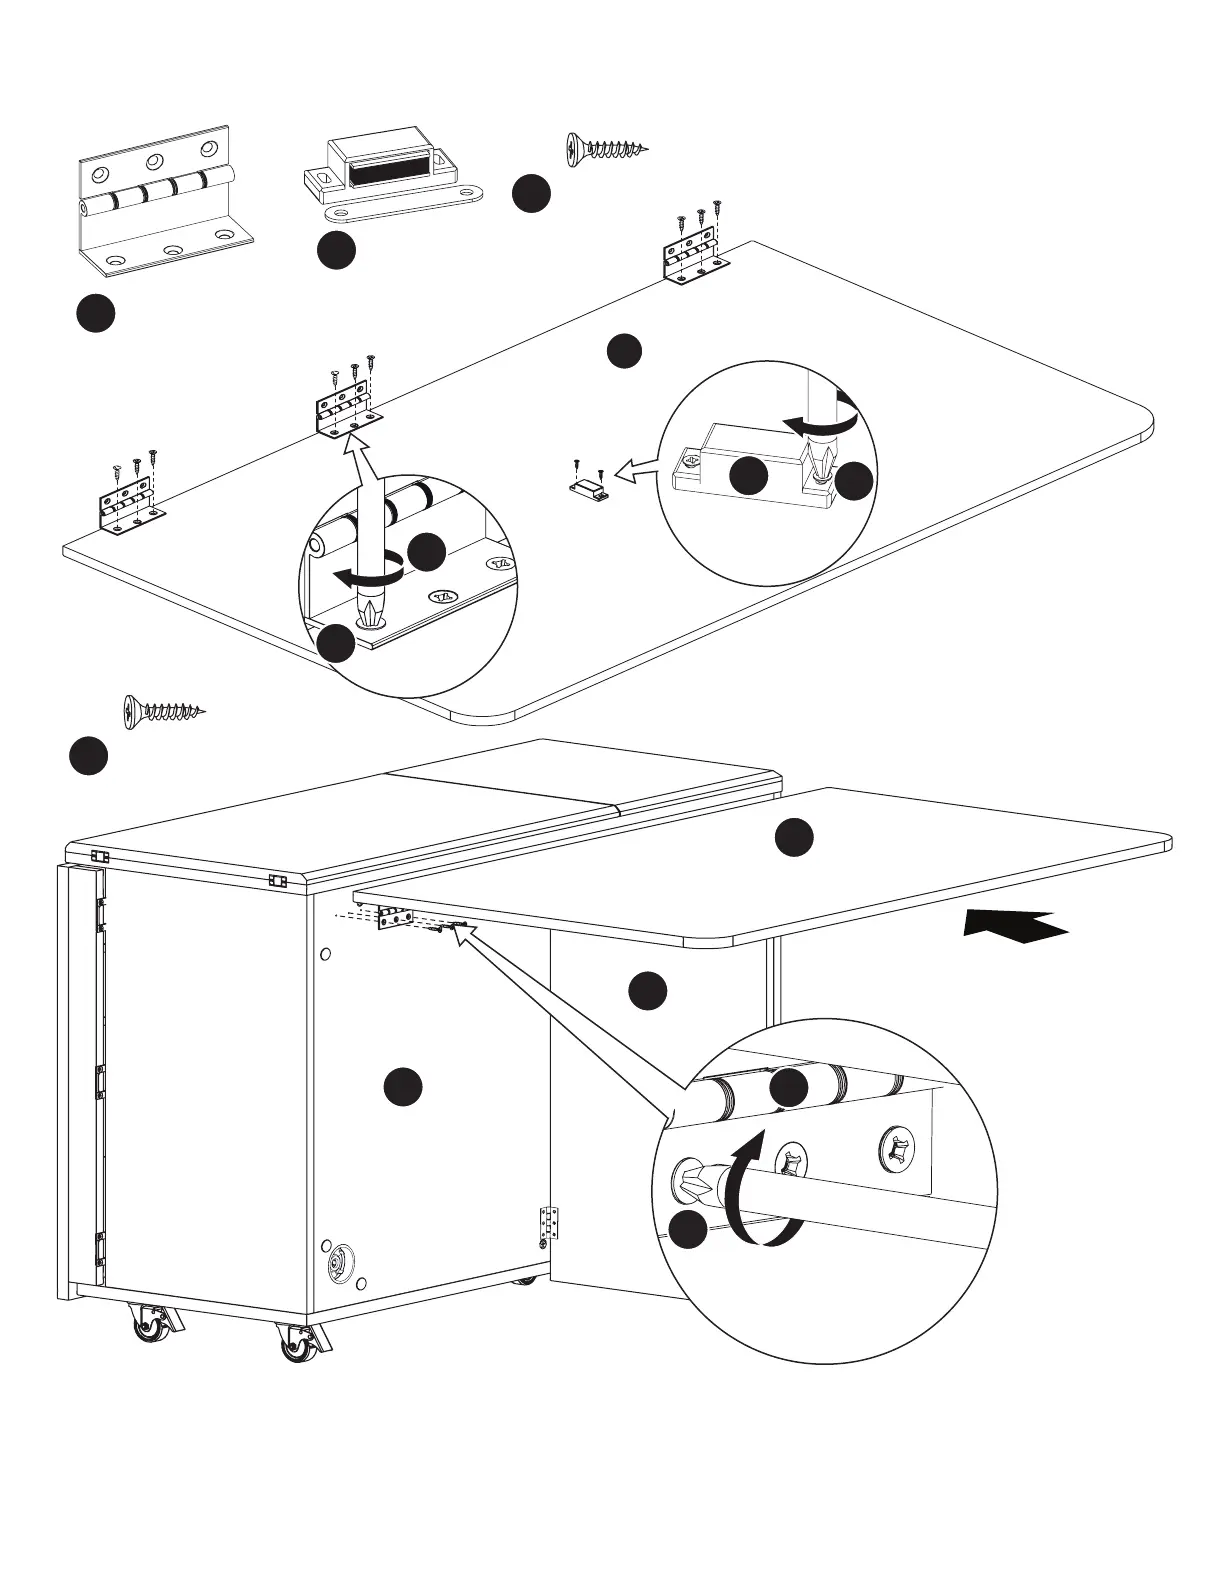
Step 4: Gate Leg and Quilt Panel
3.5x14 Screw x11
Magnet x1
Flap Hinge x3
Attach h3 Flap Hinges to
Panel A1 using s1 Screws.
Attach m Magnet to Panel
A1 using s1 Screws.
3.5x14 Screw x9
Attach Panel A1 to Panel D with s1 Screws
in h3 Flap Hinges.
A SPECIAL NOTE ABOUT USING TABLETOP LEAVES: Do NOT extend the leaves until you have support panels in
place. Doing so may damage the cabinet and void your warranty.