12
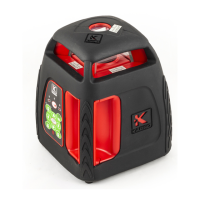
4.The Rotary Laser is ready for work when the laser beam
has stopped blinking. The instrument is now level and the
laser head will rotate at 600 rpm.
5.If the laser beam is not sufciently visible, adjust the
rotation speed (see Changing Rotating Speed), or use
the Laser Detector to detect the laser beam (see Laser Detector).
6.You can use the remote control to control the Rotary
Laser (see Using the Remote Control). This option is very
useful when working at heights or on scaffolding.
7.To turn the Rotary Laser off, press the On/Off button.
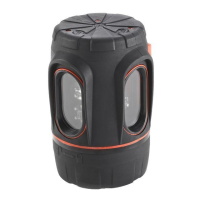
Plumb Down
The Plumb Down feature enables you to center the Rotary
Laser onto a selected point. It is much easier to use this
feature if you set up the Rotary Laser on a tripod with a
hollow connecting bolt.
1. Set up the Rotary Laser on a tripod.
2. Move the tripod and Rotary Laser so that they are
approximately above the selected point.
3. Level the Rotary Laser as in Horizontal Setup.
4. Turn the Rotary Laser On.
5. Move the Plumb Down beam onto the selected point on
the ground by raising and lowering the tripod legs.
6. Level the Rotary Laser again, and adjust the Plumb Down
beam with the tripod legs as in step 5.
7. Repeat step 6 until the Plumb Down beam is sufciently
accurate for your purposes.
8. If you wish to transfer a point to the ceiling, use the Plumb
Up beam once the Rotary Laser is accurately centered.