English 9.764-892.0 Rev. 00 (07/17) 7
Note
Unless otherwise described, the installation takes place in
reverse order.
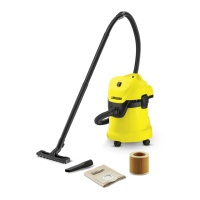
1 Release button
2 Dust container
3 Air outlet cover
Press the release button.
Remove the dust container.
Unlock and remove the air outlet cover.
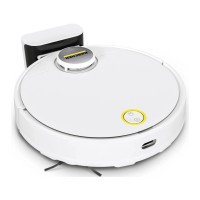
1 HEPA-filter
2 Screws
3 Ring
4 Wheel
5Screw
Remove the HEPA-filter.
Unscrew the screws.
Remove the ring.
Remove wheel.
Unscrew the screw.
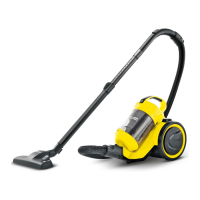
1 Cover
2 Installation tools
Carefully unclip and remove the cover using the instal-
lation tool.
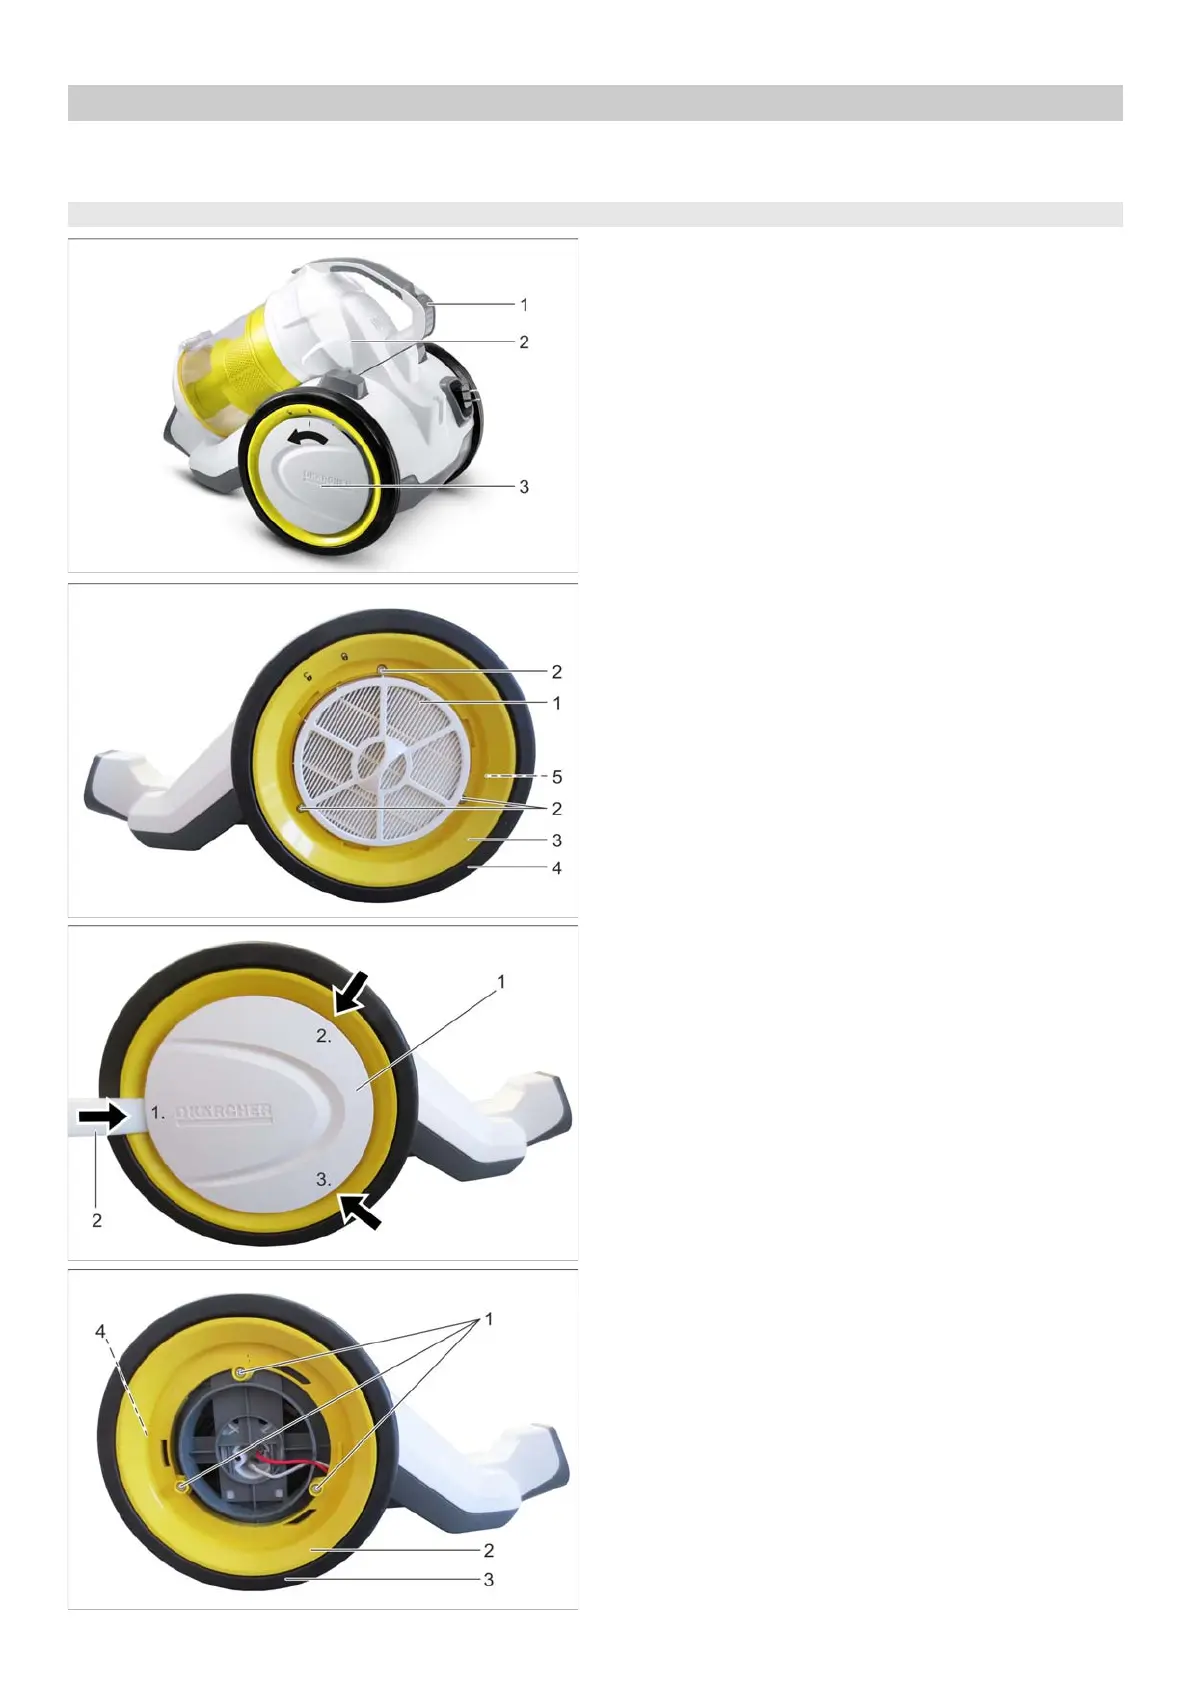
1 Screws
2 Ring
3 Wheel
4Screw
Unscrew the screws.
Remove the ring.
Remove wheel.
Unscrew the screw.
040 Service activities
ABHA Uninstalling / installing cover
 Loading...