Q.1.35 January 2016
Page 7
© Copyright 2016 KE2 Therm Solutions, Inc., Washington, Missouri 63090
Preparing the Evaporator
The evaporator wiring will require access to the high voltage ter-
minal block on the coil.
Turn o power to the system.
Verify power is no longer present using a multimeter.
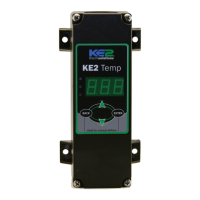
Install Safety cover
Once all of the high voltage wiring is complete, install the plastic
cover on the controller.
Locate the cover and 3 small screws from the accessories kit.
Position the cover over the 3 mounting posts.
Using the 3 small coursely threaded screws attach the controller to
the plastic posts.
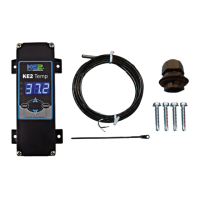
Connecting sensor wires to controller
The temperature sensors are designed to be attached to the con-
troller using 2 position screw terminals. The terminals are located
on the controller’s lid, on the bottom side of the display.
Connect all sensors to the appropriate locations, which can be de-
termined from the label on the circuit board or from the Wiring
Schematic.
The sensors are not polarized, so wire location does not eect sen-
sor performance.
Set the controller in a safe place.
11
11
12
12
Evaporator wiring
Now that the conduit is prepared, it can be connected to the
evaporator.
Locate the proper sized knockout and carefully remove knockout.
Connect conduit to the evaporator
1313
KE2 AdaptiveControl
Quick Start Guide