Direction of Air Flow in Filter
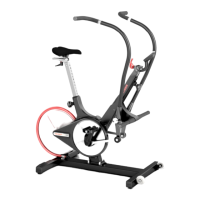
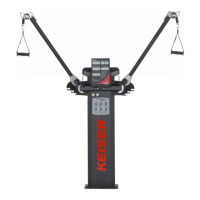
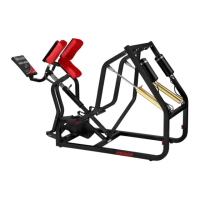
VALVES
-WARNING-
BEFORE ANY DISASSEMBLY, THE MACHINE MUST FIRST BE UNPLUGGED
FROM THE AIR SUPPLY AND THE RESISTANCE DECREASED TO ZERO.
KEISER equipment uses a variable flow thumb valve capable of very fine adjustment to
the resistance.
Note: There is a high pressure port and low pressure port on each valve. The decrease
valve has the hose from the manifold connected to the high pressure port. The
hose connecting the corresponding port on the increase valve should come from
the filter and is the high pressure supply hose. If the hoses are not correctly
installed, the valve will not seat properly and will not hold a set resistance.
REPLACING THUMB BUTTON VALVES
TOOLS REQUIRED: 5/64" Allen wrench, Slotted screwdriver, Sharp knife.
1. Unplug the quick disconnect on the supply hose and decrease the resistance
to zero.
-CAUTION-
IF RESISTANCE IS NOT REDUCED TO ZERO BEFORE REMOVING THE +/- CAP,
THE VALVE SPOOL MAY “SHOOT” OUT OF THE VALVE HOUSING.
2. Remove the +/- cap from the handle and pull the valve out using the flange on the
valve. If you pull out on the thumb button, you will remove the thumb button
spool assembly. Pull out until the hoses can be cut about 1/2” from the bottom
of the valve housing.
Mark the hose connected to the barb on the side next to the two ball plugs in the
side of the valve housing. This is the high pressure hose and must be correctly
reconnected or the valve will not seal properly.
If you have a machine equipped with an optional digital display, the valve will
also have one or two wire connectors plugged into the end.
Sometimes it is necessary to push the hoses into the exercise arm where they enter
it from the machine frame to get enough slack to remove the valve.
3. Disconnect any electrical connections, if you have two on one valve, they may be
reconnected either way. Pry the hoses off the barb fittings or cut each about 1/2”
from the end of the valve housing and pry the short piece off each barb. The