2 Installing a Hardware
LoadMaster
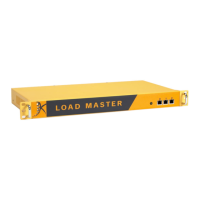
A hardware LoadMaster package includes the following items:
Hardware LoadMaster appliance
Power cable
Serial cable
Mounting brackets
Serial cables are not included with LM-4000 models.
2.1 Connect and Power On the Equipment
To connect and power on the LoadMaster, follow the steps below:
1. Install into a 19-inch rack or another safe location.
2. Connect the Ethernet cable(s) to the port(s) on the LoadMaster.
For single arm setups, the switch only needs to be connected
to port 0.
3. Connect a monitor and keyboard to the LoadMaster (or just a serial cable).
4. Connect the power cable to the LoadMaster.
5. Turn on power to the unit.
2.2 Configure Networking
If you do not have the ability to connect to the LoadMaster
using a VGA or serial connection, skip to the License and
Configure the LoadMaster section. The default IP address for
the unit is 192.168.1.101.
kemp.ax
5
Copyright 2002-2021, Kemp Technologies, All Rights Reserved
Hardware LoadMaster
2 Installing a Hardware LoadMaster