SECTION 3. LEARN THE STITCHES
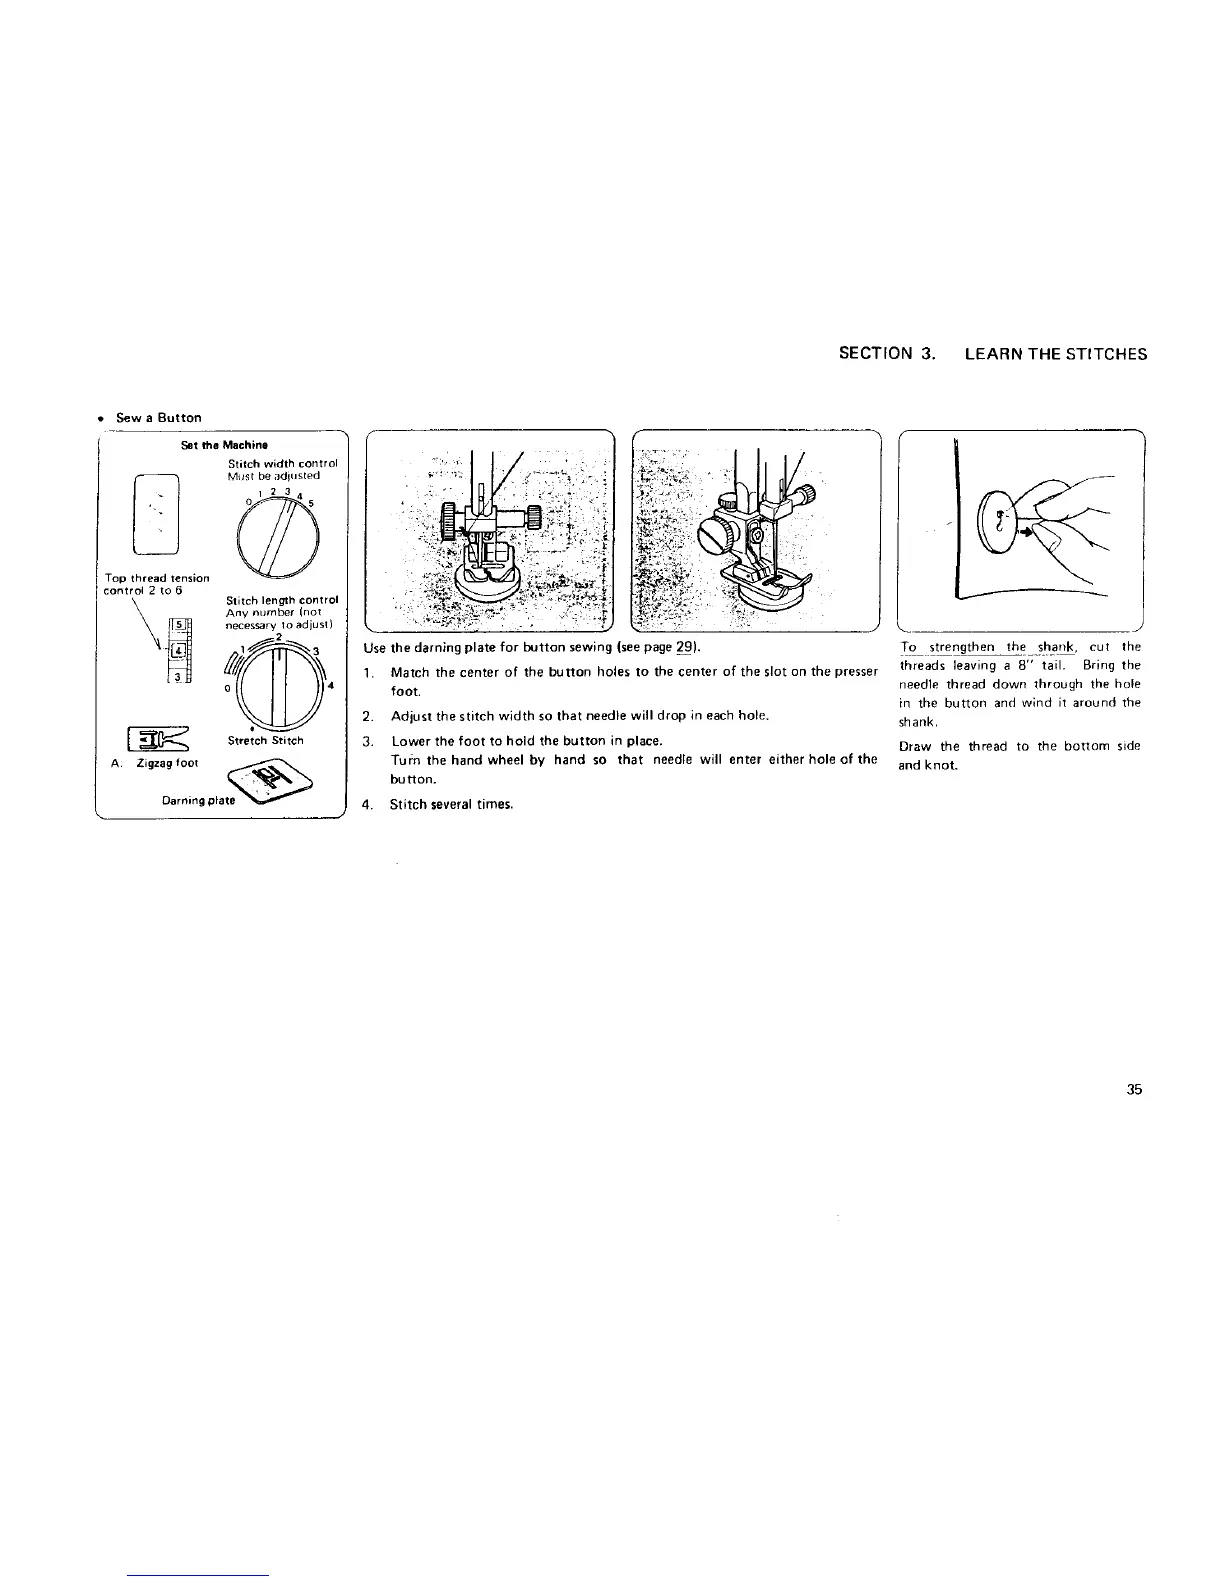
• Sew a Button
S_t the Machine
Top thread tension
control 2 to 6
Stitch width control
M_sr be adjusled
A: t_
Zigzag foot
Darning pla
Stitch length control
Any number (not
necessary to adjust)
Stretch Stitch
Use the darning plate for button sewing (see page 29).
1. Match the center of the button hoJes to the center of the slot on the presser
foot.
2,
3.
Adjust the stitch width so that needle will drop in each hole.
Lower the foot to hold the button in place.
Turn the hand wheel by hand so that needle will enter either hole of the
button.
4. Stitch several times.
To strengthen the sllank, cut the
threads leaving a B" tail. Bring the
needle thread down through the hole
in the button and wind it around the
shank.
Draw the thread to the bottom side
and knot.
35