Do you have a question about the Kenmore 721.86013 and is the answer not in the manual?
Initial steps and responsibilities before beginning installation.
Crucial safety information and physical dimensions for oven installation.
Precautions against electric shock during installation, emphasizing power disconnection.
Mandates proper grounding of the appliance to prevent electrical shock.
Warnings against operating the oven with the door open or if damaged.
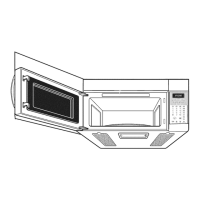
Emphasizes secure mounting and adequate space, referencing figures for clearances.
Finding and ensuring a proper grounded electrical outlet is available for the oven.
Instructions for venting the oven through the roof.
Instructions for venting the oven through an exterior wall.
Instructions for recirculating air within the room.
Details standard duct fittings and their equivalent length in feet for installation.
Guidelines for total duct length and elbow usage for efficient ventilation.
Steps for removing the mounting plate and preparing for blower adjustment.
Detailed steps for preparing the blower unit for wall-vented installation.
Detailed steps for preparing the blower unit for roof-vented installation.
Instructions for measuring and applying the template to the wall and cabinet.
Guide for drilling holes in the wall and upper cabinet according to template markings.
Preparing the rear wall cutout and attaching the exhaust adaptor to the mounting plate.
Completing the ductwork and sealing for roof-vented installations.
| Brand | Kenmore |
|---|---|
| Model Number | 721.86013 |
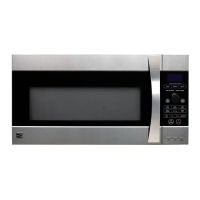
| Product Type | Microwave Oven |
| Wattage | 1000 Watts |
| Color | Stainless Steel |
| Turntable Diameter | 12.4 inches |
| Pre-Programmed Settings | Yes |
| Child Lock | Yes |
| Power | 120V |
| Cooking Modes | Defrost |