23
4-H Apparel and Textiles—Sewing
4JD-01PB
University of Kentucky - Cooperative Extension Service - College of Agriculture
2. Prepare zipper.
• Remove zipper from package. Press
if necessary.
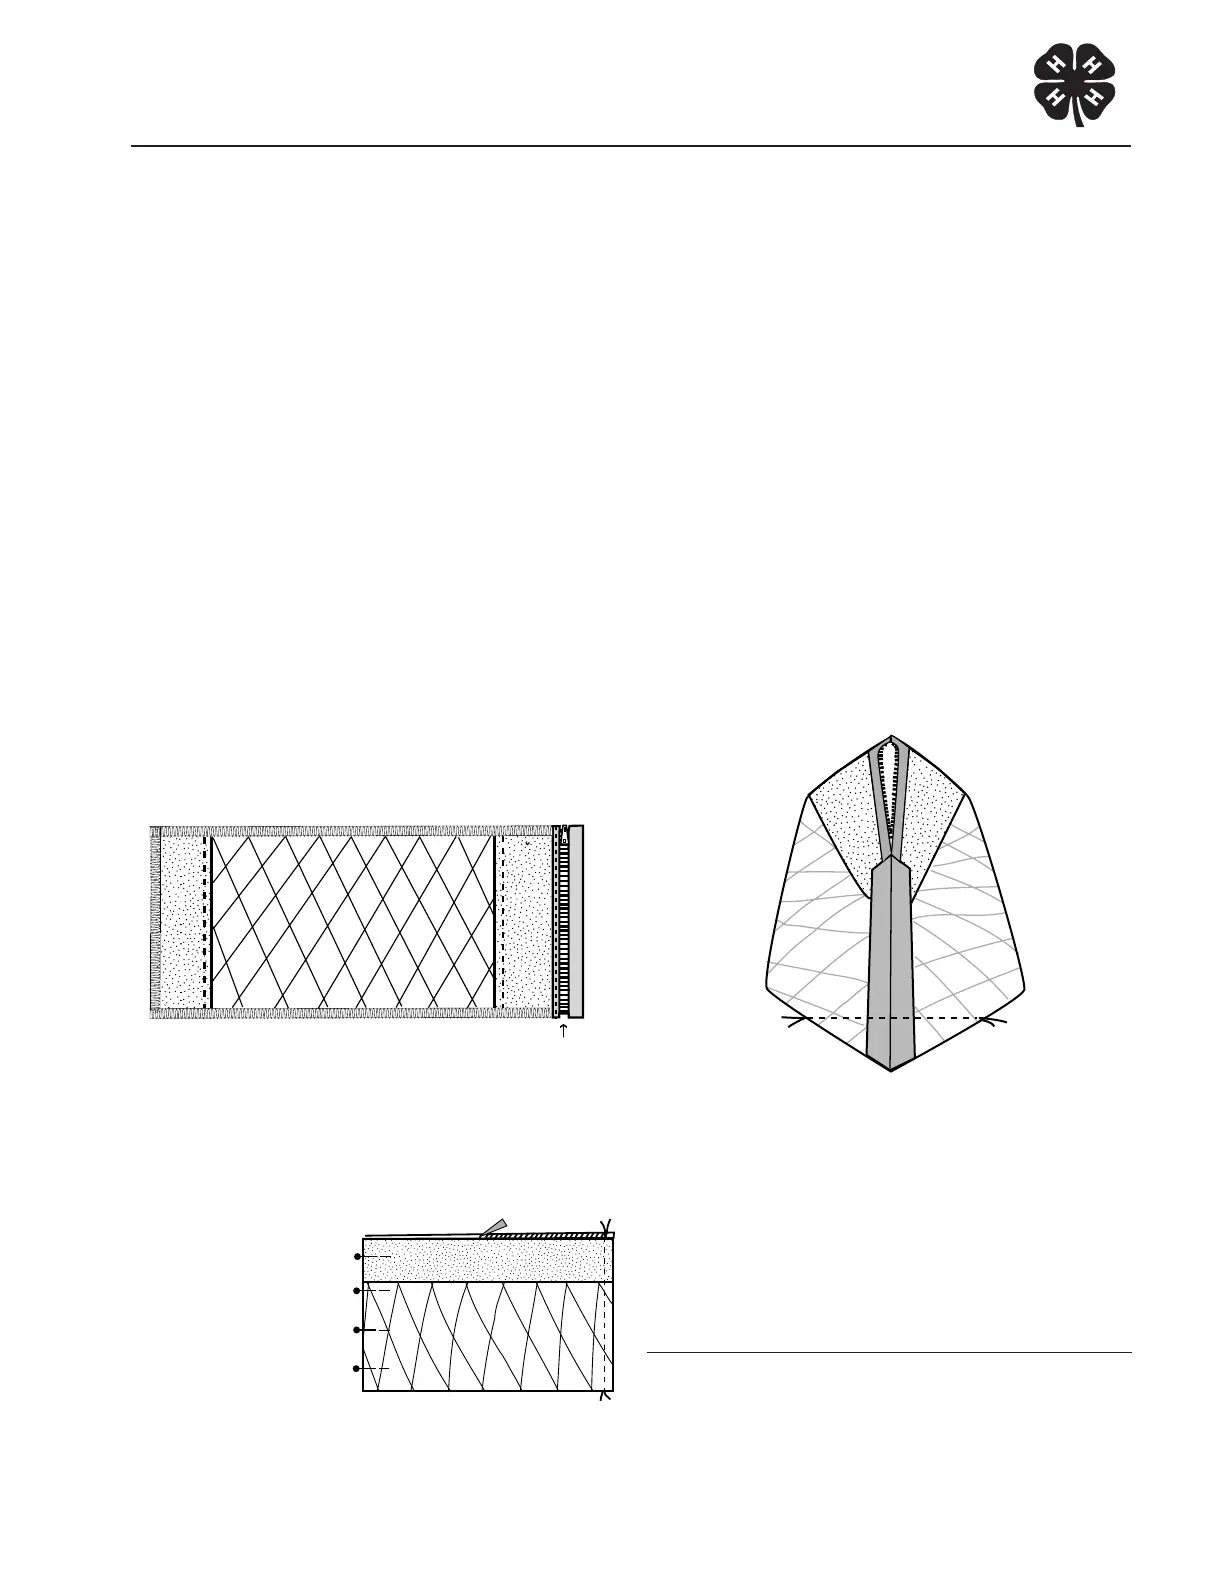
3. Apply zipper.
• With zipper face down to the right
side of the bag, align the edge of
the zipper tape to the edge of the
fabric. Pin.
• Stitch close to the zipper coil using
a zipper foot aachment.
• Flip zipper over to its right side.
• Press seam away from the zipper.
• Using the edge of the all-purpose
machine pressure foot as a guide
against the zipper coil, topstitch
through all thicknesses (Figure B).
• Repeat for other side of zipper.
HINT: It will help to open zipper
when topstitching second side.
Zipper
Figure B
4. Sew side seams
• Unzip zipper halfway. Working
from the inside, pin the edges of
the bag, right sides together
(Figure C).
• Sew side
seams
inch from
the edge.
• Be sure to secure stitching at the
top edge.
5. Sew corner seams.
• To give the bag a squared boom,
unzip completely. Poke your nger
in the boom corners of the bag,
smoothing out the fabric.
• Fold one end of the bag with the
side pushed out and end squared
(see Figure D). Pin.
• Using chalk or marking pen, mark
1 inches up from the point at the
seam. Draw a straight line across to
both sides of the bag. Sew over the
line. Secure threads.
• Repeat for the other side.
Figure D
6. Add finishing touches.
• Turn bag right side out.
• Insert ribbon in zipper pull and
secure.
Fill it with personals and you’re ready
to go!
Marjorie Baker, M.S., Extension Associate for
Clothing and Textiles
Figure C