38
4-H Apparel and Textiles—Sewing
18 U. S. C. 707
4JD-01PB
University of Kentucky - Cooperative Extension Service - College of Agriculture
2. Fold the accent piece and the border
piece of the pillowcase in half length-
wise, with the right sides to the outside.
The accent will be inch by 44/45 inch-
es, and the border will be 6 inches by
44/45 inches after folding. Press.
3. Place the folded accent on top of the
folded border, matching the raw edges.
Pin and sew. The ends of these pieces
may not line up. They will be trimmed
later (Figure A).
Border fold
4. With the accent side down, place the
border/accent strip on top of the right
side of a 44-inch side of the body fab-
ric. Match the raw edges, and sew. To
prevent fraying, finish this seam edge.
Serge or machine zigzag the raw edges
together. Press the seams toward the
body of the pillowcase.
5. Trim off the selvage edges and any ex-
cess fabric that may result from differ-
ences in fabric width. Width should be
42 inches after trimming.
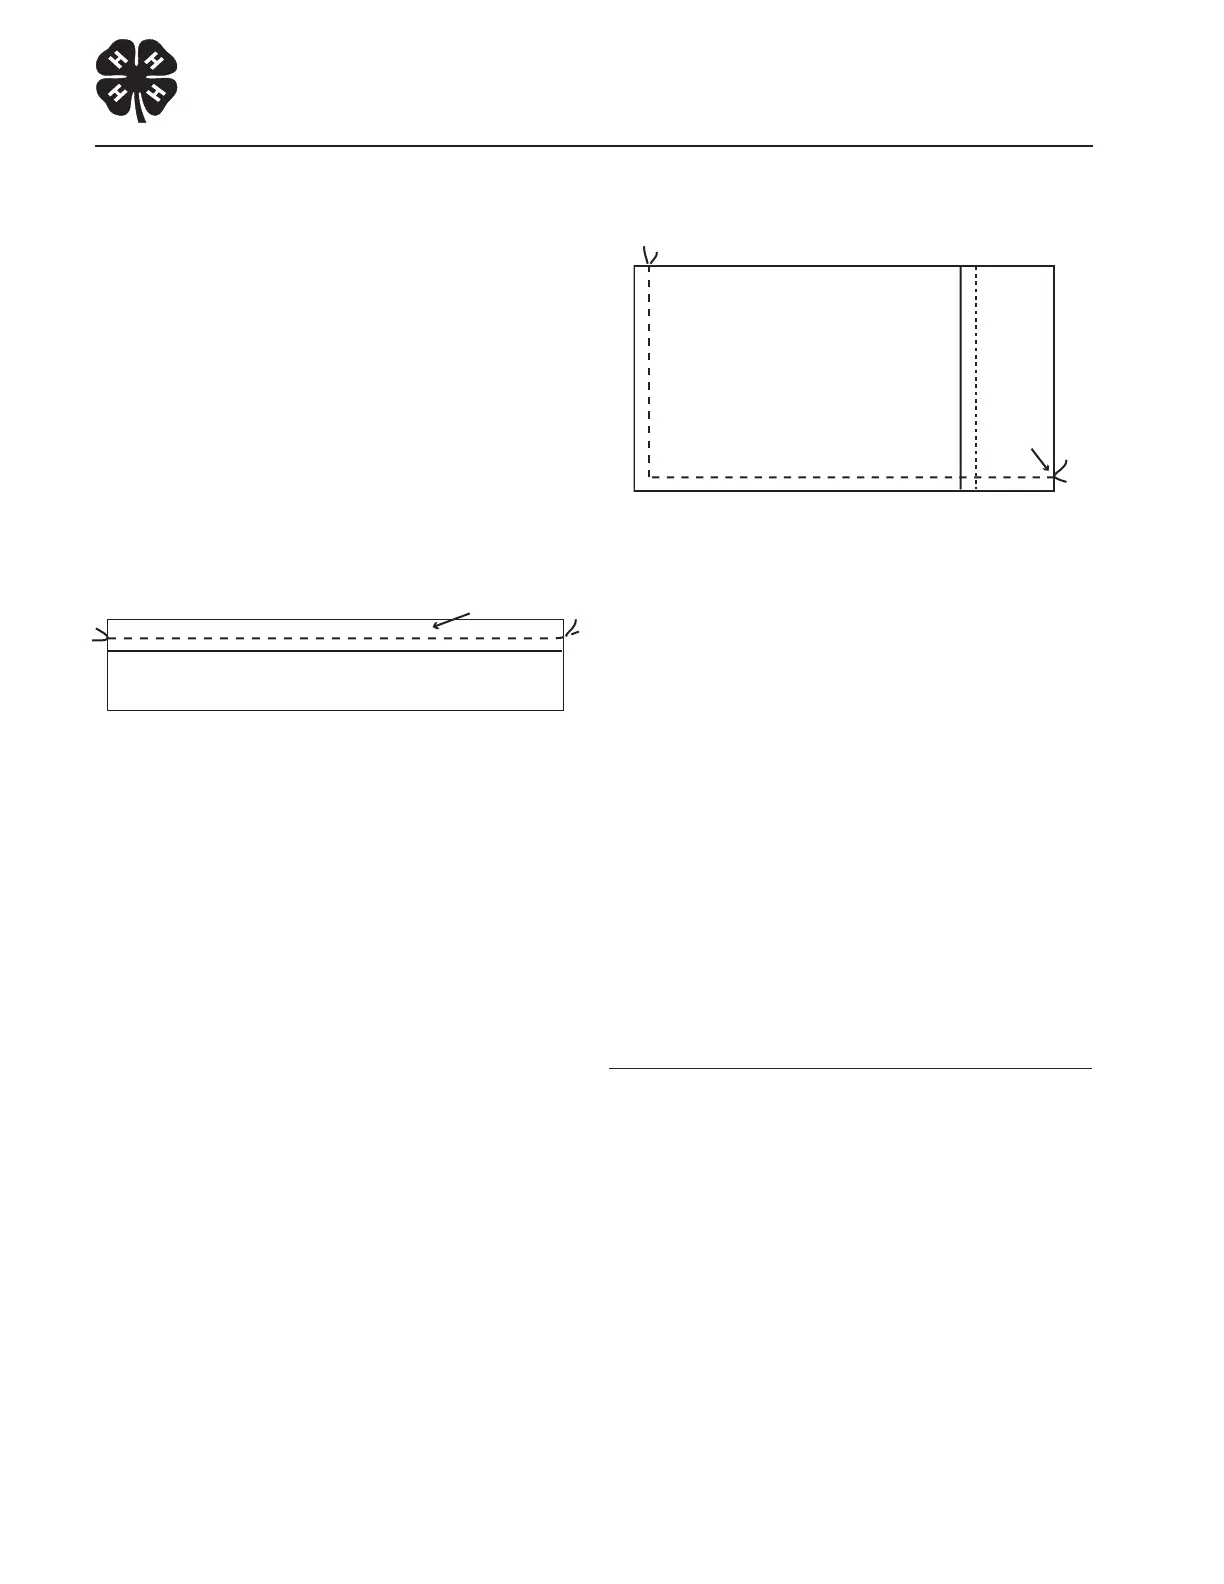
6. Fold pillowcase in half, right sides of the
fabric together, matching edge of border
and seam between the pillowcase body
and border/accent. Pin.
7. Sew the side seam starting at the folded
edge of the border and across the end
of the pillowcase (Figure B). Be sure to
backstitch these two seams and finish
them by serging or machine zigzagging.
Turn right sides out and press.
Fold
Start
sewing
here
8. Plan and mark the placement of the ver-
tical buttonholes along the border. Mark
so buttonholes will be equal distance
apart. They will be approximately 4
inches apart and 4 inches from the sides
of the pillowcase. Make buttonholes ver-
tical to the border edge, beginning
inch from the folded edge. (If not us-
ing -inch buttons, adjust distance from
the edge according to button size). Refer
to CT-LMH.189 Buttons and Buttonholes.
9. Mark and sew buttons to match button-
holes. Button placement line will be
inch from folded edge of border (if
not using
-inch buttons, adjust dis-
tance according to button size).
Marjorie M. Baker, M.S., Extension Associate
for Clothing and Textiles
Figure A
Figure B